
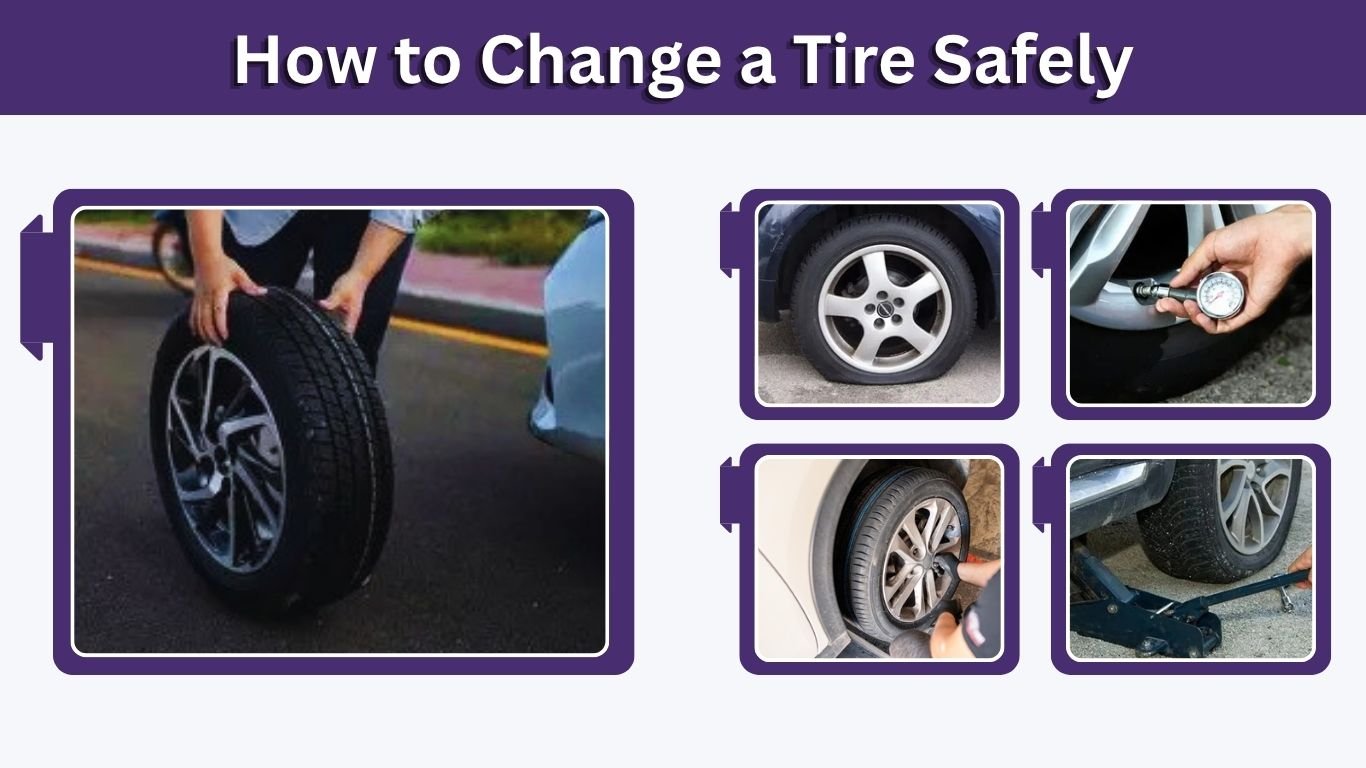
Getting a flat tire can feel stressful, especially if it happens on a busy road or during bad weather. The good news is that changing a tire is a simple process when you know the right steps. With basic tools, a safe location, and careful handling, most drivers can replace a flat tire with a spare and get back on the road safely.
What You Need Before Changing a Tire
Before you start, make sure you have the right equipment. Most vehicles come with a spare tire and basic tire-changing tools, but it is smart to check them before an emergency happens.
Essential Tire-Changing Tools
You should have these items in your vehicle:
- Spare tire
- Car jack
- Lug wrench
- Vehicle owner’s manual
- Wheel wedges or heavy objects
- Flashlight
- Gloves
- Reflective warning triangle or safety vest
- Tire pressure gauge
Some cars have compact spare tires, often called donut spares. These are designed for temporary use only. They usually have speed and distance limits, so check the instructions printed on the spare tire or in your vehicle manual.
Helpful Extra Items
These items are not always required, but they can make the job safer and easier:
- Rain poncho
- Small wooden board for stabilizing the jack
- Portable air compressor
- Headlamp
- Hand wipes
- Emergency roadside kit
Keeping these items together in your trunk can save time when you need them most.
Safety Steps Before You Begin
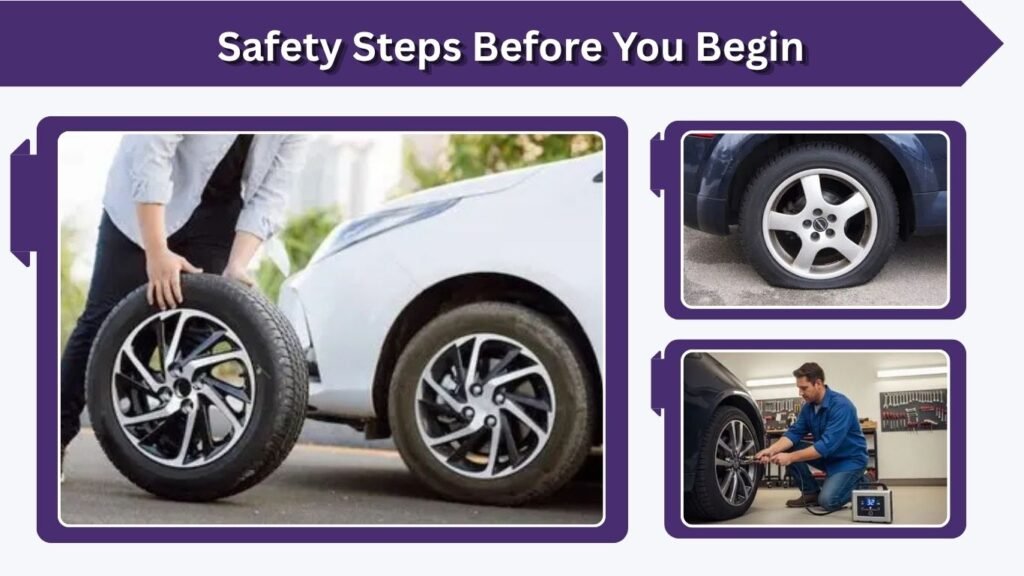
Changing a tire safely starts before you touch the jack or lug wrench. Your first goal is to protect yourself, your passengers, and other drivers.
Find a Safe Location
If your tire goes flat while driving, do not stop in the middle of traffic unless the vehicle cannot move. Slow down gradually and look for a safe place to pull over.
Choose a location that is:
- Flat and firm
- Away from traffic
- Well-lit if possible
- Wide enough for you to work beside the vehicle
- Not on soft dirt, grass, or a steep hill
A parking lot, shoulder, side street, or gas station is usually safer than the edge of a busy road.
Make Your Vehicle Visible
Once parked, turn on your hazard lights. If you have a reflective triangle, place it behind your vehicle at a safe distance. Wear a reflective vest if you have one, especially at night.
Before getting out, check your mirrors and open the door carefully. Stay aware of passing traffic while working.
Secure the Vehicle
Put the vehicle in park if it has an automatic transmission. If it is a manual vehicle, shift into first gear or reverse. Then apply the parking brake.
Place wheel wedges in front of or behind the tires to stop the vehicle from rolling. If the flat tire is in the front, place wedges behind the rear tires. If the flat tire is in the back, place wedges in front of the front tires.
Tire Change Process at a Glance
Use this table as a quick overview before following the detailed steps below.
| Step | What to Do | Why It Matters |
| 1 | Park safely and turn on hazards | Keeps you visible and away from danger |
| 2 | Loosen lug nuts slightly | Makes removal easier before lifting the car |
| 3 | Position the jack correctly | Prevents vehicle damage or slipping |
| 4 | Raise the vehicle | Creates space to remove the flat tire |
| 5 | Remove the tire and install the spare | Replaces the damaged tire |
| 6 | Tighten lug nuts by hand first | Helps the wheel sit evenly |
| 7 | Lower the vehicle and tighten fully | Secures the spare tire properly |
| 8 | Check tire pressure and drive carefully | Reduces risk after installation |
Step-by-Step Instructions for Changing a Tire
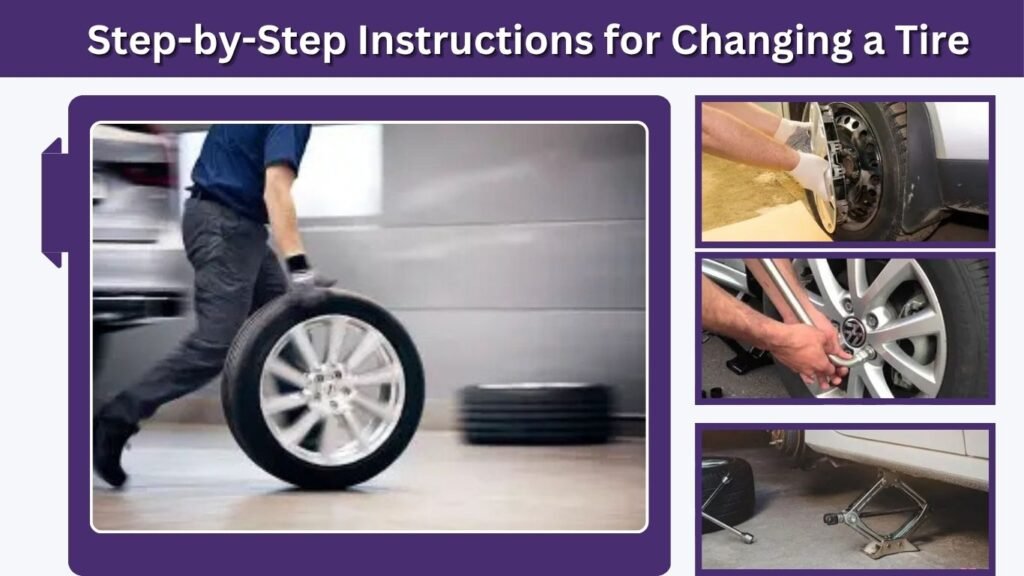
Once your vehicle is safely parked and secured, you can begin replacing the flat tire. Take your time and follow each step carefully.
Step 1: Remove the Hubcap or Wheel Cover
Some vehicles have a hubcap or wheel cover hiding the lug nuts. If yours does, remove it before loosening the lug nuts. Many hubcaps can be pried off using the flat end of the lug wrench.
Be gentle so you do not crack the hubcap. Place it somewhere safe, such as inside the vehicle or near your tools.
Step 2: Loosen the Lug Nuts
Use the lug wrench to loosen the lug nuts before raising the vehicle. Turn each lug nut counterclockwise. You only need to loosen them about a quarter to half turn at this stage.
Do not remove the lug nuts yet. The tire should still be touching the ground while you loosen them. This keeps the wheel from spinning and gives you better leverage.
If the lug nuts are tight, press down carefully on the wrench with steady force. Avoid jumping on the wrench because that can cause slipping or injury.
Step 3: Place the Jack Under the Correct Jack Point
Look in your owner’s manual to find the proper jack point for your vehicle. Most cars have reinforced metal areas near each wheel. Using the wrong spot can damage the vehicle or make the jack unstable.
Place the jack on firm, level ground. If the ground is slightly soft, put a flat wooden board under the jack to help spread the weight. Never place any part of your body under the vehicle while it is supported only by a jack.
Step 4: Raise the Vehicle
Use the jack handle to lift the vehicle slowly. Raise it until the flat tire is several inches off the ground. You need enough space to remove the flat tire and install the inflated spare, which may be larger than the flat tire.
As the vehicle rises, watch the jack carefully. If it leans, shifts, or looks unstable, lower the vehicle and reposition it.
Step 5: Remove the Lug Nuts and Flat Tire
Now fully remove the loosened lug nuts. Place them in a safe spot where they will not roll away. A pocket, cup holder, or small container works well.
Hold the tire firmly with both hands and pull it straight toward you. If it feels stuck, gently wiggle it from side to side. Avoid using sudden force that could knock the vehicle off balance.
Once removed, lay the flat tire flat on the ground. Do not leave it standing upright where it could roll away.
Step 6: Mount the Spare Tire
Lift the spare tire and line up the holes with the wheel bolts. Push the spare onto the hub until it sits flat against the mounting surface.
This step may take a little effort because spare tires can be heavy. Keep your back straight and lift carefully. If the tire does not slide on easily, adjust its position and try again.
Step 7: Reinstall the Lug Nuts by Hand
Put the lug nuts back on by hand first. Turn them clockwise and tighten each one as much as you can with your fingers. This helps prevent cross-threading, which can damage the wheel bolts.
Tighten the nuts in a star pattern instead of going in a circle. This helps the wheel sit evenly against the hub.
For example:
- Tighten the top lug nut first
- Move to the opposite lower lug nut
- Continue across the wheel in a star pattern
- Repeat until each nut is hand-tight
Step 8: Lower the Vehicle Partway and Tighten the Lug Nuts
Use the jack to lower the vehicle until the spare tire touches the ground, but do not lower the full weight of the car yet. The tire should have enough contact with the ground to stop it from spinning.
Use the lug wrench to tighten the lug nuts in a star pattern. Apply firm, steady pressure. Do not tighten one lug nut fully before moving to the others. Gradual tightening helps keep the wheel properly centered.
Step 9: Lower the Vehicle Completely
Lower the vehicle all the way to the ground and remove the jack. Once the car is fully supported by the spare tire, tighten the lug nuts again using the same star pattern.
Make sure each lug nut is secure. If you are unsure whether they are tight enough, drive carefully to the nearest repair shop or service station and have them checked with a torque wrench.
Step 10: Replace the Hubcap and Store Your Tools
If the hubcap fits the spare tire, put it back on. Some compact spare tires do not allow the original hubcap to fit, so store it in the trunk instead.
Place the flat tire, jack, lug wrench, wheel wedges, and all other tools back in your vehicle. Do a quick check around the area to make sure you have not left anything behind.
What to Do After Installing the Spare Tire
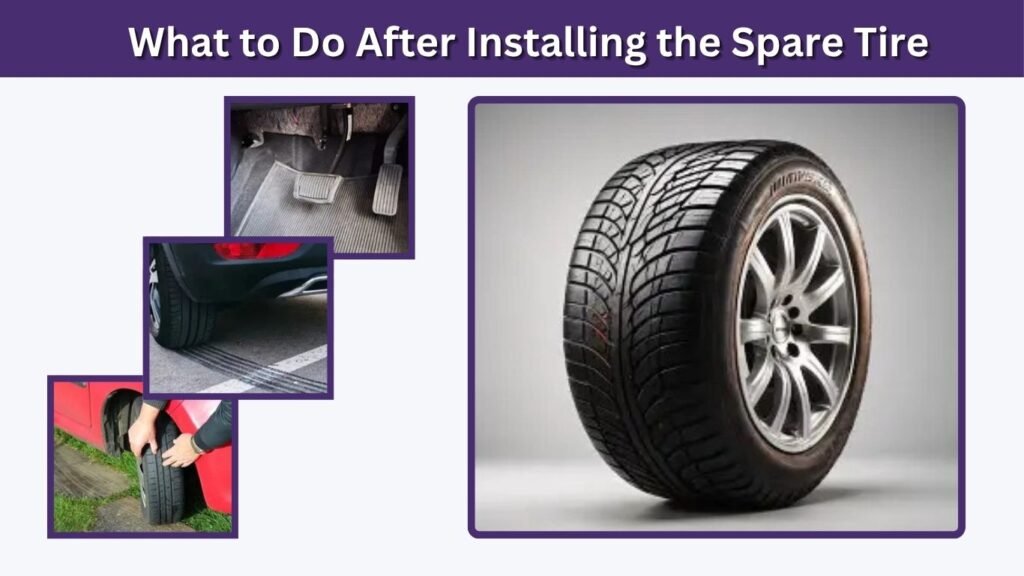
Changing the tire is not the final step. A spare tire is usually a temporary solution, so you need to take a few precautions before continuing your trip.
Check the Spare Tire Pressure
If you have a tire pressure gauge, check the spare before driving far. A spare tire that has been sitting in the trunk for months or years may be underinflated.
Low tire pressure can affect steering, braking, and stability. If the spare looks low or your vehicle feels unstable, drive slowly to the nearest gas station or tire shop.
Drive Slowly and Carefully
Compact spare tires are not made for high speeds or long distances. Many donut spares have a maximum speed limit of around 50 mph, but always check your vehicle manual or the tire label.
While driving on a spare tire:
- Avoid sudden braking
- Avoid sharp turns
- Stay in the right lane when possible
- Keep extra distance from other vehicles
- Do not overload the vehicle
- Go directly to a repair shop when possible
A full-size spare may allow more normal driving, but it should still be checked by a professional.
Repair or Replace the Flat Tire
Take the flat tire to a tire shop as soon as possible. Some punctures can be repaired, especially if the damage is in the tread area. However, sidewall damage, large cuts, or severe wear usually means the tire must be replaced.
Do not continue using a damaged tire without professional inspection.
Common Mistakes to Avoid
Changing a tire is simple, but small mistakes can create safety risks. Avoid these common errors.
Jacking Up the Vehicle Too Soon
Always loosen the lug nuts before lifting the vehicle. If you try to loosen them while the tire is in the air, the wheel may spin and the vehicle may become unstable.
Using the Wrong Jack Point
Never guess where the jack should go. The wrong placement can damage the frame, bend body panels, or cause the vehicle to slip. Check the owner’s manual for the correct location.
Forgetting the Parking Brake
The parking brake helps stop the vehicle from rolling while it is lifted. Always apply it before using the jack.
Driving Too Far on a Temporary Spare
A donut spare is designed to help you reach a repair location, not replace a regular tire for daily driving. Driving too far or too fast on a temporary spare can damage your vehicle and increase the risk of another tire problem.
When You Should Call Roadside Assistance
There are times when changing the tire yourself is not the safest choice. Calling for help is better than taking unnecessary risks.
Get Professional Help If Conditions Are Unsafe
Call roadside assistance if:
- You are on a busy highway with little shoulder space
- The vehicle is on a steep hill
- The ground is soft, muddy, icy, or uneven
- You do not have the right tools
- The spare tire is missing or flat
- Lug nuts are rusted or stuck
- You feel unsafe or unsure
Your safety matters more than saving time. If the situation feels dangerous, stay in the vehicle with your seatbelt on and call for help.
How to Prepare for Future Flat Tires
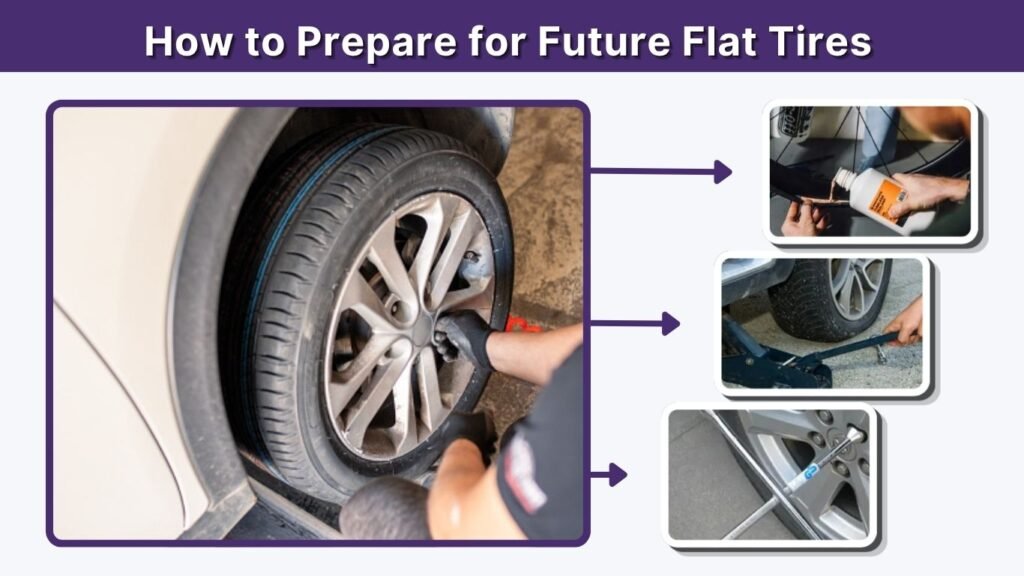
A little preparation can make a future flat tire easier to handle. You do not need advanced mechanical skills, but you should know where your tools are and how they work.
Check Your Tire Kit Regularly
Every few months, inspect your spare tire and tools. Make sure the jack, lug wrench, and spare are present and in good condition.
You should also check:
- Spare tire pressure
- Tire tread condition
- Jack operation
- Lug wrench fit
- Flashlight batteries
- Reflective safety items
This simple habit can prevent frustration during an emergency.
Learn Your Vehicle’s Jack Points
Your vehicle manual shows exactly where the jack should be placed. Review this information before you need it. You can also practice locating the spare tire and tools while parked safely at home.
Knowing what to do ahead of time makes the actual process faster and less stressful.
FAQs
How long does it take to change a tire?
Changing a tire usually takes about 15 to 30 minutes if you have the right tools and a safe place to work. It may take longer if the lug nuts are tight, the weather is poor, or you are unfamiliar with the process. Safety should always matter more than speed.
Can I change a tire without a jack?
You generally should not try to change a car tire without a proper jack. The vehicle must be lifted safely so the wheel can be removed and replaced. Using unsafe lifting methods can damage the vehicle or cause serious injury. If you do not have a jack, call roadside assistance.
How far can I drive on a spare tire?
The safe driving distance depends on the type of spare tire. Many compact spares are meant for short-distance use only, often enough to reach a nearby repair shop. Check the tire label or owner’s manual for exact limits. Drive slowly and avoid long trips until the tire is repaired.
Why should lug nuts be tightened in a star pattern?
A star pattern helps the wheel sit evenly against the hub. If you tighten lug nuts in a circle, one side may become tighter before the wheel is properly centered. This can cause vibration or uneven pressure. Tightening gradually across the wheel creates a safer, more balanced fit.
Is it safe to change a tire on the highway?
Changing a tire on the highway can be dangerous, especially near fast-moving traffic. If possible, move to a safer location such as a wide shoulder, exit ramp, parking lot, or side road. If there is not enough space or visibility, stay in the vehicle and call roadside assistance.