
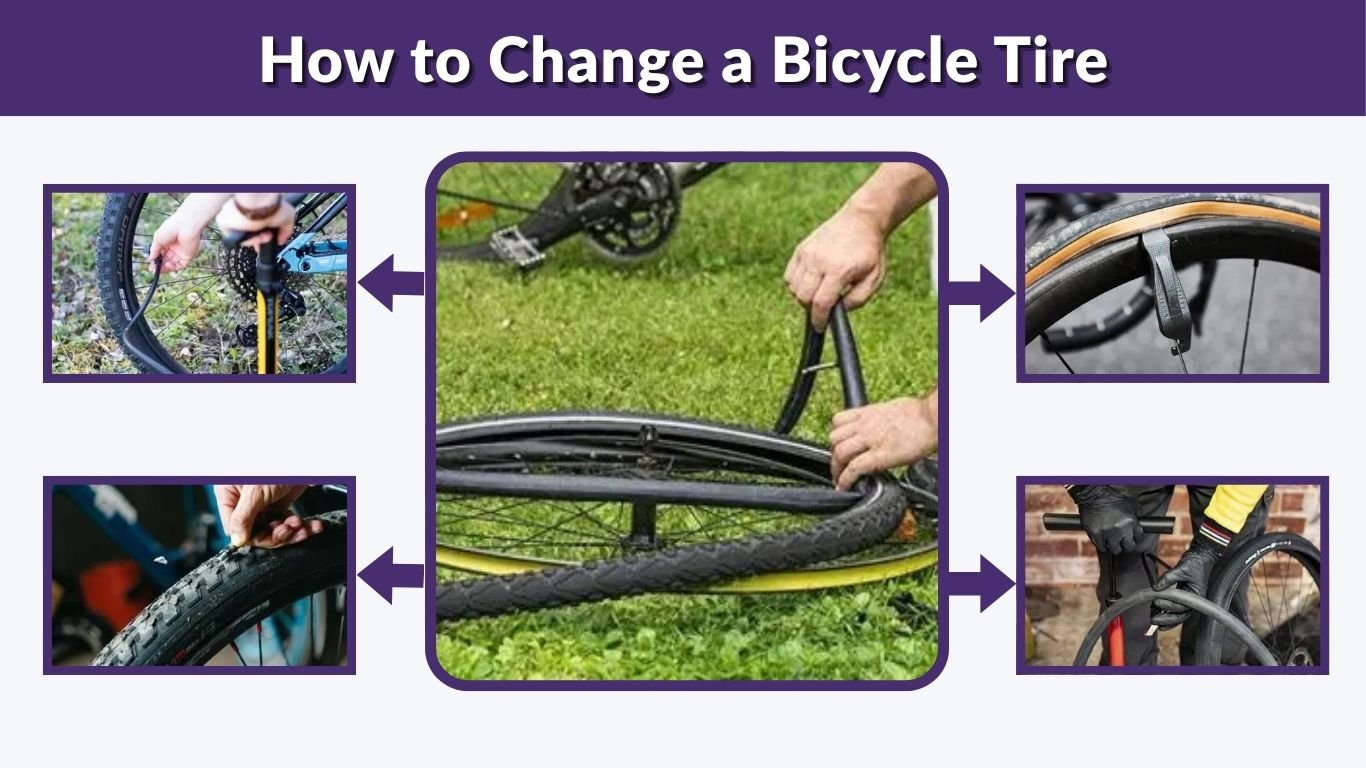
Changing a bicycle tire may seem difficult the first time, but it becomes simple once you understand the process. Whether you have a flat tire, a worn-out tire, or a damaged inner tube, the steps are easy to follow with a few basic tools. This guide explains how to remove the wheel, replace the tube or tire, and reinstall everything safely.
What You Need to Change a Bicycle Tire
Before starting, gather the right tools and make sure your bike is in a stable position. Having everything ready will make the process faster and prevent small mistakes.
Basic Tools for the Job
Most bicycle tire changes require only a few simple items. You do not need a full repair shop setup for a standard flat tire repair.
You may need:
- Tire levers
- Replacement inner tube
- Bicycle pump
- Patch kit
- Wrench, if your wheel uses axle nuts
- Clean cloth
- Gloves
- Bucket of water, if checking for small tube leaks
Some modern bikes have quick-release wheels or thru-axles, while others use traditional nuts. Check your bike before you begin so you know whether you need a wrench.
Choosing the Right Tube or Tire
Look at the sidewall of your current tire to find the correct size. You may see numbers such as 700x25c, 26×2.0, 27.5×2.2, or 29×2.25. Your replacement tire or tube should match this size range.
You also need to choose the right valve type. Most bicycle tubes use either a Schrader valve or a Presta valve. Schrader valves are wider and similar to car tire valves. Presta valves are thinner and common on road bikes and some mountain bikes.
Quick Overview of the Tire Change Process
The basic steps are similar for most bicycles, whether you are changing a front tire, rear tire, road bike tire, or mountain bike tire.
| Step | What to Do | Why It Matters |
| 1 | Remove the wheel from the bike | Gives access to the tire and tube |
| 2 | Let out remaining air | Makes the tire easier to remove |
| 3 | Use tire levers to lift the tire bead | Opens one side of the tire |
| 4 | Remove the old tube | Allows inspection or replacement |
| 5 | Check the tire for sharp objects | Prevents another flat |
| 6 | Install the new or patched tube | Restores air support |
| 7 | Seat the tire properly | Helps avoid pinching the tube |
| 8 | Inflate and reinstall the wheel | Gets the bike ready to ride |
Step-by-Step Instructions to Change a Bicycle Tire
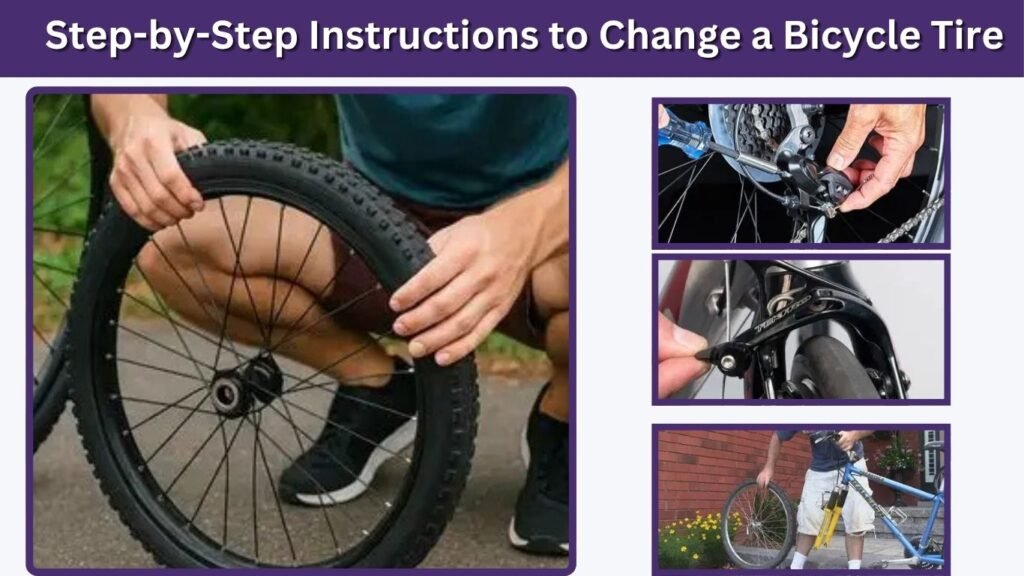
Follow these instructions carefully, especially if this is your first time. The same method works for many standard bikes with inner tubes.
Step 1: Shift Gears Before Removing the Wheel
If you are changing a rear bicycle tire, shift the chain onto the smallest rear cog before removing the wheel. This creates more chain slack and makes the wheel easier to remove and reinstall.
For a front tire, you do not need to worry about the gears. Simply make sure the bike is stable before removing the wheel.
Step 2: Release the Brakes If Needed
Some bikes require you to open or release the brakes before the tire can pass through. Rim brakes, such as V-brakes or caliper brakes, may need to be opened. Disc brake bikes usually do not need this step.
If your bike has disc brakes, avoid touching the brake rotor with greasy fingers. Also, do not squeeze the brake lever while the wheel is removed, because this can push the brake pads too close together.
Step 3: Remove the Wheel
Turn the bike upside down or place it in a repair stand. If your bike has a quick-release lever, open the lever and loosen the nut slightly until the wheel comes free. If your bike uses axle nuts, loosen them with the correct wrench.
For a rear wheel, pull the derailleur gently backward while lifting the wheel out. Let the chain move away from the cassette as the wheel comes free.
Step 4: Deflate the Tire Completely
If the tire still has air inside, release it fully. For a Schrader valve, press the small pin inside the valve. For a Presta valve, unscrew the small top nut and press it downward.
A fully deflated tire is much easier to remove from the rim. This also reduces the chance of damaging the tube or bending a tire lever.
Step 5: Remove One Side of the Tire from the Rim
Insert a tire lever under the edge of the tire, also called the bead. Hook the other end of the lever onto a spoke if possible. Insert a second tire lever a few inches away and slide it around the rim to lift one side of the tire.
You usually do not need to remove both sides of the tire unless you are replacing the tire itself. For a tube change, removing one side is enough.
Step 6: Take Out the Inner Tube
Pull the tube out from under the tire. Start opposite the valve, then remove the valve from the rim last. Be gentle so you do not tear the tube if you plan to patch it.
If you are replacing the tube, set the old one aside. If you are repairing it, inflate it slightly and listen for escaping air.
Step 7: Inspect the Tire and Rim
Before installing a new tube, check the inside of the tire carefully. Run your fingers slowly along the inside surface, but be careful because glass, thorns, wire, or metal can be sharp.
Also check the rim tape. Rim tape covers the spoke holes inside the rim. If it is torn, shifted, or missing, the tube may puncture again quickly.
Look for:
- Glass or sharp stones
- Thorns or small wires
- Cuts in the tire casing
- Damaged rim tape
- Cracks or worn tread
- Objects stuck through the tire
Do not skip this step. Many people install a new tube only to get another flat because the original sharp object is still in the tire.
Step 8: Prepare the New Tube
Add a small amount of air to the new tube before installing it. The tube should hold its round shape but not be fully inflated. This makes it easier to place inside the tire without twisting or folding.
Insert the valve through the valve hole in the rim first. Then tuck the rest of the tube evenly inside the tire.
Step 9: Put the Tire Back on the Rim
Starting near the valve, push the tire bead back onto the rim using your thumbs. Work slowly around the wheel. Try to avoid using tire levers for the final section because they can pinch the tube.
If the last part of the tire feels tight, push the already-installed tire bead toward the center of the rim. This creates extra slack and makes the final section easier to fit.
Step 10: Check for Tube Pinches
Before inflating fully, inspect both sides of the tire. Make sure the tube is not trapped between the tire bead and rim. A pinched tube can burst when inflated.
Push the valve upward slightly, then pull it back down. This helps seat the tube properly around the valve area.
Step 11: Inflate the Tire Slowly
Inflate the tire a little at a time. Stop halfway and check that the tire bead is sitting evenly around the rim. Most tires have a thin line near the bead that should appear even all the way around.
If the tire looks uneven, release some air and adjust it by hand. Once everything looks correct, inflate the tire to the recommended pressure printed on the tire sidewall.
Step 12: Reinstall the Wheel
Place the wheel back into the frame or fork. For a rear wheel, guide the chain onto the smallest rear cog and pull the derailleur backward slightly. Make sure the axle sits fully in the dropouts.
Tighten the quick-release lever, thru-axle, or axle nuts securely. If your bike has rim brakes, reconnect them before riding.
Spin the wheel to check that it moves freely. Then test the brakes before getting back on the bike.
How to Change a Rear Bicycle Tire
Changing a rear bicycle tire is slightly more involved than changing a front tire because of the chain and gears. However, the process is still manageable for beginners.
Removing the Back Wheel
Shift to the smallest rear cog first. This makes the chain looser and helps the wheel come out smoothly. Open the brake if needed, then release the axle. Pull the derailleur backward and guide the wheel down and out.
Be patient during this step. The chain may catch slightly, but gentle movement is usually enough to free the wheel.
Reinstalling the Rear Wheel
When putting the rear wheel back, place the chain over the smallest cog. Pull the derailleur backward and guide the axle into the frame dropouts. Make sure the wheel is centered before tightening it.
After reinstalling the wheel, check that:
- The chain sits correctly on the cog
- The wheel is straight in the frame
- The axle is tight
- The brakes work properly
- The gears shift normally
A short test ride in a safe area can help confirm everything is working as it should.
How to Change a Bicycle Tire Tube
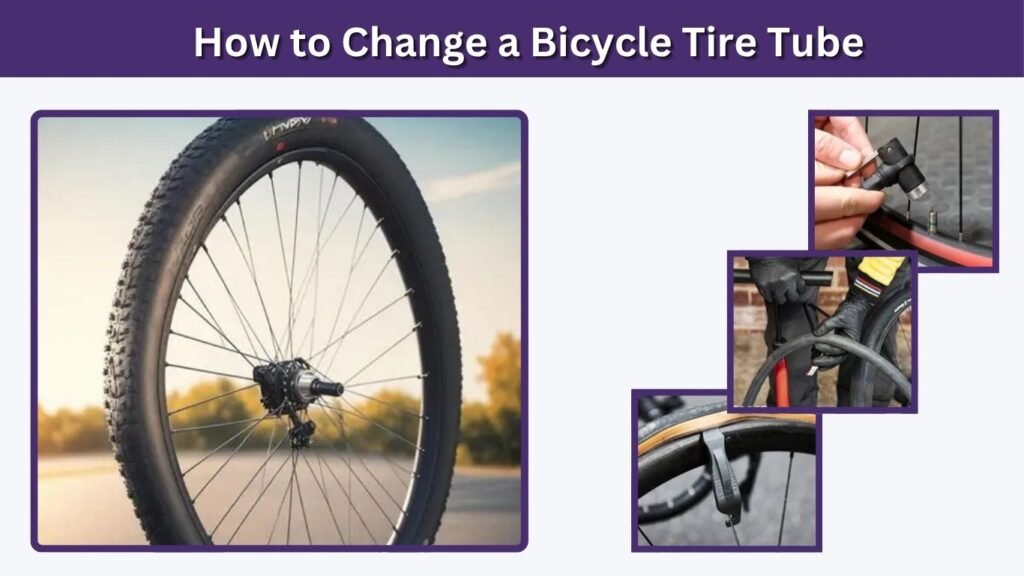
Many flat bicycle tires are caused by a damaged inner tube rather than a damaged outer tire. In that case, you only need to replace or patch the tube.
When to Replace the Tube
Replacing the tube is usually better when the damage is large, the valve is broken, or the tube has multiple punctures. New tubes are inexpensive and often more reliable than a rushed repair.
A patch may work well for a small puncture, especially if you are away from home and need a quick fix.
How to Avoid Pinching the Tube
Tube pinching is one of the most common mistakes when changing a bicycle tire. It happens when the tube gets trapped under the tire bead.
To avoid this:
- Add only a little air before installation
- Keep the tube inside the tire casing
- Use your thumbs instead of tire levers when possible
- Check both sides before full inflation
- Inflate slowly and inspect the tire bead
Taking an extra minute here can prevent another flat immediately after installation.
Road, Mountain, and Kids’ Bicycle Tire Tips
Different bikes may require slightly different handling, but the core process remains the same.
Road Bicycle Tires
Road bike tires are often narrower and may use Presta valves. They can also fit tightly on the rim, especially high-pressure tires. Work slowly and avoid forcing the tire lever too aggressively.
Check the recommended pressure carefully, because road tires usually need higher pressure than mountain bike tires.
Mountain Bicycle Tires
Mountain bike tires are wider and may be easier to remove by hand. However, they can also hide thorns, sharp rocks, or sidewall cuts. Inspect the tire closely before installing a new tube.
Some mountain bikes use tubeless tires. A tubeless setup may need sealant, a tubeless valve, and an air compressor or high-volume pump to seat the tire properly.
Kids’ Bicycle Tires
Kids’ bikes often use axle nuts instead of quick-release levers. You may need a wrench to remove the wheel. Smaller tires can sometimes be tight, so take your time when removing and reinstalling the tire.
Can You Change a Bicycle Tire Without Tools?
It is sometimes possible to remove a loose bicycle tire without tire levers, but tools make the job much easier. Tight road tires are especially difficult to remove by hand.
Best No-Tool Approach
If you do not have tire levers, fully deflate the tube and push both tire beads toward the center of the rim. Then use your thumbs to roll one side of the tire over the rim edge.
This method works best on wider tires, such as mountain bike or comfort bike tires. It may not work on tight road bike tires.
When Not to Force It
Do not use sharp objects like screwdrivers, knives, or keys to remove the tire. These can puncture the tube, damage the rim, or cut the tire bead. If the tire will not come off by hand, use proper tire levers.
Common Mistakes to Avoid
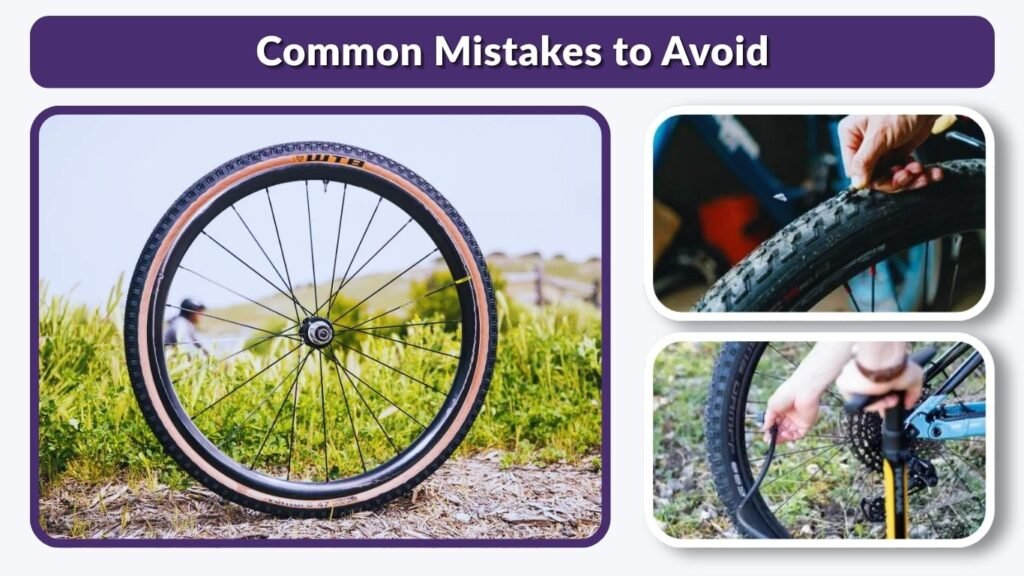
Changing a bicycle tire is easy once you know the steps, but a few mistakes can cause another flat or make the bike unsafe to ride.
Skipping Tire Inspection
Always check the tire for the object that caused the flat. A tiny piece of glass or thorn can remain stuck in the tire and puncture the new tube right away.
Installing the Wrong Tube Size
A tube that is too small may stretch too much. A tube that is too large may fold inside the tire. Both problems can lead to failure. Always match the tube size to the tire size printed on the sidewall.
Overinflating or Underinflating
Use the pressure range printed on the tire. Too little pressure can cause pinch flats. Too much pressure can make the ride harsh and may increase the risk of a blowout.
How Much Does It Cost to Change a Bicycle Tire?
The cost depends on whether you do it yourself or take the bike to a shop. If you already have tire levers and a pump, replacing a tube yourself is usually inexpensive. A new tube often costs much less than a full tire.
A bike shop may charge for the tube or tire plus labor. The cost can be higher for rear wheels, hub gears, electric bikes, tubeless setups, or specialty tires. If the tire itself is worn or cracked, replacing only the tube may not solve the problem.
FAQs
How do I know if my bicycle tire or tube needs replacing?
If the tire has cracks, worn tread, sidewall cuts, or visible casing threads, it should be replaced. If the outer tire still looks good but loses air quickly, the inner tube may be punctured. Remove the tube, inflate it slightly, and listen or feel for escaping air.
Is changing a rear bicycle tire harder than the front?
Yes, changing a rear bicycle tire is usually a little harder because the chain, cassette, and derailleur are involved. Shifting to the smallest rear cog before removing the wheel makes the process easier. Once the wheel is off, changing the tube or tire is almost the same as the front.
Can I ride my bike right after changing the tube?
You can ride after changing the tube if the tire is seated evenly, the wheel is secure, and the brakes work correctly. Spin the wheel first to check for rubbing or wobbling. Start with a short, slow ride to make sure the repair feels stable.
Why does my new bicycle tube keep going flat?
A new tube may go flat if the sharp object is still inside the tire, the rim tape is damaged, or the tube was pinched during installation. It can also happen if the wrong tube size was used. Remove the tire again and carefully inspect the tire, rim, and valve area.
Do I need tire levers to change a bicycle tire?
Tire levers are not always required, but they make the job much easier. Some loose mountain bike or kids’ bike tires can be removed by hand. Tight road bike tires usually need levers. Use plastic tire levers instead of sharp metal objects to avoid damaging the tube or rim.