
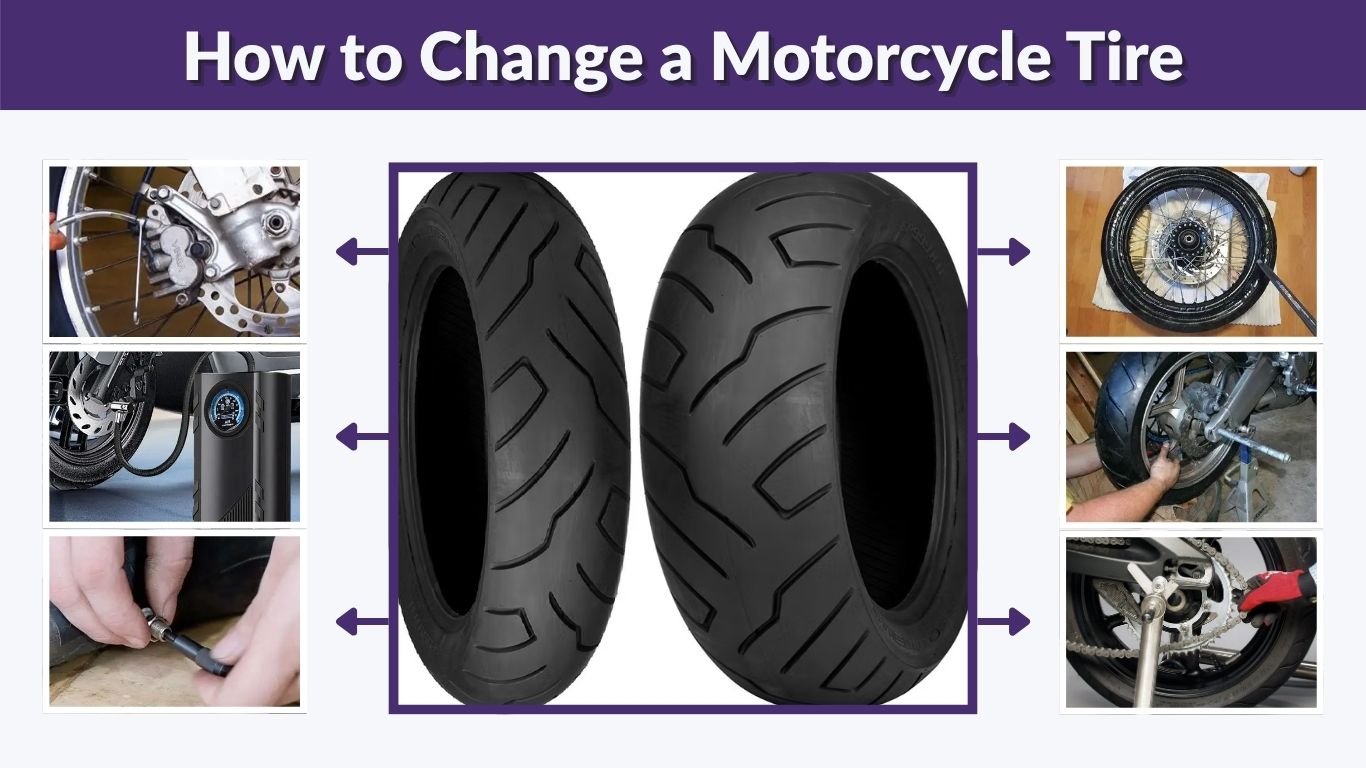
Changing a motorcycle tire at home can save money, but it needs patience, the right tools, and careful handling. Motorcycle wheels are more sensitive than car wheels, especially when tubes, rim locks, brake discs, and balancing are involved. This guide explains how to change a motorcycle tire safely, including tubeless tires, tube-type tires, front tires, rear tires, and common mistakes to avoid.
Tools You Need to Change a Motorcycle Tire
Before removing the wheel, gather all tools in one place. Motorcycle tire changing is easier when the bike is stable and the tire is warm enough to flex. You do not always need a professional tire machine, but using proper tools helps protect the rim, tube, and tire bead.
Basic Tools for Home Tire Changing
- Motorcycle stand, paddock stand, or lift
- Tire irons or motorcycle tire spoons
- Bead breaker or strong tire changing tool
- Valve core remover
- Rim protectors
- Tire lubricant or soapy water
- Air compressor or strong pump
- Torque wrench
- Socket set and wrenches
- New tire, tube, or valve stem
- Wheel weights for balancing
- Gloves and safety glasses
| Tool | Purpose | Helpful Tip |
| Motorcycle stand | Keeps the bike stable | Use the correct stand for front or rear wheel |
| Tire spoons | Removes and installs tire bead | Use rim protectors to avoid scratches |
| Bead breaker | Separates tire bead from rim | Work slowly on both sides |
| Valve core remover | Deflates tire fully | Remove core before breaking bead |
| Torque wrench | Tightens axle and bolts correctly | Follow manufacturer torque specs |
| Tire lubricant | Helps bead slide over rim | Avoid harsh oils or grease |
Can You Change a Motorcycle Tire Without Special Tools?
You can change some motorcycle tires with basic tire spoons, rim protectors, and a stand. However, stiff sportbike tires, cruiser tires, and tubeless tires can be difficult without a bead breaker or tire changer. For beginners, proper tools reduce the risk of scratched rims, pinched tubes, and damaged beads.
Should You Use a Motorcycle Tire Changer?
A manual motorcycle tire changer makes the job easier, especially if you change tires often. It helps hold the wheel steady and gives better leverage. However, occasional riders can still change tires by hand with tire spoons if they work carefully and use enough lubricant.
How to Change a Motorcycle Tire Step by Step
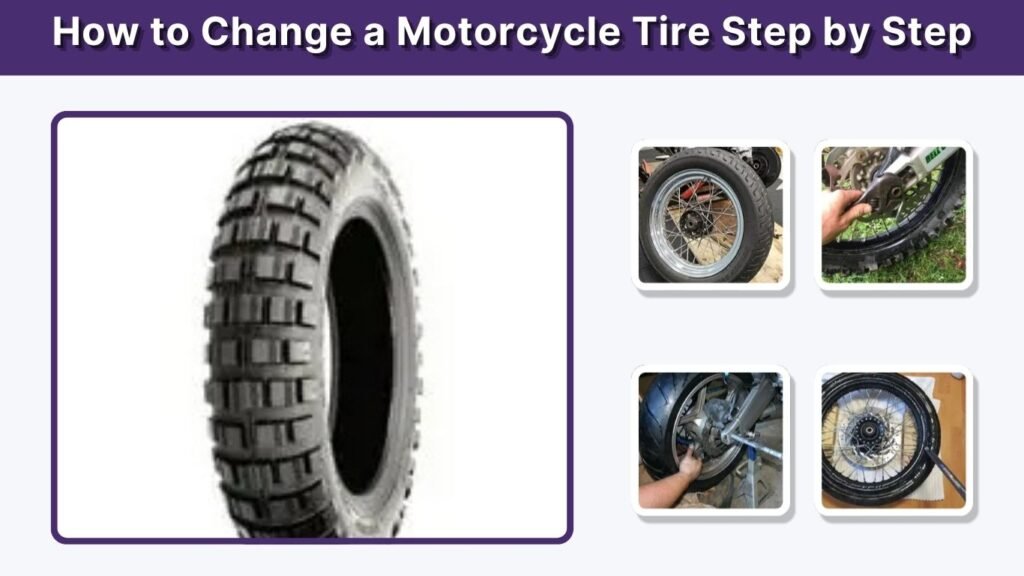
Changing a motorcycle tire starts with removing the wheel from the bike. The exact process depends on whether you are changing the front tire or rear tire. Always check your owner’s manual because axle design, brake setup, chain adjustment, and torque settings can vary by motorcycle model.
Step 1: Secure the Motorcycle
Park the motorcycle on flat, solid ground. Use a paddock stand, center stand, lift, or motorcycle jack that keeps the bike stable. Make sure the bike cannot roll or tip over. Never rely on a weak stand or unstable support while removing a wheel.
Step 2: Loosen the Axle Nut Before Lifting Fully
Loosen the axle nut while the wheel is still touching the ground or while the bike is firmly held. Do not remove it yet. If you are working on the rear wheel, loosen chain adjusters if needed. Take a photo of the axle spacers and brake parts before removal.
Step 3: Remove the Wheel
Lift the motorcycle enough to take weight off the wheel. Remove the axle nut, slide out the axle, and carefully remove the wheel. Keep track of spacers, washers, brake caliper position, and chain alignment parts. Put small parts in order so they go back exactly the same way.
Step 4: Deflate the Tire Fully
Remove the valve cap and use a valve core remover to release all air from the tire. For tube-type tires, make sure the tube is fully deflated. A tire with trapped air is harder to remove and can make bead breaking unsafe.
Step 5: Break the Tire Bead
The bead is the edge of the tire that seals against the rim. Use a bead breaker, tire changer, or careful pressure with tire tools to separate the bead from both sides of the rim. Work around the tire slowly instead of forcing one spot too hard.
Step 6: Remove One Side of the Tire
Place rim protectors on the wheel edge. Insert a tire spoon under the tire bead and gently lift it over the rim. Use another spoon a few inches away and continue around the wheel. Keep the opposite side of the tire pushed into the drop center of the rim to reduce tension.
Step 7: Remove the Tube or Tire Completely
For a tube-type motorcycle tire, pull out the tube carefully after one bead is off. For a tubeless tire, continue working the second bead over the rim until the tire comes off. Avoid dragging tire irons against the brake disc, painted rim, or valve stem hole.
Step 8: Inspect the Rim and Valve Stem
Check the rim for rust, cracks, sharp edges, or old rubber. For tubeless tires, replace the valve stem if it is cracked or old. For spoked wheels, inspect the rim strip. A damaged rim strip can cause tube punctures after installation.
Step 9: Install the New Tire
Check the rotation arrow on the tire sidewall. Motorcycle tires are directional, so install the tire facing the correct way. Lubricate the bead and push one side of the tire onto the rim. Use tire spoons carefully for the final tight sections.
Step 10: Inflate, Seat the Bead, and Reinstall the Wheel
Inflate the tire slowly until the bead seats evenly around the rim. Check both sides. For tube-type tires, inflate gently to avoid pinching the tube. Reinstall the wheel, axle, spacers, brake parts, and chain adjustment parts. Tighten everything to the correct torque.
How to Change a Front Tire on a Motorcycle
Changing a front motorcycle tire is often simpler than changing the rear tire because there is no chain or drive belt. However, front wheels have brake discs and sometimes speed sensors, so careful handling is still important.
Front Tire Removal Tips
- Support the motorcycle with a front stand or lift.
- Loosen front axle pinch bolts if your bike has them.
- Remove brake calipers if needed, but do not pull the brake lever while calipers are off.
- Keep the brake discs away from hard surfaces.
- Note the direction of spacers before removing the wheel.
- Reinstall axle and pinch bolts in the correct order.
Front Wheel Safety Checks
After reinstalling the front wheel, pump the front brake lever several times before riding. This moves the brake pads back into position. Spin the wheel by hand to check for rubbing, wobbling, or unusual noise. Make sure the axle and pinch bolts are properly tightened.
When the Front Tire Needs Replacement
Replace the front tire if the tread is low, the tire has cracks, the sidewall is damaged, or the handling feels unstable. Front tires affect steering and braking, so do not ignore cupping, uneven wear, or vibration.
How to Change a Rear Tire on a Motorcycle
The rear tire can be harder because it connects to the chain, belt, shaft drive, brake caliper, and axle adjusters. Take extra care with alignment because a poorly aligned rear wheel can affect handling and tire wear.
Rear Tire Removal Tips
Loosen the axle nut and chain adjusters before removing the rear wheel. Push the wheel forward to create slack in the chain. Slide the chain off the rear sprocket carefully. Watch the brake caliper bracket and wheel spacers, as they may fall out when the axle is removed.
Rear Wheel Installation Tips
When reinstalling the rear wheel, make sure the chain sits correctly on the sprocket. Align the wheel using the adjuster marks or a proper alignment tool. Set chain slack according to the owner’s manual. Tighten the axle nut to the correct torque before riding.
Check the Rear Brake
After installing the rear wheel, press the rear brake pedal several times. This helps the brake pads settle back into place. Spin the wheel and check that the brake does not drag heavily. A small amount of pad contact can be normal, but strong rubbing needs inspection.
How to Change a Tube-Type Motorcycle Tire
Tube-type tires are common on many dirt bikes, dual-sport motorcycles, and spoked wheels. The biggest challenge is avoiding a pinched tube during installation. A pinched tube can cause an instant flat or a slow leak.
Tube-Type Tire Changing Steps
First, fully deflate the tube and remove the valve core. Break the bead and remove one side of the tire. Pull the tube out carefully without tearing it. Inspect the old tube, rim strip, and inside of the tire. Add a little air to the new tube so it holds its shape before placing it inside the tire.
How to Avoid Pinching the Tube
Use small bites with the tire spoon instead of forcing large sections. Keep the tube away from the spoon tip. Push the opposite side of the tire into the drop center of the rim. Use tire lubricant and work slowly. Before final inflation, check that the tube is not trapped under the bead.
Rim Locks on Tube-Type Tires
Some dirt bikes use rim locks to stop the tire from spinning on the rim at low pressure. If your motorcycle has rim locks, loosen them before removing the tire. When reinstalling, seat the tire properly around the rim lock before tightening it.
How to Change a Tubeless Motorcycle Tire
Tubeless motorcycle tires are common on street bikes, sportbikes, cruisers, and touring motorcycles. They do not use an inner tube, but they need a good seal between the tire bead and rim. This makes bead seating very important.
Tubeless Tire Changing Steps
Remove the valve core and fully deflate the tire. Break the bead on both sides. Use rim protectors and tire spoons to remove the old tire. Replace the valve stem if needed. Lubricate the new tire bead and mount it in the correct direction. Inflate until the bead pops into place and seals evenly.
Bead Seating Safety
Bead seating may require quick airflow from an air compressor. Keep your face and body away from the tire while inflating. Do not exceed safe pressure limits. If the bead will not seat, stop and check for poor lubrication, rim damage, or incorrect tire position.
Check for Air Leaks
After the bead seats, spray soapy water around the valve stem and rim edges. Bubbles mean air is leaking. If the tire leaks, deflate it and inspect the bead, valve stem, and rim. Do not ride with a leaking tubeless tire.
How to Balance a Motorcycle Tire
Balancing is important after changing a motorcycle tire. An unbalanced tire can cause vibration, uneven wear, and poor handling. Some riders skip this step, but it is especially important for street bikes and highway riding.
Static Balancing Method
Place the wheel on a motorcycle wheel balancer. Let the wheel rotate freely. The heavy spot will settle at the bottom. Add small wheel weights to the opposite side until the wheel no longer rolls to the same heavy spot. Recheck several times before reinstalling the wheel.
Signs the Tire Is Not Balanced
A tire may be unbalanced if the motorcycle vibrates at certain speeds, the handlebars shake, or the tire wears unevenly. If you notice these problems after changing a tire, check balance again or visit a motorcycle shop.
Do Dirt Bike Tires Need Balancing?
Dirt bike tires are often not balanced as carefully as street tires because they are used at lower speeds and on rough surfaces. However, dual-sport motorcycles used on pavement can benefit from balancing, especially if they spend time at highway speeds.
How Long Does It Take to Change a Motorcycle Tire?
The time depends on experience, tire type, tools, and motorcycle design. A professional shop may change a tire quickly with a machine. At home, beginners may need more time because removing the wheel, breaking the bead, and balancing the tire can be challenging.
Average Time for Beginners
A beginner may take one to two hours for one tire, especially when working carefully. The first attempt is usually slow because of tight beads, stiff rubber, and unfamiliar wheel parts. With practice and proper tools, the process becomes much faster.
What Makes the Job Harder?
Cruiser tires, wide rear tires, stiff sport tires, old rubber, rim locks, tubes, and cold weather can make the job harder. A tire left in the sun or warmed slightly is usually easier to work with. Never use unsafe heat or flame near a tire.
How Much Does It Cost to Change a Motorcycle Tire?
The cost depends on whether you do it yourself or visit a shop. At home, you pay for the tire, tube or valve stem, tools, and wheel weights. At a shop, you pay for labor, balancing, disposal fees, and sometimes extra charges if the wheel is still on the motorcycle.
DIY Tire Change Cost
DIY can be cheaper over time if you already have tools. However, buying a stand, tire spoons, bead breaker, valve tools, and balancer may cost more at first. DIY is best for riders who change tires often or want to learn maintenance skills.
Shop Tire Change Cost
A motorcycle shop usually charges less if you bring only the wheel and more if they remove the wheel from the bike. Prices vary by location, tire size, and motorcycle type. Wide tires, cruisers, and bikes with complex wheel removal may cost more.
Can You Change a Motorcycle Tire on the Road?
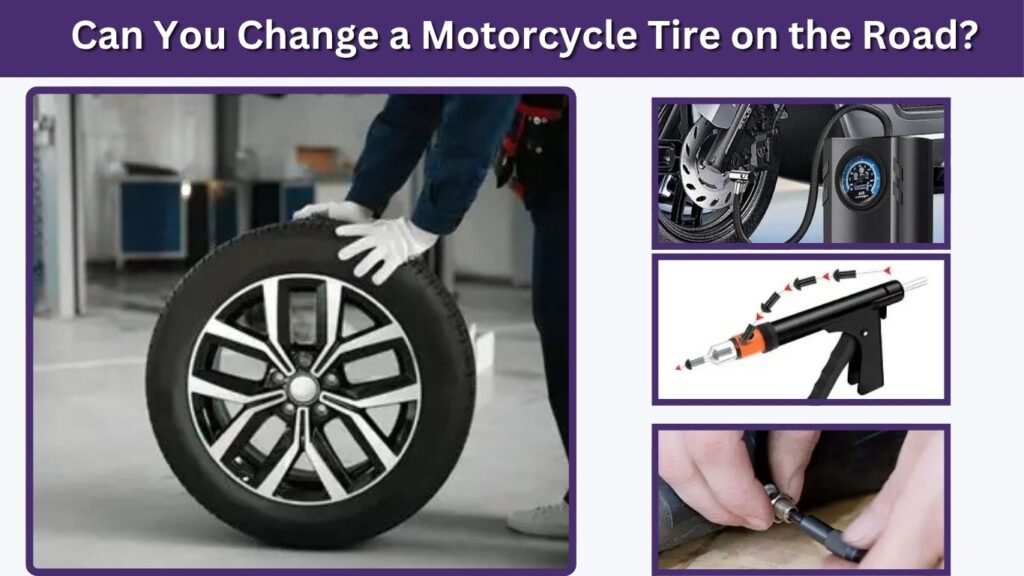
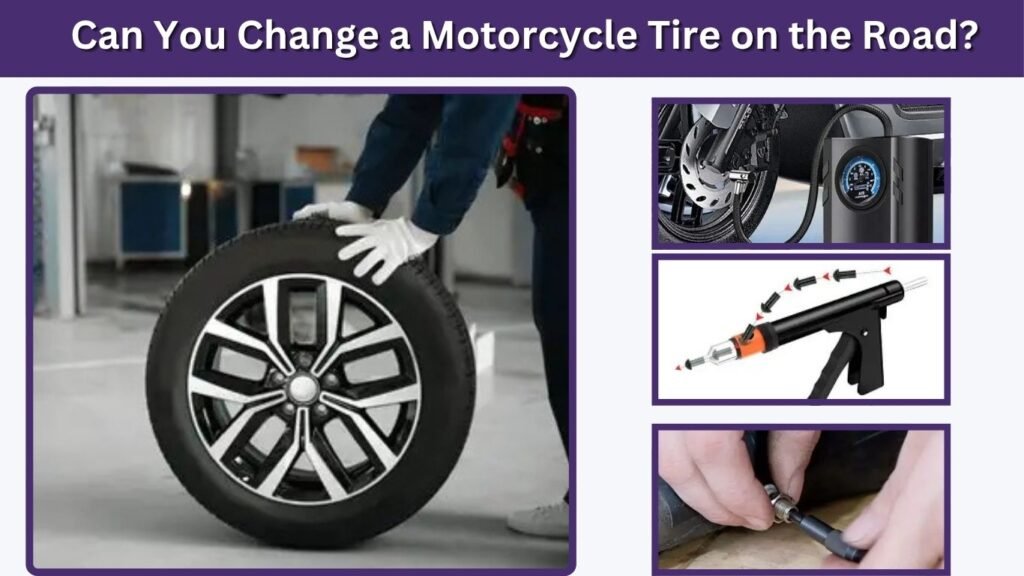
Changing a motorcycle tire on the road is possible for some bikes, especially tube-type adventure or dirt bikes, but it is not easy. Street motorcycles with tubeless tires often need a plug kit rather than a full tire change.
Roadside Tire Repair Options
- Tubeless tire plug kit for small tread punctures
- Portable air compressor or CO2 inflator
- Spare tube for tube-type tires
- Compact tire irons for adventure riding
- Valve core tool
- Patch kit
- Roadside assistance membership
When Roadside Repair Is Not Safe
Do not try to change or repair a tire beside fast traffic, on unstable ground, or at night without visibility. Sidewall damage, large cuts, bent rims, and shredded tires usually need towing. Safety is more important than finishing the repair yourself.
Common Mistakes to Avoid
Motorcycle tire changing requires care because small mistakes can affect safety. Many problems happen from rushing, using too much force, or forgetting the correct order of parts during wheel removal.
Motorcycle Tire Changing Mistakes
- Installing the tire in the wrong rotation direction
- Scratching the rim with bare tire irons
- Pinching the tube during installation
- Forgetting to replace a cracked valve stem
- Losing axle spacers or installing them backward
- Not tightening axle nuts to proper torque
- Forgetting to pump the brakes before riding
- Riding without checking tire pressure
- Skipping wheel balancing on street bikes
- Ignoring chain alignment after rear wheel installation
Why You Should Not Rush the Job
A motorcycle has only two tires, so every tire change must be done carefully. A loose axle, wrong tire direction, pinched tube, or unseated bead can create serious riding problems. Take time to inspect every part before the first ride.
FAQs
Is it hard to change a motorcycle tire at home?
Changing a motorcycle tire at home can be hard for beginners because the bead is tight and the rim can scratch easily. Tube-type tires also require care to avoid pinching the tube. With proper tire spoons, rim protectors, lubricant, and a stable stand, the job becomes much easier.
Can I change a motorcycle tire by hand?
Yes, many riders change motorcycle tires by hand using tire spoons, rim protectors, and tire lubricant. However, stiff tubeless tires or wide cruiser tires can be difficult without a bead breaker or manual tire changer. Work slowly and avoid forcing the bead over the rim.
Do I need to balance a motorcycle tire after changing it?
Yes, balancing is strongly recommended, especially for street motorcycles. An unbalanced tire can cause vibration, uneven wear, and poor handling at higher speeds. Dirt bike riders may skip balancing sometimes, but road bikes and highway bikes should be balanced after tire replacement.
How do I know when to change motorcycle tires?
Change motorcycle tires when tread is low, cracks appear, the sidewall is damaged, the tire has bulges, or handling feels unstable. Also replace tires that are old, badly worn, or repeatedly losing air. Always inspect both front and rear tires before long rides.
Can I ride immediately after changing a motorcycle tire?
You can ride after checking tire pressure, bead seating, axle torque, brakes, chain alignment, and wheel balance. Ride slowly at first and avoid hard braking or sharp leaning. New motorcycle tires can feel slick until the surface wears in slightly.