
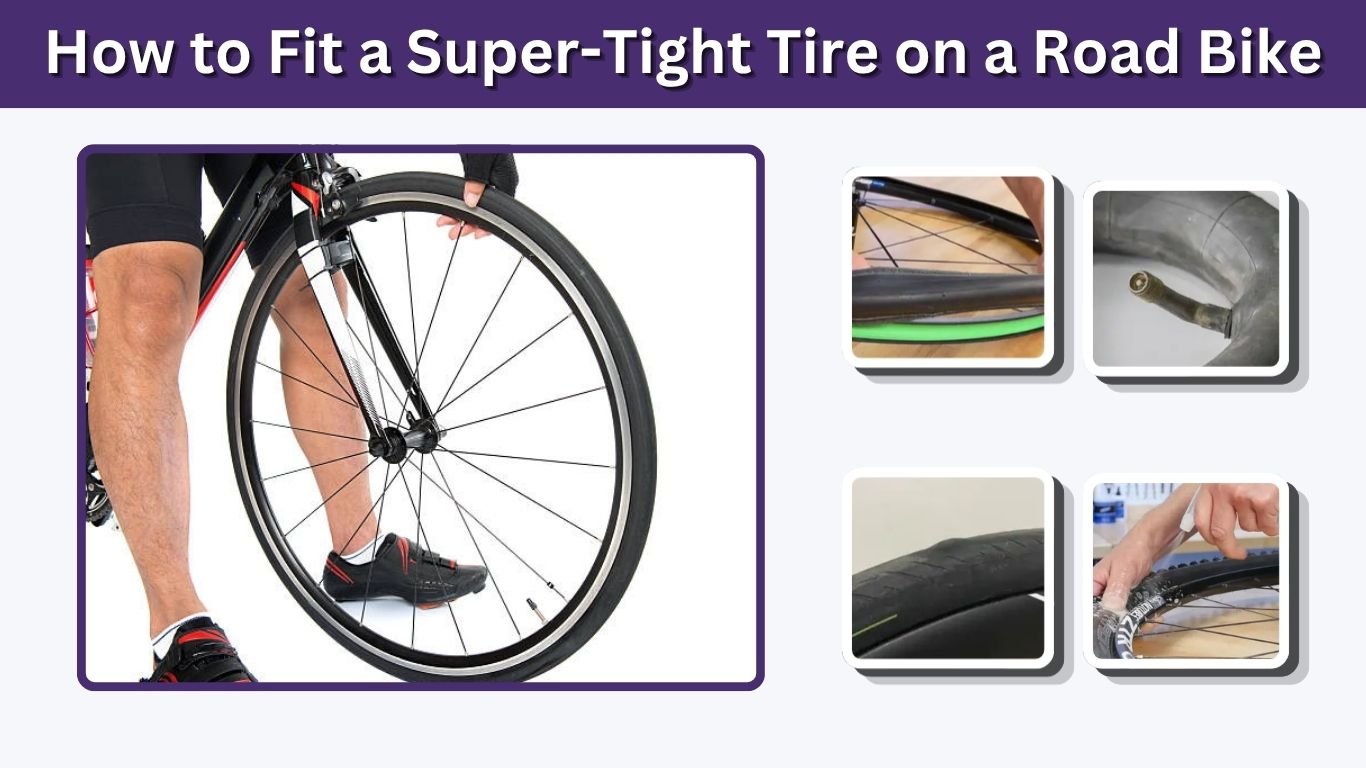
Fitting a new road bike tire can be surprisingly difficult, especially when the tire has a stiff bead or the rim has a tight internal shape. The solution is usually not greater force. Correct bead positioning, starting at the right place, and creating enough slack will make installation much easier. This guide explains how to fit a very tight clincher road bike tire safely without damaging the inner tube, tire, or wheel.
Why Is the Road Bike Tire So Hard to Fit?
Road bike tires must fit securely enough to remain attached to the rim at high pressure. Small differences between tire and rim dimensions can make certain combinations especially tight. New folding tires may also feel stiff before they have been installed and used.
The most important feature is the rim’s center channel, also called the rim well. Its diameter is smaller than the outer edges of the rim. Moving the mounted tire beads into this channel creates the extra slack needed to lift the final section over the rim.
Before using excessive force, confirm that:
- The tire diameter matches the rim.
- The tire width is approved for the rim.
- The tube is the correct size.
- The rim tape is properly positioned.
- A tubeless or hookless tire is compatible with the wheel.
- The tire bead is not damaged or twisted.
Never attempt to force an incompatible tire onto a rim.
Tools Needed to Install a Tight Road Bike Tire
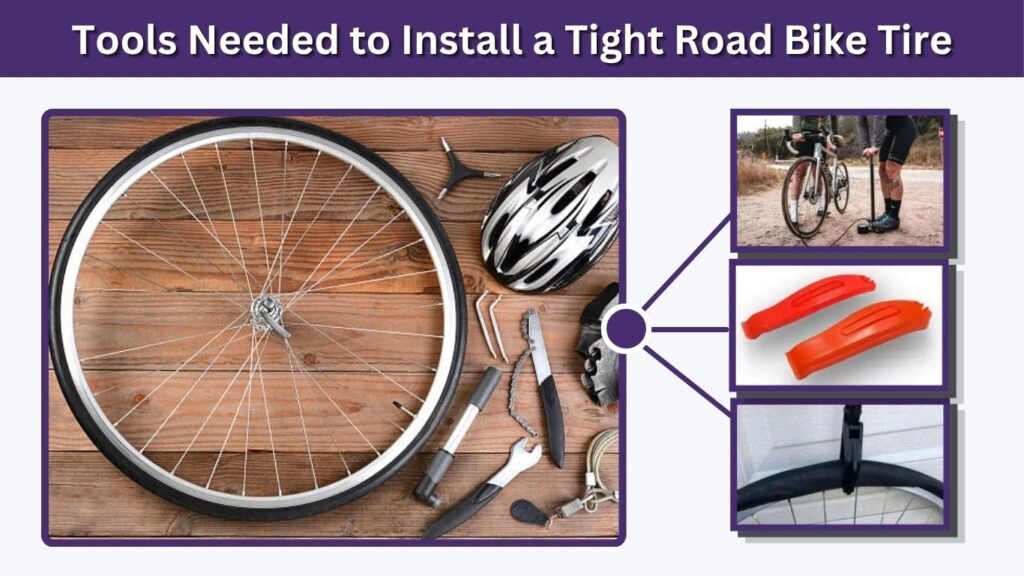
Most tires can be installed with your hands, but a very tight combination may require additional tools.
| Tool or Supply | Purpose |
| Two plastic tire levers | Helps lift the final bead section |
| Tire bead jack | Pulls an extremely tight bead over the rim |
| Correct inner tube | Prevents folds and sizing problems |
| Bicycle pump | Adds a small amount of air before installation |
| Soapy water or approved fitting fluid | Helps the bead slide into position |
| Clean gloves | Improves grip and protects your hands |
Use plastic bicycle tools rather than screwdrivers, knives, or other sharp metal objects. Metal tools can scratch the rim, damage carbon wheels, cut the tire bead, or puncture the inner tube. Tire manufacturers may recommend an approved mounting fluid or a light solution of water and dish soap for a difficult bead.
How to Fit a Super-Tight Road Bike Tire
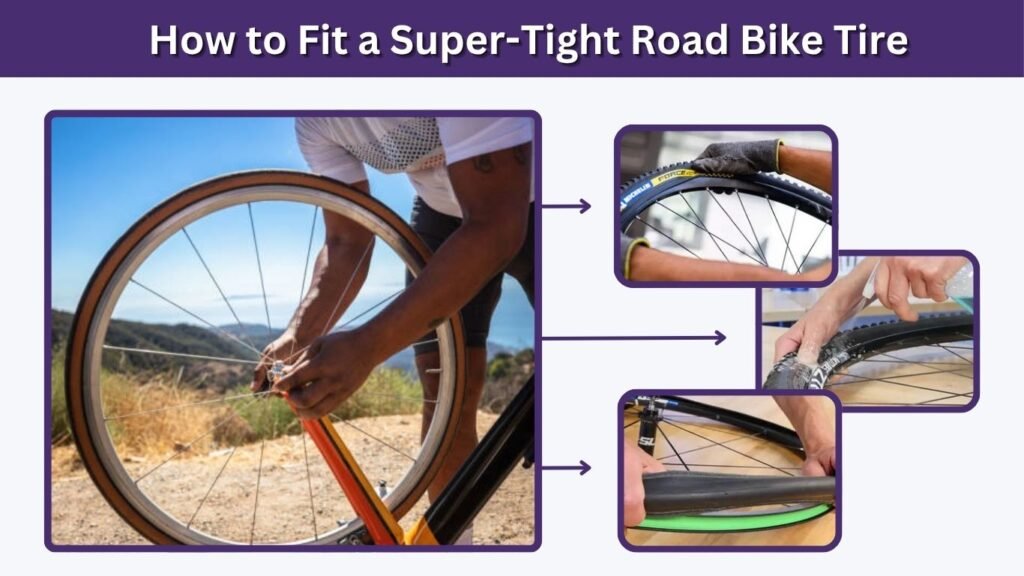
Place the wheel on a clean surface where you can work around its entire circumference. If the tire has a directional arrow, confirm its correct rotation before beginning.
1. Install the First Side of the Tire
Place one side of the tire bead inside the rim. Begin at one point and work around the wheel using both thumbs.
The first bead should normally go onto the rim without tire levers. Once installed, push it toward the deepest part of the rim’s center channel.
Check that the tire’s directional arrow points forward when the wheel is installed on the bike. Correcting the direction later requires removing the tire again.
2. Insert the Inner Tube
Add just enough air to give the tube a round shape. It should remain soft and flexible rather than fully inflated.
Insert the valve through the rim hole and place the tube inside the tire. Check that it is not twisted, folded, or stretched. A slightly inflated tube is easier to position and less likely to become trapped beneath the bead.
For a Presta valve, install the valve nut loosely. Tightening it firmly at this stage can prevent the tire bead from dropping into the center channel near the valve.
3. Begin Installing the Second Bead Opposite the Valve
Start fitting the second tire bead on the side directly opposite the valve. Work evenly in both directions toward the valve.
Finishing near the valve helps keep the rest of the bead in the rim well, where it has the greatest possible slack. This method is recommended for difficult tire-and-rim combinations.
Use your thumbs to roll the bead over the rim rather than pulling it outward.
4. Push the Installed Bead Into the Rim Center
When approximately 6–10 inches of tire remain outside the rim, stop trying to force the final section.
Go back around the wheel and squeeze both sides of the tire inward. Push the mounted beads into the deepest part of the rim channel. Begin opposite the unfinished section and work the available slack toward it.
Repeat this process several times. A bead that has moved toward the outer edge of the rim can remove the small amount of slack needed to complete the installation.
This is the most important step when fitting a tight road bike tire.
5. Keep the Tube Away From the Bead
Inspect the unfinished section and make sure the inner tube is completely inside the tire.
Push the tube upward into the tire casing with your fingers. At the valve, press the valve inward briefly. This allows the tube and bead to settle properly instead of becoming trapped against the valve base.
A trapped tube may be cut when the bead moves over the rim.
6. Roll the Final Section Over With Your Thumbs
Hold the wheel against your legs or place it securely on the floor. Use the bases of both thumbs to roll the final bead section over the rim.
Work from both ends of the remaining section toward its center. Avoid trying to lift the entire unfinished section in one movement.
You may need to repeat the following sequence:
- Push all installed beads into the center channel.
- Pull the accumulated slack toward the unfinished section.
- Hold one side in position.
- Roll the remaining bead over the rim.
The tire should eventually move into place without extreme force.
How to Use Tire Levers Without Pinching the Tube
Try to complete the installation by hand first. When that is impossible, use a strong plastic tire lever or a dedicated bead-fitting tool.
Insert the lever only far enough to catch the tire bead. Confirm that the tube is not between the lever and rim. Lift a small part of the bead over the rim, hold it in place, and move the lever slightly along the unfinished section.
Do not take large bites with the lever. Lifting too much tire at once increases the risk of:
- Pinching the tube
- Breaking the tire lever
- Damaging the rim
- Stretching or cutting the tire bead
Park Tool recommends using hands whenever possible and using tire levers carefully for extremely tight tires.
A tire bead jack may be safer than aggressively forcing the tire with ordinary levers. It grips the mounted side of the tire and pulls the remaining bead over the rim.
What to Do When the Tire Still Will Not Fit
Do not continue applying greater force without checking the cause.
Check the Tire and Rim Sizes
Read the size printed on the tire and rim. A 700C road tire commonly carries an ISO diameter marking ending in 622, such as 700 × 28C or 28-622.
A tire with a different bead-seat diameter may appear close to the correct size but cannot be installed safely.
Inspect the Rim Tape
Thick, damaged, folded, or incorrectly installed rim tape can occupy space in the rim channel. This prevents the bead from dropping deeply enough to create slack.
The tape should cover the spoke holes without climbing unnecessarily onto the rim sidewalls. Schwalbe notes that mounting difficulties can sometimes be reduced by using correctly fitted tubeless rim tape instead of a thick conventional rim strip.
Use a Small Amount of Lubrication
Apply a light mixture of soapy water or manufacturer-approved mounting fluid to the final bead section. Do not soak the tire or use oil, grease, petroleum products, or harsh chemicals.
Lubrication helps the rubber move over the rim and can also help the bead settle evenly during inflation.
Confirm Tire and Rim Compatibility
Tubeless-ready and hookless road wheels require particular tire types, widths, and pressure limits. A tire that physically fits is not automatically safe.
Follow the compatibility and maximum-pressure information supplied by both the tire and wheel manufacturers. This is particularly important for hookless rims.
How to Check the Tire Before Inflation
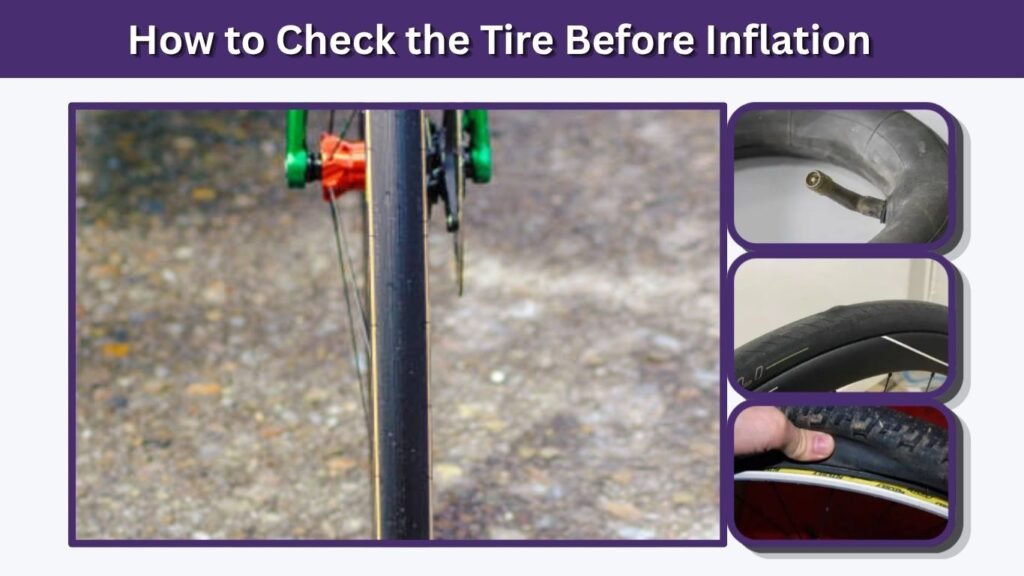
Do not immediately inflate the tire to full pressure.
First, inspect both sides of the wheel and confirm that no tube is visible beneath the tire bead. Gently pull the tire sideways in several places to examine the edge.
Add a small amount of air and rotate the wheel. Look at the molded line running around the tire near the rim. It should remain an even distance from the rim on both sides.
Continue inflating gradually while checking for:
- A section of bead rising above the rim
- A tire bulge
- An exposed inner tube
- An uneven molded reference line
- A valve leaning to one side
- Unusual cracking or popping sounds
A properly installed tire should sit concentrically around the rim. Stop and release the air immediately if any section begins lifting away from the rim.
Common Mistakes to Avoid
- Starting the second bead beside the valve instead of opposite it
- Allowing the mounted bead to sit on the rim’s outer ledge
- Fully inflating the tube before installation
- Using a metal screwdriver
- Taking large sections with a tire lever
- Failing to check whether the tube is pinched
- Installing a tire with the wrong diameter
- Exceeding the tire or rim pressure limit
- Using an incompatible tire on a hookless rim
- Riding before confirming that the bead is evenly seated
FAQs
Can you stretch a tight road bike tire before fitting it?
Avoid deliberately stretching, twisting, or hanging heavy objects from the tire. The bead is designed to maintain a precise diameter. The safer solution is to use the rim’s center channel correctly and confirm that the tire and rim are compatible.
Should I use tire levers to install a road bike tire?
You may use a plastic tire lever when the tire cannot be fitted by hand. However, make sure the inner tube is away from the lever and lift only a small section at a time. A dedicated bead jack can be safer for an extremely tight tire.
Why does my road bike tube puncture during installation?
The tube is probably becoming trapped between the bead and rim or caught by a tire lever. Add only a little air to the tube, keep it inside the tire, inspect both sides before inflation, and inflate gradually.
Does soapy water make a tight tire easier to install?
A small amount of soapy water or approved tire-fitting fluid can help the bead slide over the rim. Apply it lightly and avoid oils, grease, or petroleum-based products that could damage the tire or make the wheel unsafe.
Is it normal for a new road bike tire to be extremely tight?
Some tire-and-rim combinations are naturally tighter than others. However, a tire that remains impossible to fit after using the center-channel technique may be incorrectly sized, incompatible with the rim, or obstructed by thick or misplaced rim tape.