
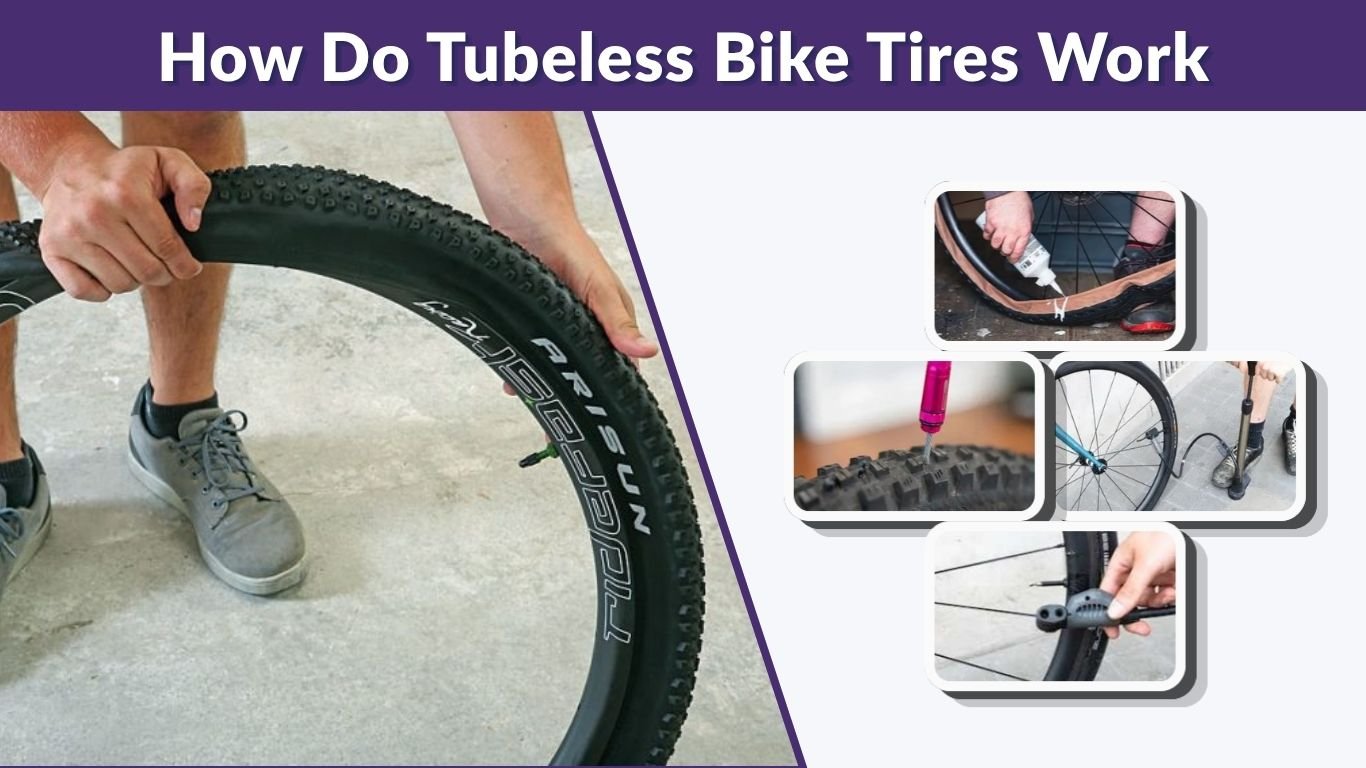
Tubeless bike tires are becoming popular among road cyclists, mountain bikers, gravel riders, and e-bike users because they can reduce flats and improve ride quality. Unlike traditional tires, they do not rely on an inner tube to hold air. Instead, the tire, rim, valve, and sealant work together to create an airtight system that keeps the bike rolling smoothly.
What Are Tubeless Bike Tires?
Tubeless bike tires are bicycle tires designed to hold air without an inner tube. In a standard tire setup, air goes into a rubber tube placed between the tire and rim. In a tubeless setup, the tire itself forms an airtight seal against the rim.
A tubeless system usually includes a tubeless-ready tire, tubeless-ready rim, rim tape, valve stem, and liquid sealant. The sealant is one of the most important parts because it helps seal small punctures while you ride.
Main Parts of a Tubeless Bike Tire System
A tubeless tire setup depends on all parts working correctly. If one part is not compatible or installed properly, the tire may lose air or fail to seat.
| Component | What It Does |
|---|---|
| Tubeless-ready tire | Creates an airtight fit with the rim |
| Tubeless-ready rim | Holds the tire bead securely |
| Rim tape | Seals spoke holes inside the rim |
| Tubeless valve | Allows air to enter and stay inside |
| Sealant | Seals small punctures and air leaks |
Tubeless-ready parts are important because not every bike tire or rim can safely be converted to tubeless.
How Do Tubeless Bike Tires Work?
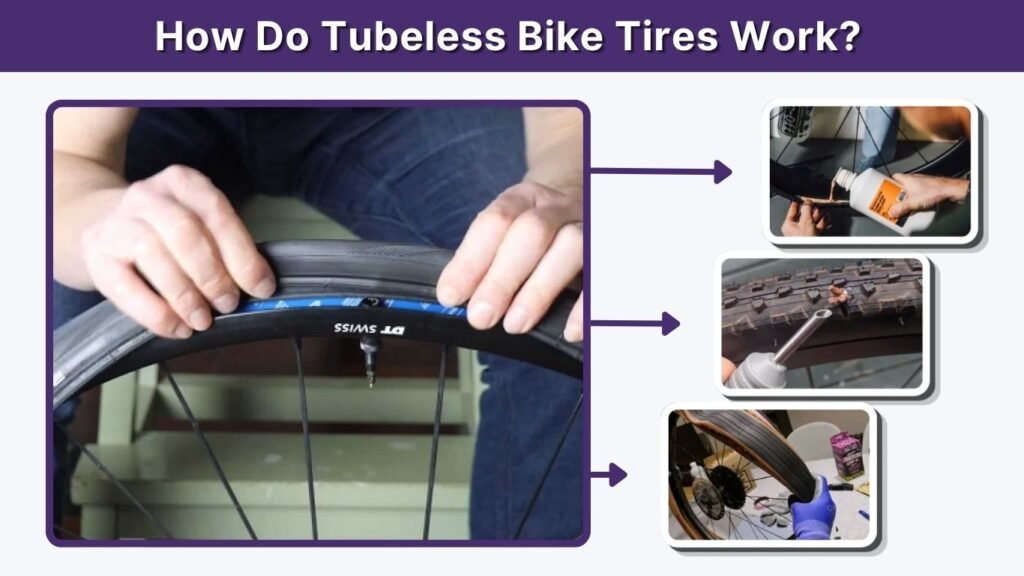
Tubeless bike tires work by creating an airtight seal between the tire bead and the rim. When air is added, pressure pushes the tire bead tightly into the rim’s bead seat. This locks the tire in place and allows it to hold air without an inner tube.
Inside the tire, liquid sealant moves around as the wheel spins. If a thorn, glass shard, or small sharp object punctures the tire, air begins to escape. The sealant is pushed toward the hole by air pressure. It then fills the puncture and dries or clots quickly, sealing the leak.
Why Sealant Is So Important
Sealant is what makes tubeless tires practical for everyday riding. Without sealant, even a good tubeless tire may slowly lose air through tiny gaps or small punctures.
Sealant helps by:
- Sealing tiny air leaks around the tire bead
- Repairing small punctures automatically
- Reducing the chance of sudden flats
- Helping the tire stay usable after minor damage
Most riders need to refresh sealant every few months because it dries out over time.
Are Tubeless Bike Tires Better?
Tubeless bike tires can be better for many riders, but they are not perfect for everyone. Their biggest advantage is puncture protection. Since there is no inner tube, you cannot get a pinch flat, which happens when a tube gets squeezed between the tire and rim.
Tubeless tires can also run at lower pressure. Lower pressure gives better grip, comfort, and control, especially on rough roads, trails, and gravel.
Benefits of Tubeless Bike Tires
Tubeless tires are often preferred by mountain bikers and gravel riders, but road cyclists also use them for comfort and puncture resistance.
Key benefits include:
- Fewer flats from thorns and small punctures
- No pinch flats because there is no inner tube
- Better traction at lower tire pressure
- Smoother ride on rough surfaces
- Possible lower rolling resistance in some setups
For riders who often deal with flats, tubeless tires can be worth the upgrade.
Downsides of Tubeless Bike Tires
Tubeless tires also have some disadvantages. They can be harder to install than regular tires, especially if the tire bead is tight. They also require sealant maintenance.
Common downsides include:
- Messier setup because of liquid sealant
- More maintenance than tube tires
- Some tires need an air compressor or booster pump to seat
- Larger cuts may not seal automatically
- Tubeless-ready tires and rims can cost more
For casual riders who rarely get flats, standard tube tires may still be simpler.
How to Tell If Your Bike Tire Is Tubeless
Many riders ask, “Are my bike tires tubeless?” The easiest way to check is to look for markings on the tire and rim. Tubeless-ready tires often say “Tubeless Ready,” “TLR,” “TR,” “TCS,” or “UST” on the sidewall.
You can also inspect the valve. A tubeless valve is usually fixed tightly to the rim with a small nut. A regular tube valve is attached to the inner tube and may move differently when the tire is deflated.
Signs Your Bike May Be Tubeless
Look for these signs:
- The tire sidewall says tubeless ready
- The rim has tubeless tape instead of a standard rim strip
- The valve has a removable core
- You can hear liquid sealant inside the tire
- Small punctures seal themselves while riding
If you are unsure, deflate the tire carefully and check whether there is an inner tube inside.
How to Inflate a Tubeless Bike Tire
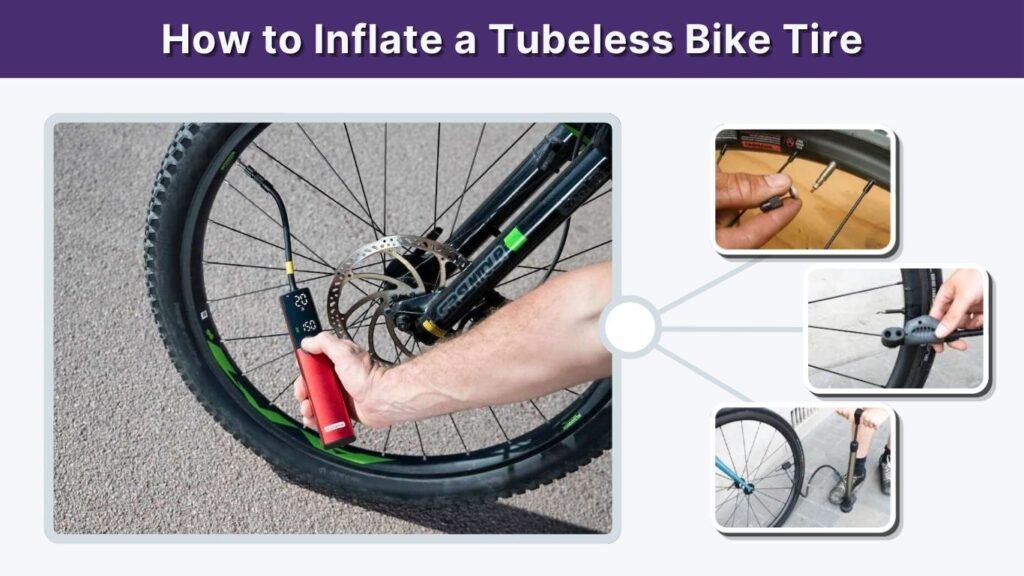
Inflating a tubeless bike tire is similar to inflating a regular tire once the tire is already seated. You attach a pump to the valve and add air to the recommended pressure. However, the first setup can be harder because the tire bead must snap into place against the rim.
For installation, some tubeless tires seat with a normal floor pump, while others need a strong blast of air from a compressor or tubeless inflator.
Steps to Pump Up a Tubeless Bike Tire
Follow these basic steps:
- Remove the valve cap.
- Attach the pump head securely to the valve.
- Pump air into the tire until it reaches the correct pressure.
- Check that the tire bead is seated evenly around the rim.
- Spin and shake the wheel so sealant coats the inside.
- Recheck pressure after a few hours.
If the tire will not inflate, the bead may not be sealed. Adding more airflow, checking the rim tape, or adding sealant may solve the issue.
How to Add Sealant to Tubeless Bike Tires
Sealant is usually added through the valve after removing the valve core. You can also pour sealant directly into the tire before fully seating the bead, but adding it through the valve is cleaner.
The amount of sealant depends on tire size. Road bike tires usually need less sealant than mountain bike tires because they have smaller volume.
Basic Sealant Guidelines
Use the tire size and manufacturer recommendation when possible. As a general guide:
- Road bike tires: about 30–60 ml
- Gravel bike tires: about 60–90 ml
- Mountain bike tires: about 90–120 ml
- Fat bike tires: often more than 120 ml
After adding sealant, reinstall the valve core, inflate the tire, then spin and shake the wheel to spread the sealant evenly.
How to Fix or Repair a Tubeless Bike Tire
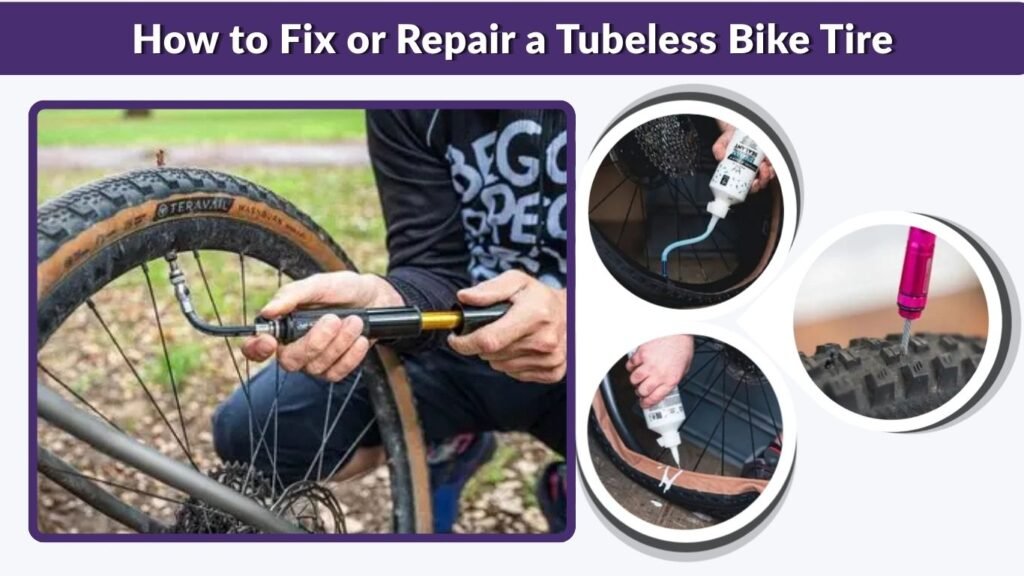
Tubeless tires can repair small punctures automatically, but larger holes may need help. If you notice sealant spraying or air escaping, rotate the puncture to the bottom so sealant can pool around the hole. Often, the leak will seal within seconds.
If the hole is too large for sealant alone, you can use a tubeless tire plug. A plug is a sticky rubber strip inserted into the puncture to help seal the damage.
Ways to Repair a Tubeless Bike Tire
Depending on the damage, you can repair a tubeless tire by:
- Letting sealant close a small puncture
- Using a tubeless plug for a larger hole
- Adding more sealant if the tire is dry
- Installing a tube as an emergency backup
- Patching the tire from the inside at home
If the tire has a large sidewall cut or damaged bead, it may need to be replaced.
Can You Put a Tube in a Tubeless Bike Tire?
Yes, you can put a tube in a tubeless bike tire if needed. This is a common emergency fix when a puncture is too large for sealant or a plug. Many riders carry a spare tube even when riding tubeless.
Before installing the tube, remove the tubeless valve and check the tire carefully for thorns, glass, or sharp objects. If you leave the object inside, it can puncture the new tube.
A tube is a temporary solution for many tubeless riders. After the ride, you can repair the tire properly and return to a tubeless setup.
Do Tubeless Bike Tires Lose Air?
Yes, tubeless bike tires can lose air slowly. This is normal, especially if the bike sits unused for several days. Air can escape through tiny gaps in the tire casing, valve, bead, or rim tape.
If a tubeless tire loses air quickly, something may be wrong. Common causes include dried sealant, loose valve nuts, damaged rim tape, or a tire bead that is not seated correctly.
Checking pressure before each ride is a good habit for both tubeless and tube tires.
Are Tubeless Bike Tires Worth It?
Tubeless bike tires are worth it for riders who want fewer flats, better grip, and more comfort. They are especially useful for mountain biking, gravel riding, commuting on rough roads, and long-distance cycling.
For riders who want the simplest setup possible, tube tires are easier to install and maintain. But if you often deal with punctures or want a smoother ride, tubeless tires can be a smart upgrade.
FAQs
How do tubeless bike tires work?
Tubeless bike tires work by sealing directly against the rim without an inner tube. Air pressure holds the tire bead in place, while liquid sealant inside the tire seals small holes and leaks automatically as you ride.
Do tubeless bike tires need sealant?
Yes, most tubeless bike tires need sealant. Sealant helps make the system airtight and repairs small punctures. Without sealant, the tire may lose air faster and will not self-seal when punctured.
Can you repair a tubeless bike tire?
Yes, you can repair a tubeless bike tire. Small punctures may seal with sealant, while larger holes can be fixed with a tubeless plug. For serious cuts, you may need an internal patch or a replacement tire.
How often should you add sealant to tubeless bike tires?
Most riders add or refresh sealant every two to six months, depending on climate, tire size, and riding frequency. Hot and dry conditions can make sealant dry out faster, so regular checks are important.
Can any bike tire be tubeless?
No, not every bike tire can be tubeless. For the safest and most reliable setup, use tubeless-ready tires and tubeless-compatible rims. Some non-tubeless parts may not seal properly or may be unsafe under pressure.