
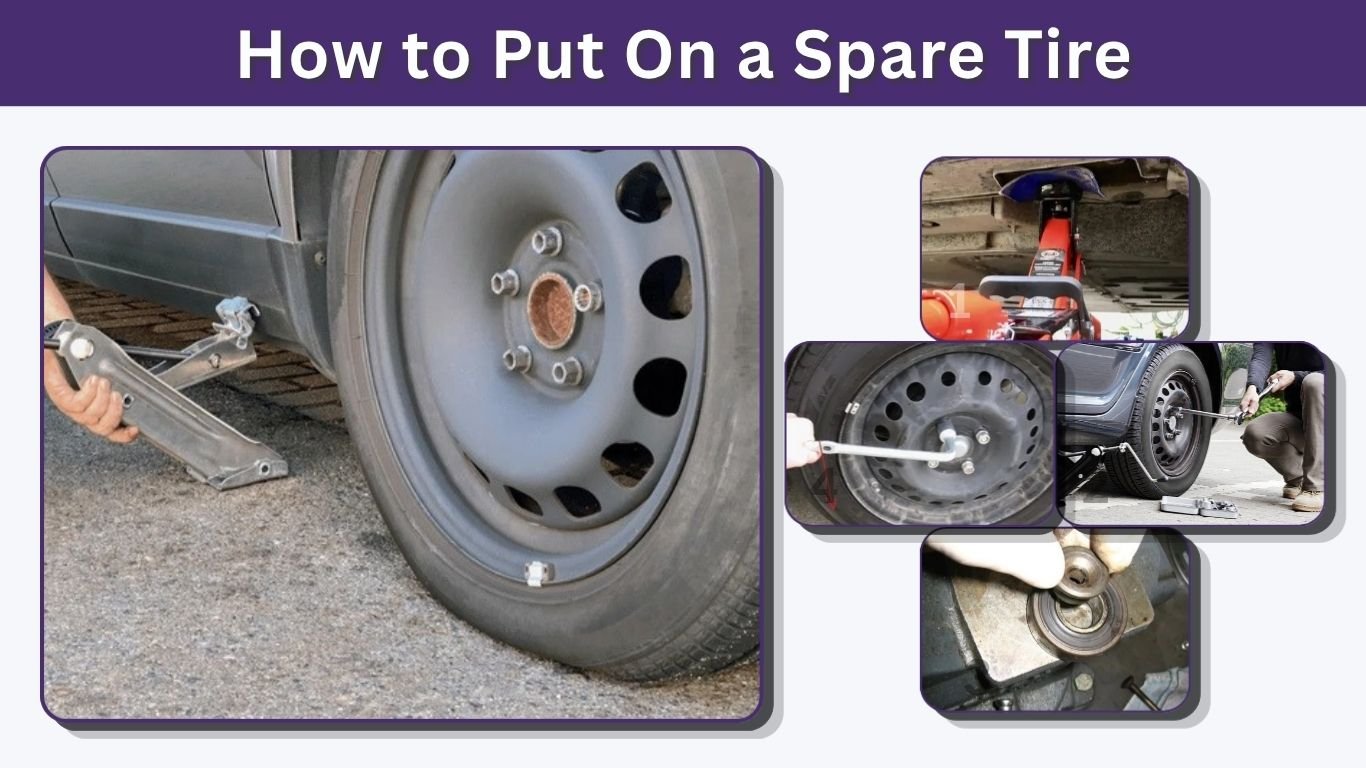
Knowing how to put on a spare tire can prevent a flat tire from leaving you stranded. The process requires a spare wheel, vehicle jack, lug wrench, and a safe place to work. Although changing a tire is straightforward, incorrect jack placement or loose lug nuts can cause serious damage or injury. Always follow your vehicle owner’s manual because jacking points, spare-tire locations, and tightening requirements differ between models.
What You Need to Put On a Spare Tire
Most vehicles equipped with a spare tire include the basic tools required for installation. They may be stored beneath the trunk floor, behind an interior panel, or underneath the vehicle.
Essential Tools and Equipment
- Properly inflated spare tire
- Vehicle jack
- Lug wrench or tire iron
- Vehicle owner’s manual
- Wheel-lock key, when applicable
- Wheel chocks or solid wooden blocks
- Flashlight and reflective warning equipment
- Gloves and a tire-pressure gauge
Check your spare tire periodically. A spare that has lost pressure may be unusable when you experience a flat.
Find a Safe Place Before Changing the Tire
Do not immediately stop in an unsafe traffic lane when a tire loses pressure. Reduce your speed gradually, activate the hazard lights, and move as far away from traffic as safely possible.
Choose a firm, flat surface such as a parking lot or wide paved shoulder. Avoid hills, soft soil, mud, sand, narrow shoulders, and areas where passing vehicles could strike you.
Do not attempt the change when the vehicle cannot be positioned safely. Call roadside assistance instead.
Secure the Vehicle
Before removing any wheel:
- Turn on the hazard lights.
- Switch off the engine.
- Apply the parking brake.
- Put an automatic transmission in Park.
- Put a manual transmission in first or reverse gear.
- Ask all passengers to leave the vehicle and wait somewhere safe.
- Place a wheel chock against the tire diagonally opposite the flat tire.
Vehicle manufacturers advise securing the car and positioning the jack only at the designated jacking point.
How to Put a Spare Tire On Step by Step
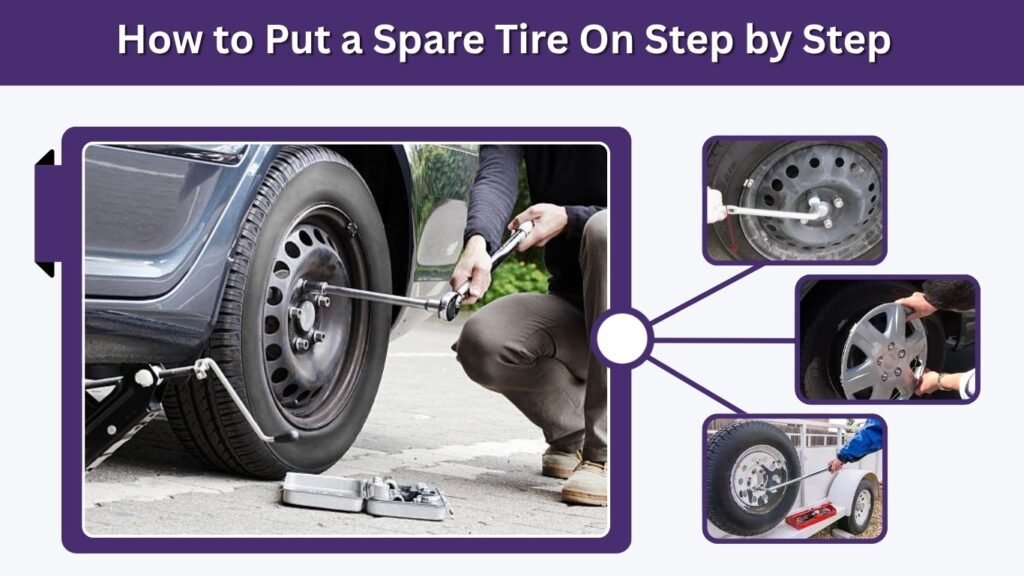
The exact procedure may differ slightly by vehicle. Read the tire-changing instructions in your owner’s manual before lifting the car.
Step 1: Remove the Spare Tire and Tools
Locate the spare tire, jack, and lug wrench. Remove them and place them near the flat tire without leaving tools in the roadway.
Some spare tires are held in the trunk by a large retaining bolt. Others are mounted underneath the vehicle and must be lowered using a special tool.
Inspect the spare for visible cracking, sidewall damage, or extremely low pressure. Do not install a spare that appears unsafe.
Step 2: Remove the Wheel Cover
When the wheel has a hubcap or wheel cover that blocks the lug nuts, remove it using the method described in the owner’s manual.
Some covers can be carefully pried away with the flat end of the lug wrench. Others are held in place by the wheel nuts and should not be forced off.
Step 3: Loosen the Lug Nuts
Place the lug wrench securely over the first lug nut. Turn it counterclockwise to loosen it.
Loosen each nut approximately one-quarter to one-half turn, but do not remove the nuts yet. The vehicle should still be resting on the ground during this step so the wheel cannot rotate.
Use controlled downward pressure on the wrench. Avoid jumping on the wrench because it may slip or damage the nut.
When the vehicle has locking lug nuts, attach the correct wheel-lock key before turning the wrench.
Step 4: Position the Jack Correctly
Find the approved jacking point nearest the flat tire. Its location is shown in the owner’s manual and may also be marked beneath the vehicle.
Do not place the jack randomly under the floor, suspension, engine, battery housing, or body panel. Incorrect placement can damage the vehicle or cause it to fall.
Position the jack on solid, level ground and make sure its top fits securely against the designated jacking point. Toyota and Honda instructions emphasize using the correct jack point and confirming that the jack is stable before raising the vehicle.
Step 5: Raise the Vehicle
Operate the jack slowly until the flat tire is several inches above the ground. The spare tire may be larger in diameter than the deflated tire, so leave enough clearance to install it.
Never place your hands, legs, or body underneath a vehicle supported only by an emergency jack. Do not start the engine, move the vehicle, or allow anyone to remain inside while it is raised.
Stop immediately when the jack begins leaning, sinking, or shifting.
Step 6: Remove the Lug Nuts and Flat Tire
Finish unscrewing the loosened lug nuts and place them somewhere clean and secure.
Hold the flat tire with both hands and pull it straight toward you. A wheel that has become stuck may require professional assistance; do not strike or shake the raised vehicle aggressively.
Place the removed tire flat on the ground so it cannot roll into traffic. You can position it beside the vehicle, but never crawl beneath the car to place it there.
Step 7: Install the Spare Tire
Lift the spare tire and align its holes with the wheel studs. Push the wheel straight onto the hub until it sits completely against the mounting surface.
Install every lug nut by hand. Turn the nuts clockwise until they are finger-tight.
Starting them by hand reduces the chance of cross-threading. Do not fully tighten one nut while the vehicle is still raised.
Step 8: Partially Lower the Vehicle
Lower the jack carefully until the spare tire touches the ground and cannot rotate. Keep enough vehicle weight off the tire to avoid making the wheel difficult to align.
Tighten the lug nuts gradually using a crisscross or star pattern rather than moving around the wheel in a circle. This helps seat the wheel evenly. Manufacturer instructions commonly specify lightly tightening the nuts first and completing the tightening sequence after lowering the vehicle.
Step 9: Fully Lower and Tighten the Lug Nuts
Lower the vehicle completely and remove the jack.
Tighten each lug nut again in the correct crisscross pattern:
- For four nuts, tighten the opposite nut next.
- For five nuts, follow a star pattern.
- For six or more nuts, continue tightening opposite nuts.
The nuts should ultimately be tightened to the torque specified in the owner’s manual. A repair shop should check them with a calibrated torque wrench as soon as practical. Manufacturer service instructions require tightening wheel nuts to the vehicle’s specified torque.
Do not apply oil or grease to the studs unless the vehicle manufacturer specifically instructs you to do so.
Step 10: Store the Flat Tire and Tools
Return the jack, wrench, wheel cover, and other equipment to their storage positions. Secure the damaged tire so it cannot move while you drive.
Check the area carefully and make sure no tools, nuts, or personal belongings have been left behind.
Driving Safely on a Spare Tire
A full-size matching spare may behave similarly to the original wheel, but a compact spare is designed only for temporary use.
Read the warning label on the spare tire and follow its specific speed and distance restrictions. Some temporary spares are limited to 50 mph or 80 km/h, but the instructions printed on your spare and provided in your owner’s manual take priority.
While using a temporary spare:
- Drive at a moderate speed.
- Avoid sudden braking and sharp turns.
- Do not tow a trailer unless the manufacturer permits it.
- Avoid carrying unnecessary heavy loads.
- Repair or replace the original tire promptly.
- Check the spare’s pressure before driving when possible.
A temporary spare can affect handling, braking, ground clearance, and stability. It should be replaced with a suitable regular wheel and tire as soon as possible.
How Long Does It Take to Put On a Spare Tire?
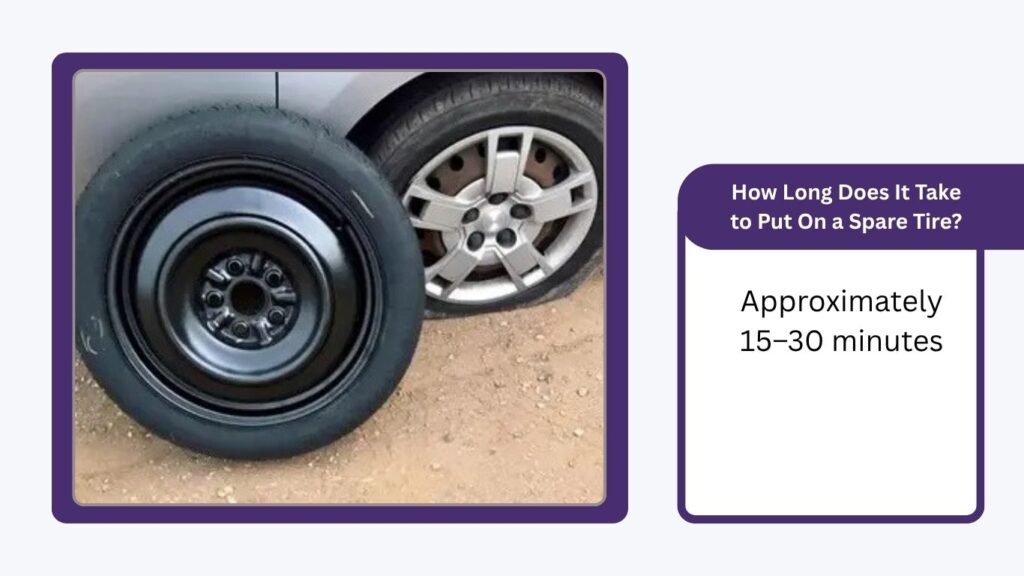
A person familiar with the process may complete the change in approximately 15–30 minutes. It can take longer when the lug nuts are tight, the spare is stored underneath the vehicle, visibility is poor, or the wheel is stuck.
Safety is more important than speed. Take time to secure the vehicle, position the jack correctly, and tighten every lug nut.
How Much Does It Cost to Put On a Spare Tire?
Installing your own spare usually has no immediate labor cost when the vehicle already contains a usable spare, jack, and wrench.
Roadside-assistance costs depend on your location, membership plan, vehicle, and service provider. Some insurance policies, vehicle warranties, and automobile-club memberships include tire-changing assistance.
Additional costs may include repairing the punctured tire, replacing an unrepairable tire, replacing a damaged wheel, or purchasing a new spare.
Common Spare-Tire Installation Mistakes
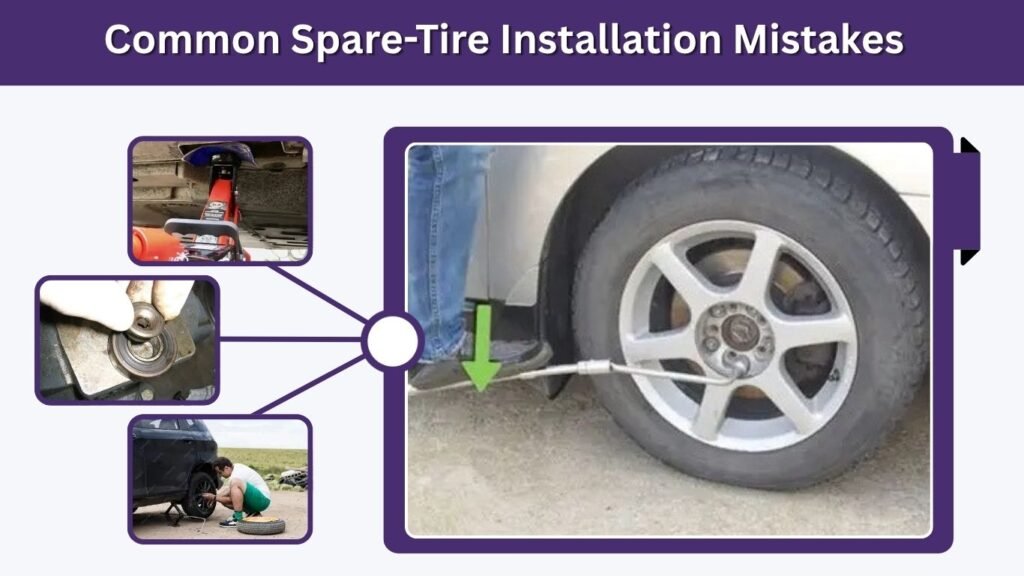
Raising the Vehicle Before Loosening the Nuts
Loosen the lug nuts slightly while the wheel remains on the ground. Trying to loosen them after lifting can rotate or destabilize the wheel.
Using the Wrong Jacking Point
A jack placed beneath an unsupported body panel can damage the vehicle or slip. Use only the jacking point identified for your model.
Installing the Spare Backward
Some compact spare wheels fit only in one direction. Make sure the wheel sits flat against the hub and follow any markings on the spare.
Tightening the Nuts in a Circle
Tighten opposite nuts in a crisscross pattern. This seats the wheel more evenly than tightening one side completely before the other.
Driving Normally on a Temporary Spare
A compact spare is an emergency solution, not a permanent replacement. Follow its speed restriction and arrange tire service promptly.
FAQs
Can I change a spare tire by myself?
You can change it yourself when you have the correct equipment, understand the instructions, and can park on firm, level ground away from traffic. Call roadside assistance when the location, weather, physical effort, or condition of the vehicle makes the task unsafe.
Can I put a spare tire on without a jack?
The vehicle must be lifted safely before the damaged wheel can be removed. Do not improvise with bricks, unstable blocks, or unsuitable lifting equipment. Use the approved vehicle jack or have a roadside professional change the tire.
What should I do when the lug nuts will not loosen?
Confirm that you are turning them counterclockwise and that the wrench fits completely. Apply steady downward pressure. Do not use dangerous extensions or jump on the wrench. When the nuts remain stuck, contact roadside assistance to avoid injury or damaged hardware.
Can I drive a long distance on a spare tire?
That depends on the type of spare. Compact spares are intended for short-term emergency use and usually have strict speed and distance limitations. Follow the tire label and owner’s manual, then repair or replace the original tire as soon as possible.
Why does the car shake after installing the spare?
Stop in a safe location and inspect the installation. The wheel may not be seated correctly, the lug nuts may be loose, the spare may have low pressure, or the tire may be damaged. Do not continue driving when the vibration is severe.