
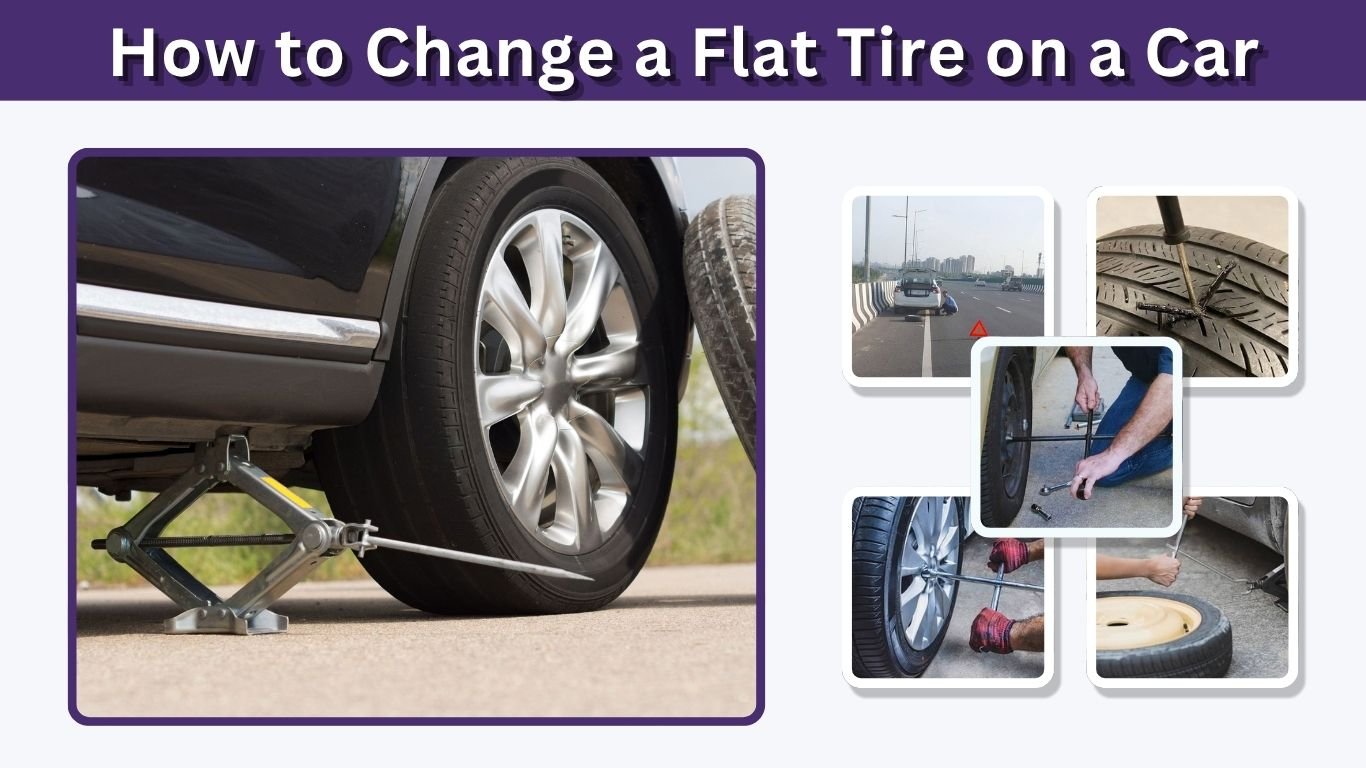
Knowing how to change a flat tire on a car can turn an unexpected roadside problem into a manageable situation. With a spare tire, jack, lug wrench, and a few basic safety precautions, most drivers can replace a damaged tire themselves. The process involves securing the vehicle, loosening the lug nuts, raising the car, removing the flat, and installing the spare correctly. This step-by-step guide explains how to change a flat car tire safely, including common mistakes and special situations.
What You Need to Change a Flat Tire
Before beginning, make sure you have the necessary equipment. Most vehicles originally come with basic tire-changing tools, although some newer cars use tire repair kits instead of full-size or temporary spare tires. Check your vehicle before an emergency occurs so you know exactly where everything is stored and how your specific jack operates.
Essential Tools
Keep these items available in your vehicle:
- Spare tire in usable condition
- Vehicle jack
- Lug wrench
- Owner’s manual
- Wheel chocks or sturdy blocks
- Flashlight for nighttime emergencies
- Reflective warning triangle or safety vest
- Tire pressure gauge
- Work gloves
A portable inflator can also be useful because spare tires may lose pressure while stored.
How to Change a Flat Tire on a Car Step by Step
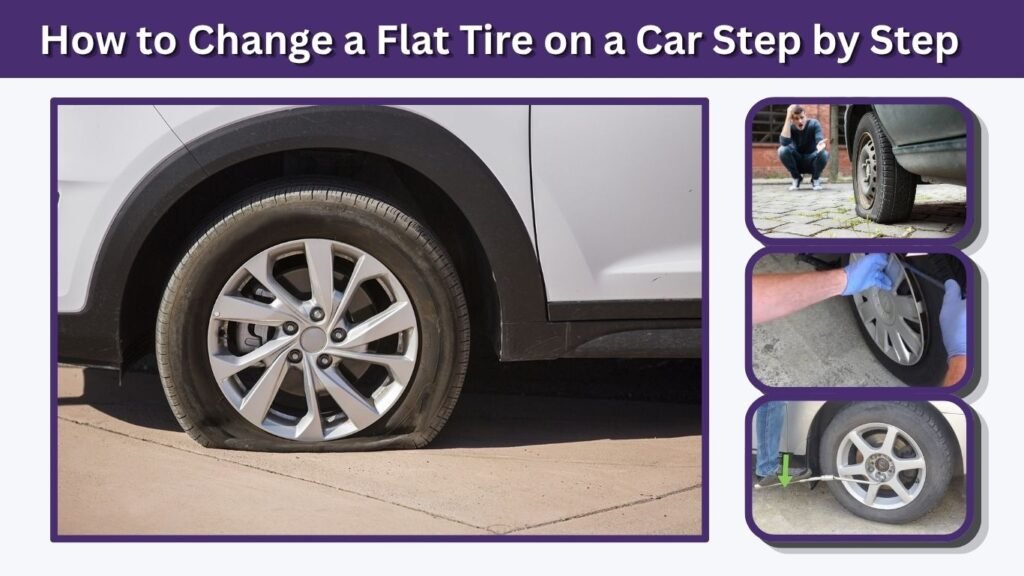
Changing a flat tire is relatively straightforward when performed on a stable surface with the correct equipment. Safety is more important than speed. If your car is stopped on a narrow shoulder, steep slope, soft ground, or another dangerous location, roadside assistance may be safer than attempting the job yourself.
1. Move the Car to a Safe Location
If you notice a flat while driving, reduce speed gradually and avoid sudden braking or steering. Move to a flat, solid area as far away from moving traffic as reasonably possible.
Turn on your hazard lights. Put an automatic transmission in Park or a manual transmission in gear, and apply the parking brake firmly.
2. Secure the Vehicle
Preventing the vehicle from rolling is essential. Place wheel chocks around a wheel that will remain on the ground. If you are changing a front tire, placing a chock behind a rear wheel can help stabilize the vehicle. For a rear tire, a front wheel can be chocked.
Never rely solely on the transmission to prevent movement.
3. Remove the Wheel Cover if Necessary
Some vehicles have a hubcap or wheel cover that blocks access to the lug nuts. Remove it carefully according to the instructions in the owner’s manual.
Certain wheels use exposed lug nuts and require no wheel-cover removal.
4. Loosen the Lug Nuts
Place the lug wrench firmly over each lug nut and turn counterclockwise. Loosen each nut slightly while the tire is still touching the ground.
Do not remove the lug nuts completely at this stage. The weight of the vehicle helps prevent the wheel from spinning while you break the nuts loose.
If they are difficult to move, apply steady pressure rather than jumping aggressively on the wrench.
5. Position the Jack Correctly
Locate the manufacturer’s recommended jacking point near the flat tire. These locations are reinforced specifically to support the vehicle during lifting.
Never place the jack randomly under plastic trim, thin sheet metal, or other unsupported components. Refer to the owner’s manual if you cannot identify the correct point.
Place the jack on firm, level ground.
6. Raise the Vehicle
Operate the jack slowly until the flat tire clears the ground by enough distance to remove it and fit the spare.
Keep hands, feet, and other body parts away from underneath the vehicle. A standard emergency jack is designed for changing a tire—not for safely supporting someone working beneath the car.
7. Remove the Flat Tire
Finish unscrewing the loosened lug nuts and place them somewhere clean where they cannot roll away.
Grip the tire firmly with both hands and pull it straight toward you. If the wheel is stuck, avoid placing yourself beneath the vehicle or using uncontrolled force that could destabilize the jack.
Set the flat tire aside.
8. Install the Spare Tire
Line up the holes in the spare wheel with the wheel studs and slide the spare into position.
Thread the lug nuts on by hand. Starting them manually reduces the risk of cross-threading.
Tighten them enough to hold the wheel securely against the hub, but do not fully tighten them while the vehicle is raised.
9. Lower the Car Partially
Lower the jack until the spare tire touches the ground but still carries only part of the vehicle’s weight.
This prevents the wheel from turning while you tighten the lug nuts.
10. Tighten the Lug Nuts
Tighten the lug nuts in a crisscross or star pattern rather than simply going around the wheel in a circle. This helps seat the wheel evenly.
For final tightening, follow your vehicle manufacturer’s torque specification when a torque wrench is available.
11. Lower the Car Completely
Slowly lower the vehicle until its full weight is supported by the tires. Remove the jack and wheel chocks.
Reinstall the wheel cover only if it is compatible with the spare tire.
12. Check the Spare Tire
Check the spare tire pressure before driving when possible. Temporary spare tires often require a different pressure than regular tires, so use the specification printed on the tire or listed by the vehicle manufacturer.
Store the damaged tire and tools securely before continuing your trip.
How to Drive After Changing a Flat Tire
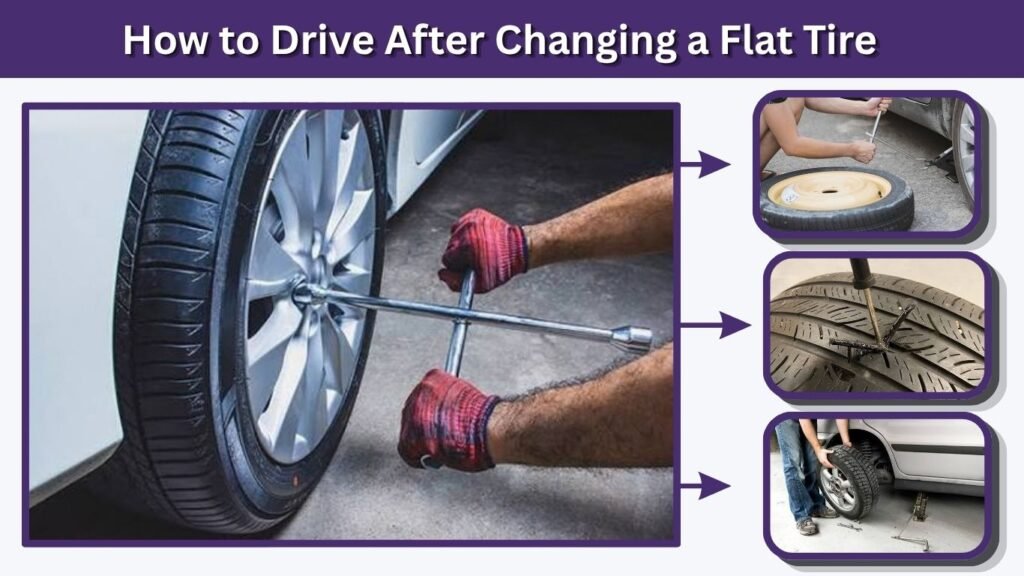
Installing the spare does not necessarily mean the problem is completely solved. Many vehicles use temporary compact spare tires designed only to help you reach a repair facility. Their smaller size and different construction can affect braking, handling, stability, and traction.
Follow Spare Tire Restrictions
Check the warning printed on the temporary spare and your owner’s manual for its speed and distance limitations. Do not assume every spare can be driven like a normal tire.
A full-size spare may have fewer restrictions, but its pressure and condition should still be checked before extended use.
Repair or Replace the Flat Tire
Have the damaged tire inspected as soon as practical. A professional may be able to repair a puncture located in an appropriate area of the tread, while sidewall damage, large punctures, or severe structural damage commonly requires replacement.
Changing a Flat Tire on a Lowered Car
A lowered vehicle can make tire changes more complicated because the standard jack may not fit beneath the normal jacking point. Planning ahead is particularly important if your vehicle has modified suspension or unusually low ground clearance.
Create Enough Jack Clearance
A low-profile automotive jack is often the most practical option for a lowered car. Some drivers also use properly designed ramps or other equipment intended to create enough clearance to position an appropriate jack.
Never improvise with unstable objects that could slip or collapse.
Check Modified Jacking Points
Aftermarket suspension or body modifications may affect access to factory jacking points. Confirm safe lifting locations before an emergency occurs rather than guessing beside the road.
Common Flat Tire Changing Mistakes
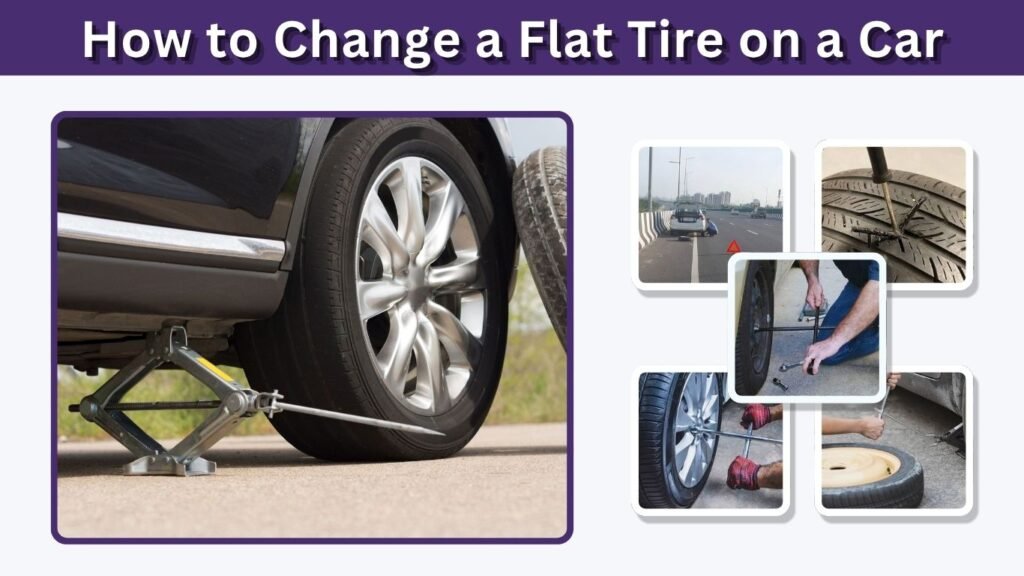
Simple mistakes can make an otherwise routine tire change dangerous or damage the vehicle. Preparing beforehand and following the correct sequence reduces these risks considerably.
Mistakes to Avoid
- Changing a tire too close to traffic
- Working on a steep or unstable surface
- Forgetting to apply the parking brake
- Positioning the jack at the wrong location
- Removing lug nuts before raising the vehicle
- Crawling underneath a car supported only by an emergency jack
- Installing the spare with insufficient tire pressure
- Forgetting to tighten lug nuts properly
- Driving too fast on a temporary spare
- Continuing to use a temporary spare longer than recommended
What If You Do Not Have the Right Tire Tools?
If your vehicle lacks a jack, suitable lug wrench, spare tire, or manufacturer-approved repair system, attempting to improvise can create unnecessary risk. Modern cars vary considerably in their emergency equipment, so checking the trunk or storage compartment before you need the equipment is worthwhile.
When Roadside Assistance Is Safer
Roadside assistance is a sensible choice when you do not have the necessary equipment, the wheel cannot be removed safely, lug nuts are seized, the vehicle is on unstable ground, or traffic conditions make working beside the car dangerous.
It is also preferable when you are unsure where the correct jacking point is.
FAQs
1. How long does it take to change a flat tire?
For someone familiar with the process, changing a tire may take roughly 15–30 minutes under good conditions. Weather, traffic, seized lug nuts, unfamiliar equipment, and difficult jack placement can make the process considerably longer.
2. Do you loosen lug nuts before jacking up the car?
Yes. Loosen the lug nuts slightly while the tire is still touching the ground. The vehicle’s weight prevents the wheel from rotating. Remove the nuts completely only after the vehicle has been safely raised.
3. Where should the jack go when changing a tire?
Place the jack only at the manufacturer’s designated jacking point closest to the damaged tire. The exact location varies by vehicle, so consult the owner’s manual if you are uncertain.
4. Can I drive normally after installing a spare tire?
That depends on the spare. Temporary compact spares usually have specific speed and distance restrictions and are intended only for short-term use. Follow the limits printed on the spare and provided by the vehicle manufacturer.
5. What should I do if I cannot loosen the lug nuts?
Make sure the wrench is fully seated and turn counterclockwise using firm, controlled pressure. If the nuts remain seized or attempting to loosen them could cause injury or destabilize the vehicle, contact roadside assistance rather than using unsafe improvised methods.