
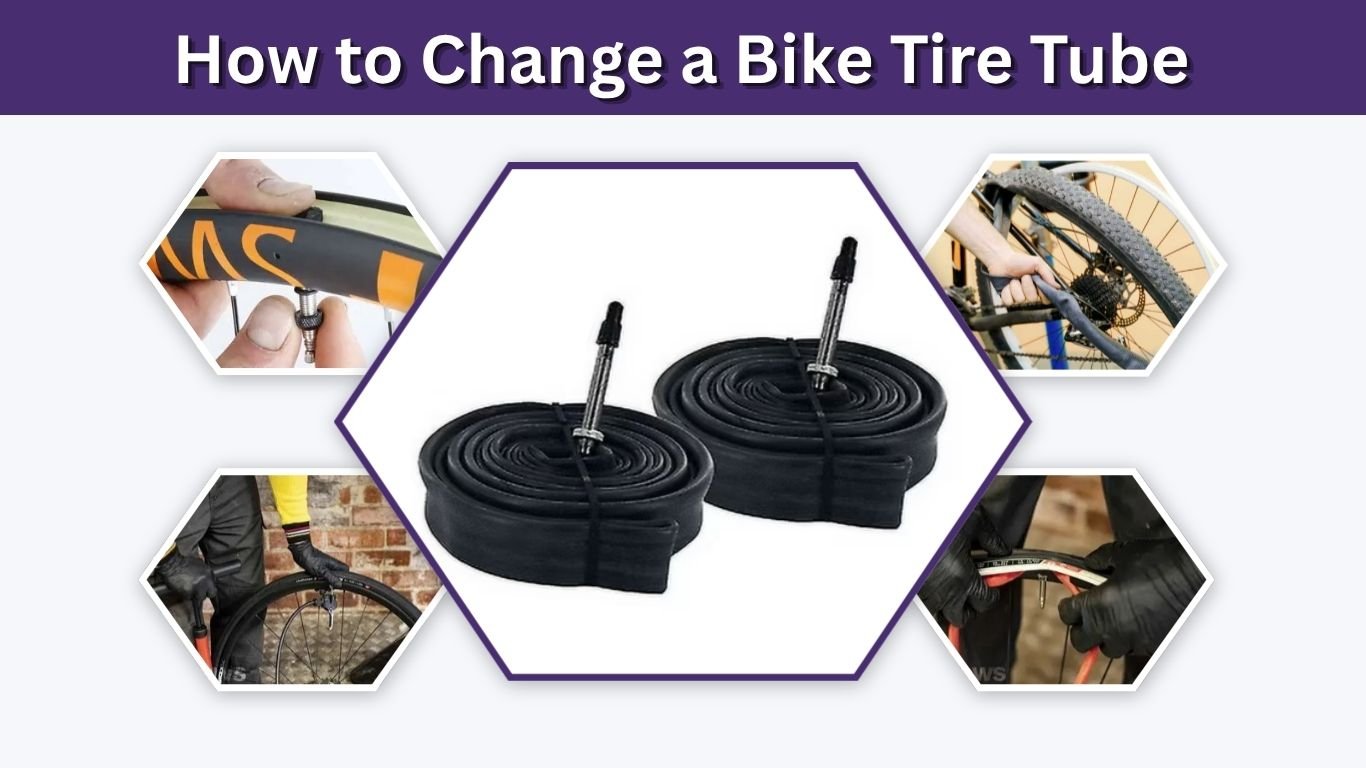
Changing a bike tire tube may look difficult at first, but it is one of the easiest bicycle repairs to learn. Whether you ride a road bike, mountain bike, kids bike, or commuter bike, the basic process is almost the same. You remove the wheel, take one side of the tire off, pull out the damaged inner tube, check for sharp objects, install a new tube, and inflate it carefully. This guide explains how to change a bike tire tube step by step without pinching the tube.
What You Need to Change a Bike Tire Tube
Before you start, gather the right tools and parts. Having everything ready makes the job faster and helps you avoid damaging the new tube.
| Item | Why You Need It |
| New bike inner tube | Replaces the punctured or damaged tube |
| Tire levers | Helps remove the tire from the rim |
| Bike pump | Inflates the new tube |
| Patch kit | Optional backup if you want to repair the old tube |
| Wrench | Needed for some bikes without quick-release wheels |
| Gloves | Keeps your hands cleaner, especially on rear wheels |
Most bike tubes have a size printed on the side. Check the tire sidewall before buying a replacement tube. For example, a road bike may use a tube like 700x25c, while a mountain bike may use 26×2.1, 27.5×2.25, or 29×2.3.
Step-by-Step Guide: How to Change a Bike Tire Tube
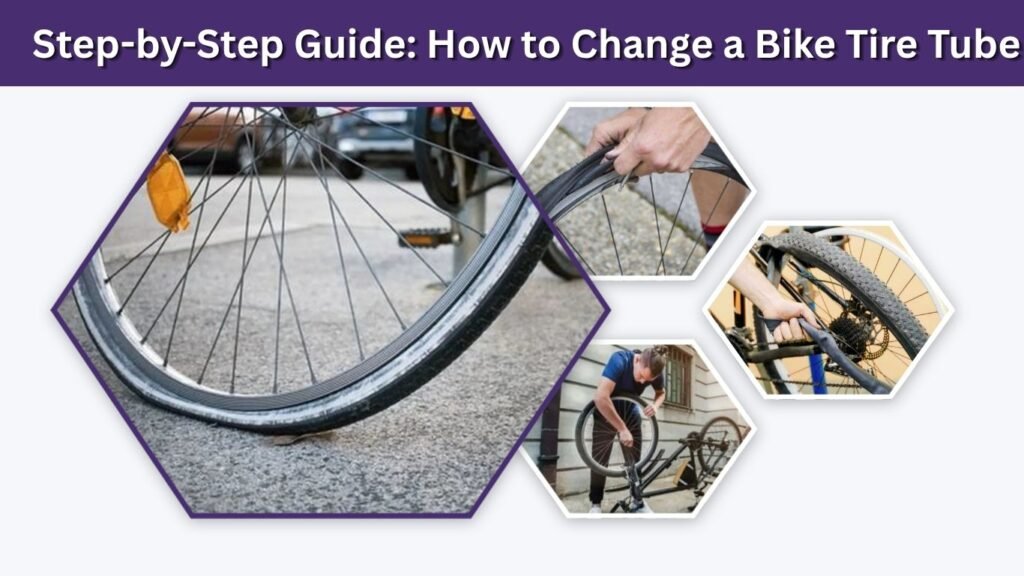
This section covers the full process for changing the inner tube on a bike tire. The same method works for most front and rear bicycle wheels.
Step 1: Remove the Wheel from the Bike
First, shift the chain to the smallest rear gear if you are changing a rear bike tire tube. This makes the wheel easier to remove. If your bike has rim brakes, open the brake release so the tire can pass through. For disc brakes, avoid squeezing the brake lever after the wheel is removed.
For a quick-release wheel, open the lever and loosen the nut slightly. For a bolt-on wheel, use the correct wrench to loosen the axle nuts. Pull the wheel out carefully. If it is the rear wheel, move the derailleur back gently and lift the chain off the cassette.
Step 2: Let All the Air Out
Before removing the tire, fully deflate the tube. If the tube still has air inside, it will be harder to remove and easier to pinch.
For a Schrader valve, press the small pin inside the valve. For a Presta valve, unscrew the small top nut and press it down. Once the air is out, push the tire beads toward the center of the rim. This gives the tire more room to move.
Step 3: Remove One Side of the Tire
Insert a tire lever under one side of the tire bead. Hook the lever onto a spoke if possible. Place a second tire lever a few inches away and slide it around the rim to lift one side of the tire off.
You do not need to remove both sides of the tire. Usually, removing only one side is enough to take out the tube and install a new one.
Step 4: Pull Out the Old Inner Tube
Start opposite the valve and pull the old tube out from under the tire. When you reach the valve, push it through the rim hole and remove the tube completely.
Do not throw it away immediately. You may want to inspect it to find where the puncture happened. The location of the hole can help you find glass, thorns, wire, or rim tape problems inside the tire.
Step 5: Check the Tire and Rim Carefully
This is one of the most important steps. If you install a new bike inner tube without checking the tire, the new tube may puncture again right away.
Run your fingers gently inside the tire to feel for sharp objects. Be careful because glass or metal can cut your finger. Also check the outside tread. Look for:
- Glass pieces stuck in the rubber
- Thorns or small nails
- Sharp wire
- Cracks or worn tire casing
- Damaged rim tape
- Spoke holes showing through the rim tape
If the rim tape is damaged, replace it before installing the new tube. Exposed spoke holes can puncture the inner tube from the inside.
How to Install the New Bike Inner Tube
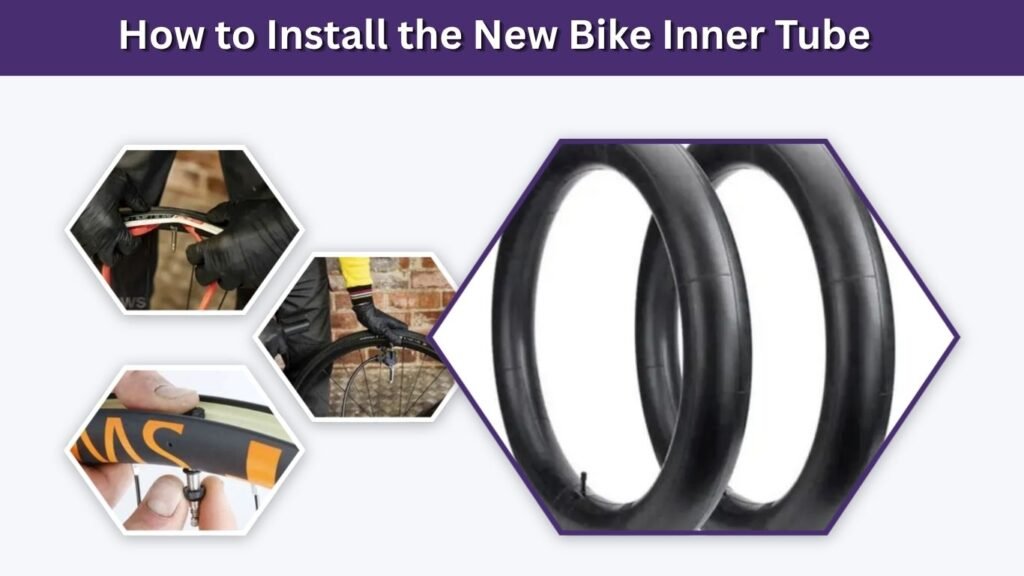
Installing the new tube properly is the key to avoiding another flat. Take your time during this part.
Step 1: Add a Little Air to the Tube
Pump a small amount of air into the new tube before installing it. The tube should hold its round shape but still feel soft. This helps stop it from twisting or folding inside the tire.
Do not fully inflate the tube yet. Too much air will make it harder to fit inside the tire.
Step 2: Insert the Valve First
Put the valve through the rim hole first. Make sure it sits straight. If the valve is angled, the tube may not sit correctly and could tear near the valve base later.
After the valve is in place, tuck the rest of the tube into the tire all the way around the wheel.
Step 3: Put the Tire Bead Back on the Rim
Starting near the valve, use your thumbs to push the tire bead back onto the rim. Work slowly around both sides of the wheel. Try to finish opposite the valve because this usually gives you more room.
If the last section is tight, push the tire bead into the center channel of the rim. This creates extra slack. Avoid using a tire lever to force the last section if possible, because the lever can pinch and puncture the new tube.
Step 4: Check for Pinches Before Inflating
Before adding air, inspect both sides of the tire. Look between the tire and rim to make sure the tube is not trapped under the bead.
This step is very important if you are learning how to change a bike tire without pinching the tube. A pinched tube can burst as soon as you inflate it.
How to Inflate the Bike Tire Correctly
Once the tube and tire are seated properly, inflate the tire slowly at first. Stop after a few pumps and check both sides of the tire again. The bead should sit evenly around the rim.
Look at the pressure range printed on the tire sidewall. Do not inflate above the maximum pressure. Road bike tires usually need higher pressure, while mountain bike tires use lower pressure for grip and comfort.
| Bike Type | Common Tire Pressure Range |
| Road bike | About 70–110 PSI |
| Hybrid bike | About 40–70 PSI |
| Mountain bike | About 20–40 PSI |
| Kids bike | Often about 20–40 PSI |
Pressure depends on rider weight, tire size, tube type, and riding surface. Always follow the number printed on your own tire.
How to Change a Front Bike Tire Tube
Changing a front bike tire tube is usually easier than changing a rear tube. There is no chain, cassette, or derailleur to deal with.
Remove the front wheel, deflate the tube, take one side of the tire off, remove the old tube, check the tire, install the new tube, and inflate it. When reinstalling the wheel, make sure it sits straight in the fork. Tighten the quick-release or axle nuts securely before riding.
After the wheel is installed, spin it by hand. The tire should not rub the brake pads or frame.
How to Change a Rear Bike Tire Tube
A rear bike tire tube takes a little more patience because of the gears and chain. Shift to the smallest rear cog before removing the wheel. This reduces chain tension and gives you more room.
When reinstalling the rear wheel, place the top section of the chain over the smallest cog. Pull the derailleur back gently and guide the wheel into the dropouts. Make sure the axle is fully seated before tightening it.
After installation, pedal by hand and shift through a few gears to make sure the chain is running correctly.
Road Bike vs Mountain Bike Tube Changes
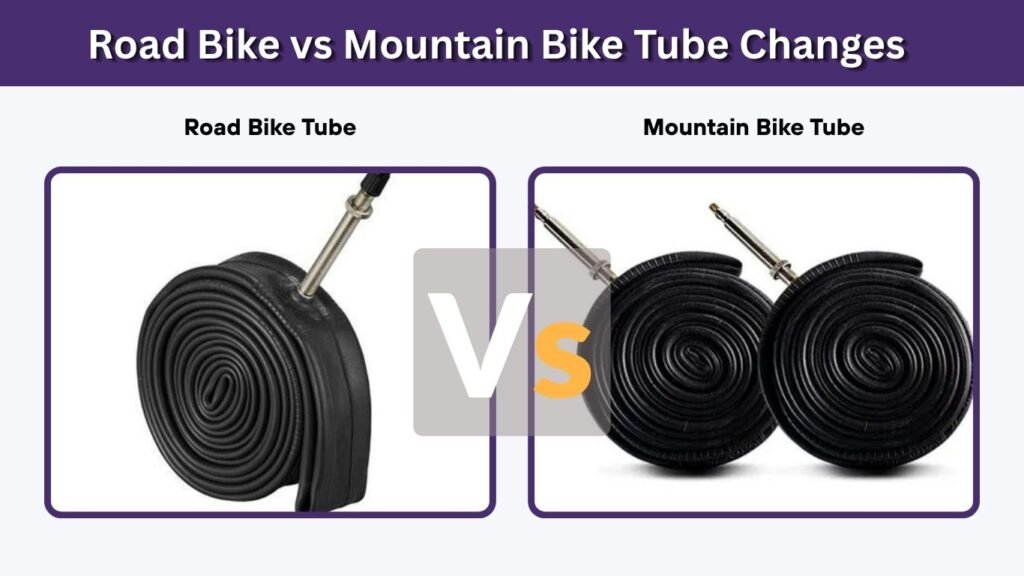
The basic process is the same, but road bikes and mountain bikes can feel different when changing tubes.
Road bike tires are usually narrower and tighter on the rim. You may need tire levers, especially with new tires. Be extra careful not to pinch the tube when reinstalling the tire.
Mountain bike tires are wider and often easier to handle, but they may have more dirt, thorns, or trail debris inside the tread. If you are changing a mountain bike tire tube, check the tire carefully for sharp objects hidden in the knobs.
This guide is for bicycles. Dirt bike tire tubes are different because dirt bike tires are heavier, stiffer, and usually require motorcycle tire tools.
Can You Change a Bike Tube Without Tire Levers?
Yes, sometimes you can change a bike tube without tire levers, but it depends on the tire and rim. Some loose-fitting bike tires can be removed by hand. Tight road bike tires usually need levers.
To remove a tire without tools, push both tire beads into the center of the rim. Then use your thumbs to roll one side of the tire over the rim edge. Work slowly around the wheel.
If the tire is too tight, do not force it with sharp tools like screwdrivers. A screwdriver can damage the rim, cut the tire, or puncture the tube. Plastic tire levers are safer.
Common Mistakes to Avoid
Many beginners get another flat because they skip one small step. Avoid these common mistakes when changing a bike tire and tube:
- Installing the wrong tube size
- Forgetting to check the tire for glass or thorns
- Pinching the tube with a tire lever
- Overinflating the tire
- Leaving the valve crooked
- Not seating the tire bead evenly
- Forgetting to reconnect rim brakes
- Riding before tightening the wheel properly
If the tire pops off the rim while inflating, stop immediately. Deflate the tube, reseat the tire, and inflate again slowly.
When Should You Replace the Tire Too?
Sometimes changing only the inner tube is not enough. If the tire is badly damaged, the new tube may not last long.
Replace the bike tire if you see deep cuts, exposed threads, cracked sidewalls, large holes, or a flat worn-down center tread. A tire with weak casing can allow the tube to bulge out and burst.
For road bikes, also replace the tire if it has many small cuts from glass or rough pavement. For mountain bikes, replace it if knobs are torn, sidewalls are sliced, or the tire no longer grips well.
FAQs
How long does it take to change a bike tire tube?
For beginners, it may take 20 to 30 minutes. Once you practice, changing a bike tire tube can take less than 10 minutes. Rear wheels usually take slightly longer than front wheels because of the chain and gears.
Can I patch the old tube instead of replacing it?
Yes, you can patch a small puncture if the tube is still in good condition. However, replacing the tube is usually faster and more reliable on the road. Many cyclists carry both a spare tube and a patch kit.
Why does my new bike tube keep going flat?
Your new tube may go flat if a sharp object is still stuck in the tire, the rim tape is damaged, the tube was pinched during installation, or the tire pressure is too low. Always inspect the tire and rim before installing a new tube.
How do I know what bike tube size I need?
Look at the numbers printed on the tire sidewall. Buy a tube that matches that tire size range. For example, if your tire says 700x28c, choose a tube that includes 700x28c in its size range.
Is it harder to change a rear bike tire inner tube?
Yes, it can be slightly harder because the rear wheel has the chain, cassette, and derailleur. Shift to the smallest rear gear before removing the wheel. This makes the process much easier.