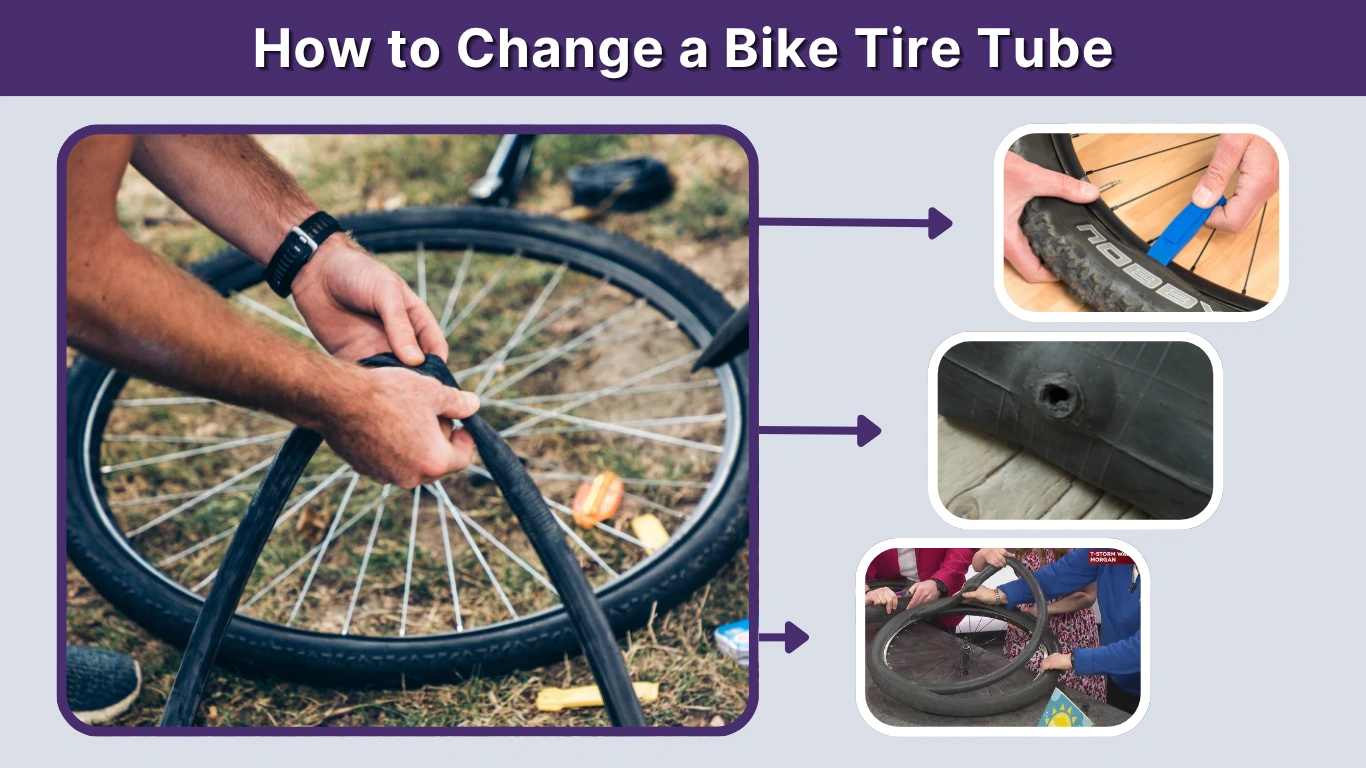
Getting a flat tire while riding can be frustrating, but knowing how to fix it yourself makes a big difference. Changing a bike tire tube is a basic skill every cyclist should learn. With the right tools and steps, you can repair your bike quickly and safely without needing professional help.
Tools You Need to Change a Bike Tire Tube
Before starting, it’s important to gather the right tools. Using proper equipment makes the process smoother and helps prevent damage to your tire or rim. Being prepared is especially helpful if you need to fix a flat during a ride.
Essential Tools
To replace a bike tube properly, you need a few key tools that make removal and installation easier. Without them, the process can become difficult and may damage the tire or rim.
- New inner tube (correct size)
- Tire levers
- Bike pump or CO₂ inflator
- Wrench (if no quick-release system)
These tools ensure you can safely remove the tire and install the new tube without complications.
Optional Helpful Items
These items are not required but can make the process easier and more comfortable. They are especially useful for roadside repairs or frequent cyclists.
- Gloves to keep hands clean
- Small cloth for wiping dirt
- Patch kit as backup
- Portable pump
Having these extras can save time and improve the overall repair experience.
When Should You Replace a Bike Tube?
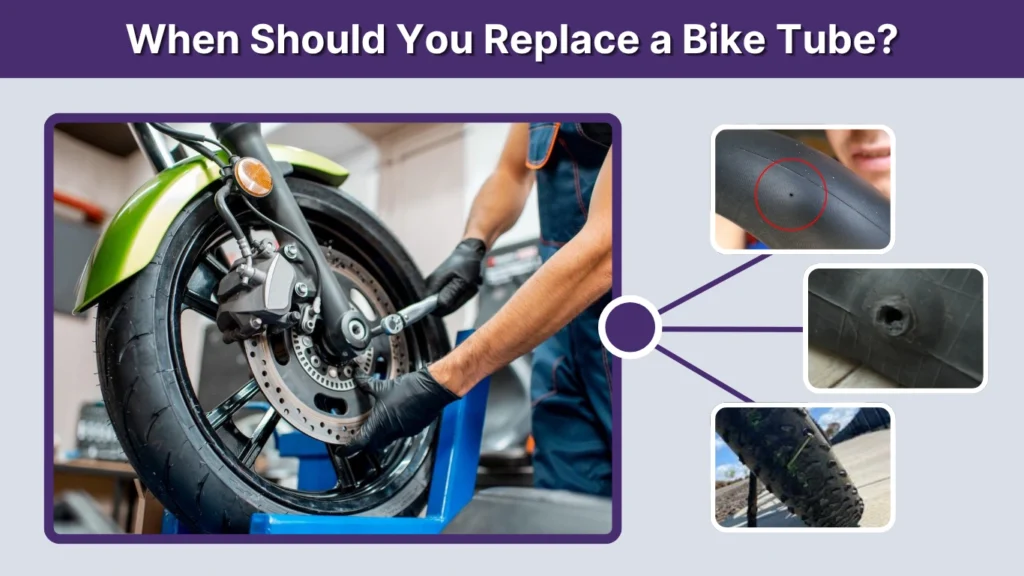
Not every flat tire requires replacing the tube, but in many cases, replacement is the safer and quicker option. Tubes that are heavily damaged or repeatedly punctured are less reliable and may fail again.
Common Signs You Need a New Tube
If your tube shows clear damage, replacing it is better than repairing it. Ignoring these signs can lead to another flat during your ride.
- Large tear or visible hole
- Damaged or bent valve stem
- Multiple punctures
- Tube keeps losing air
Replacing the tube improves safety and reduces the risk of repeated issues.
How to Remove the Wheel From the Bike
Removing the wheel is the first step before accessing the tire and tube. The method may vary depending on your bike, but the process is generally simple and straightforward.
Shift Gears Before Removing the Rear Wheel
Before removing the rear wheel, shift the chain to the smallest gear. This reduces tension in the drivetrain and makes it easier to remove the wheel. It also helps when reinstalling the wheel later, as the chain will already be in the correct position.
Release the Brake if Needed
If your bike uses rim brakes, you may need to release them so the tire can pass through easily. Disc brakes usually do not require this step. Releasing the brake prevents the tire from getting stuck and makes removal smoother.
Remove the Wheel
Open the quick-release lever or loosen the axle nuts depending on your bike type. Carefully pull the wheel out of the frame while keeping it stable. Place it on a flat surface to continue the repair process safely.
How to Take the Tire Off the Rim
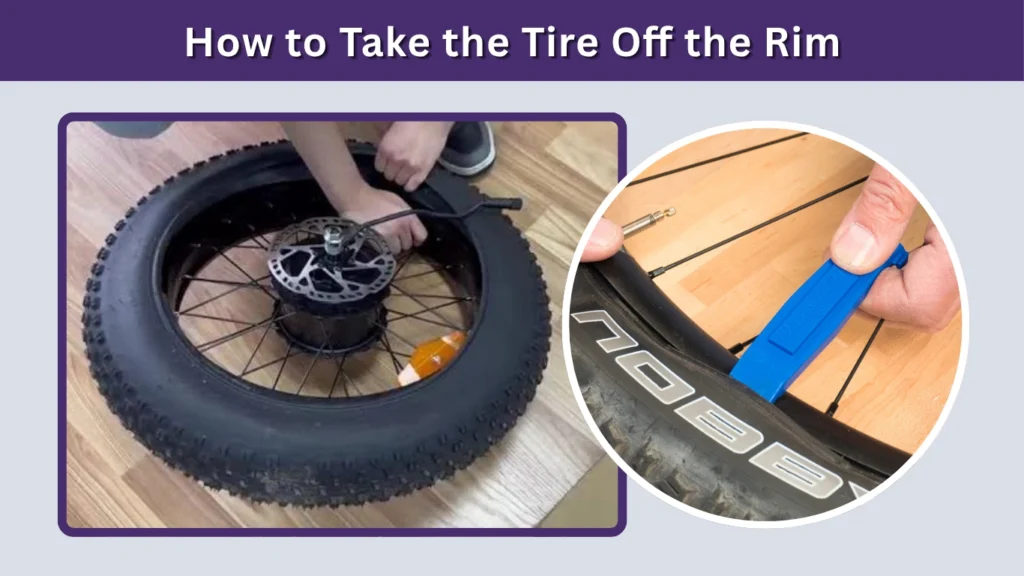
To access the inner tube, you only need to remove one side of the tire. This step requires careful handling to avoid damaging the tire or bending the rim.
Deflate the Tube Completely
Before removing the tire, release all the air from the tube. A fully deflated tube makes it easier to separate the tire from the rim and reduces resistance during removal.
Use Tire Levers Carefully
Tire levers help lift the tire bead off the rim without causing damage. Insert one lever under the edge of the tire and hook it onto a spoke. Then use another lever to gradually loosen the tire around the rim.
Pull One Side of the Tire Free
Once part of the tire is loose, continue working around the rim until one full side is off. This creates enough space to remove the inner tube easily without forcing it.
How to Remove the Old Inner Tube
After loosening one side of the tire, the tube can be removed. This step is simple but important for identifying the cause of the flat.
Remove the Valve First
Push the valve stem back through the rim hole to free it. This makes it easier to pull the tube out without resistance. Be careful not to damage the valve during this step.
Pull Out the Tube
Gently remove the tube from inside the tire. Inspect it for holes or damage to understand what caused the puncture. This helps prevent the same issue from happening again.
Inspect the Tire and Rim Before Installing a New Tube
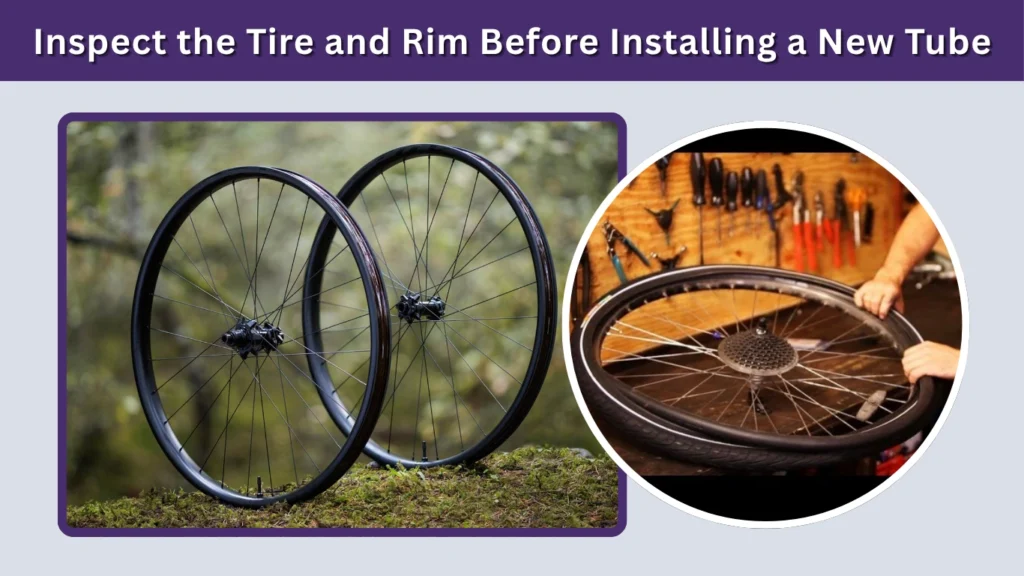
This step is crucial. Installing a new tube without checking the tire can lead to another flat immediately. Always inspect carefully before moving forward.
Check Inside the Tire
Run your fingers carefully along the inside of the tire to find any sharp objects. Look for debris that may have caused the puncture.
- Glass pieces
- Thorns
- Small metal wires
- Sharp debris
Removing these prevents damage to the new tube.
Check the Rim Tape
Make sure the rim tape fully covers the spoke holes. If it is damaged or misplaced, it can puncture the tube. Replace or adjust it if needed before installing the new tube.
Inspect the Tire Sidewall
Check the outer surface of the tire for cracks, cuts, or worn areas. A damaged tire can cause repeated flats, so replacing the tire may be necessary if the damage is severe.
How to Install the New Bike Tube
Installing the new tube properly ensures a smooth ride and prevents future issues. Take your time to avoid pinching or twisting the tube.
Add a Little Air to the Tube
Before installation, slightly inflate the tube so it holds its shape. This makes it easier to place inside the tire and reduces the risk of twisting or folding during installation.
Insert the Valve Stem
Place the valve through the hole in the rim and ensure it is straight. A properly aligned valve helps with easy inflation and prevents damage.
Place the Tube Inside the Tire
Carefully tuck the tube evenly inside the tire. Make sure it is not twisted or pinched between the tire and rim. Proper placement is key to avoiding another flat.
How to Put the Tire Back on the Rim
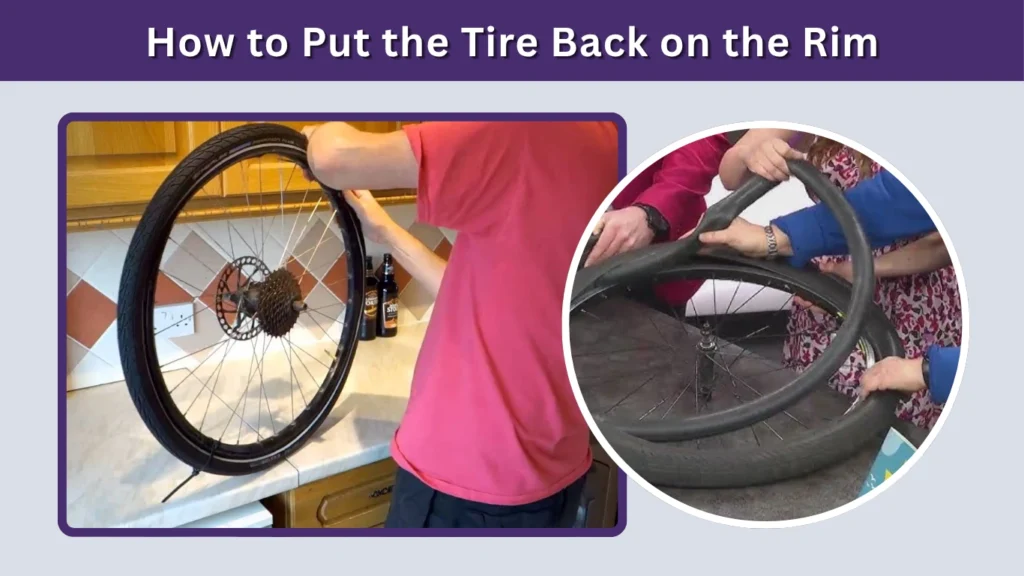
After placing the new tube inside, the next step is to fit the tire back onto the rim. This step requires patience to avoid pinching the tube, which can cause another flat immediately after installation.
Start Opposite the Valve
Begin pushing the tire bead back onto the rim from the side opposite the valve. This gives you more flexibility and reduces pressure near the valve area, making the process easier and safer as you work your way around.
Work Around the Rim Evenly
Use your hands to push the tire back onto the rim gradually. Work evenly on both sides, moving around the wheel until only a small section remains. Avoid using tools if possible, as they can damage the tube.
Avoid Pinching the Tube
Before fully seating the tire, check that the tube is not caught between the rim and tire. Run your fingers along both sides to ensure everything is properly aligned. This prevents punctures caused by pinching.
Inflate the Tire Correctly
Proper inflation is important for safety, performance, and preventing future flats. Take your time during this step to ensure everything is seated correctly.
Check the Recommended Pressure
Look at the tire sidewall to find the recommended PSI range. This helps you avoid underinflating or overinflating the tire, both of which can cause problems while riding.
Inflate Slowly and Evenly
Use a pump to add air gradually. As you inflate, check that the tire is seating evenly on the rim. Slow inflation allows you to catch any issues before they become serious.
Watch for Uneven Bulges
While inflating, look closely for any bulges or uneven sections. If the tire looks misaligned, stop and adjust it before continuing. This ensures a smooth and safe ride.
Reinstall the Wheel on the Bike
Once the tire is fully inflated, you can place the wheel back onto the bike. Proper installation ensures stability and safety while riding.
Position the Wheel Correctly
Align the wheel with the frame or fork and gently place it into the dropouts. Make sure it sits straight and centered before tightening it into place.
Secure the Axle
Tighten the quick-release lever or axle nuts firmly, but avoid overtightening. The wheel should be secure without restricting movement. A properly secured wheel prevents wobbling during rides.
Reconnect the Brakes
If you released the brakes earlier, reconnect them now. Test the brake function to ensure they engage properly and do not rub against the tire.
Final Safety Check Before Riding
Before heading out, take a moment to check everything carefully. This step ensures your repair was successful and your bike is safe to ride.
Quick Checklist
- Tire is fully seated on the rim
- Wheel is straight and secure
- Brakes are working properly
- Tire pressure is within recommended range
- No rubbing or unusual movement
A quick check can prevent accidents and ensure a smooth ride.
Common Mistakes to Avoid
Even small mistakes can lead to another flat or unsafe riding conditions. Being aware of these helps you avoid repeating the process unnecessarily.
Mistakes Cyclists Make
- Not checking for debris inside the tire
- Pinching the tube during installation
- Overinflating or underinflating the tire
- Using sharp tools instead of tire levers
- Forgetting to reconnect the brakes
Avoiding these errors improves both safety and durability.
FAQs
Can I change a bike tube without tire levers?
Yes, it is sometimes possible to remove a tire by hand if it is loose. However, tire levers make the process much easier and safer. Avoid using sharp tools like screwdrivers, as they can damage the rim or puncture the tube.
How long does it take to change a bike tube?
For beginners, changing a bike tube may take around 15 to 30 minutes. With practice, most cyclists can complete the process in under 10 minutes, especially when they are familiar with the steps and tools.
Do I need to replace the tube every time I get a flat?
Not always. Small punctures can often be repaired using a patch kit. However, replacing the tube is usually faster and more reliable, especially during a ride or when the damage is significant.
Why does my new bike tube keep going flat?
This usually happens if the cause of the puncture was not removed. Sharp objects inside the tire or a damaged rim can puncture the new tube. Always inspect the tire and rim carefully before installing a new tube.
What size bike tube do I need?
The correct tube size is printed on your tire sidewall. Make sure the new tube matches both the diameter and width range of your tire for proper fit and performance.