
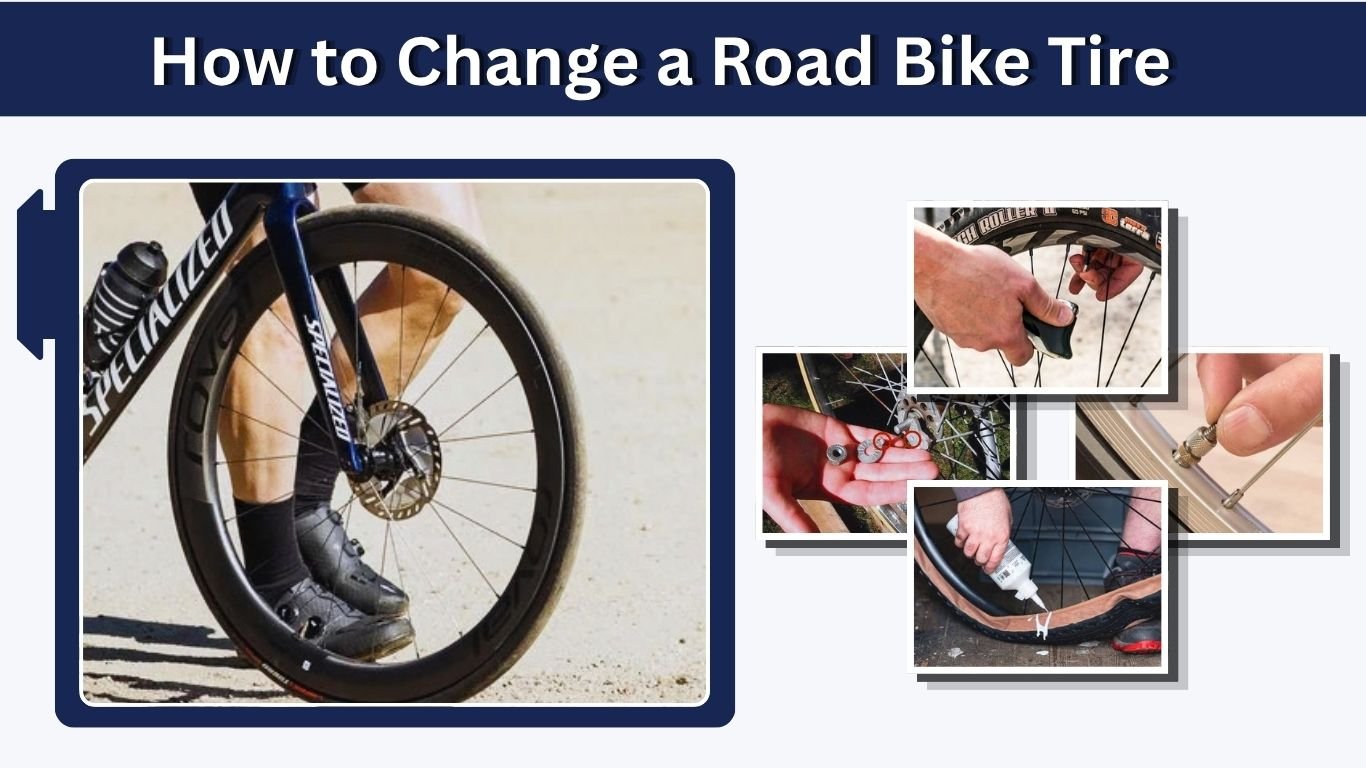
Learning how to change a road bike tire is an essential skill for cyclists, whether you are replacing worn rubber at home or fixing a flat during a ride. Road bike tires can feel difficult to remove because their narrow beads often fit tightly around the rim, but the process becomes much easier with the correct technique. This guide explains how to remove the wheel, replace a tire and inner tube, reinstall front or rear wheels, handle tight tires, and manage common roadside problems safely.
Tools You Need to Change a Road Bike Tire
Changing a road bike tire requires only a few basic tools for most clincher setups. Carrying a compact repair kit on rides can also prevent a simple puncture from leaving you stranded. Before beginning, confirm whether your bike uses an inner tube, tubeless tire, or tubular system because the replacement process differs between them.
Basic Tire-Changing Tools
For a standard road bike tire, you may need:
- Two tire levers
- Replacement inner tube
- Replacement tire if needed
- Bicycle pump
- CO2 inflator for roadside use
- Patch kit
- Valve adapter if required
- Small multitool
- Clean cloth
- Gloves if desired
Check Your Tire Type First
Most road bikes use either clincher or tubeless tires.
A clincher has a separate inner tube inside the tire. Tubeless systems use an airtight tire, compatible rim, valve, and usually sealant instead of a conventional tube.
Tubular tires are less common among everyday riders and are attached differently, so they require a different replacement procedure.
How to Remove a Road Bike Wheel
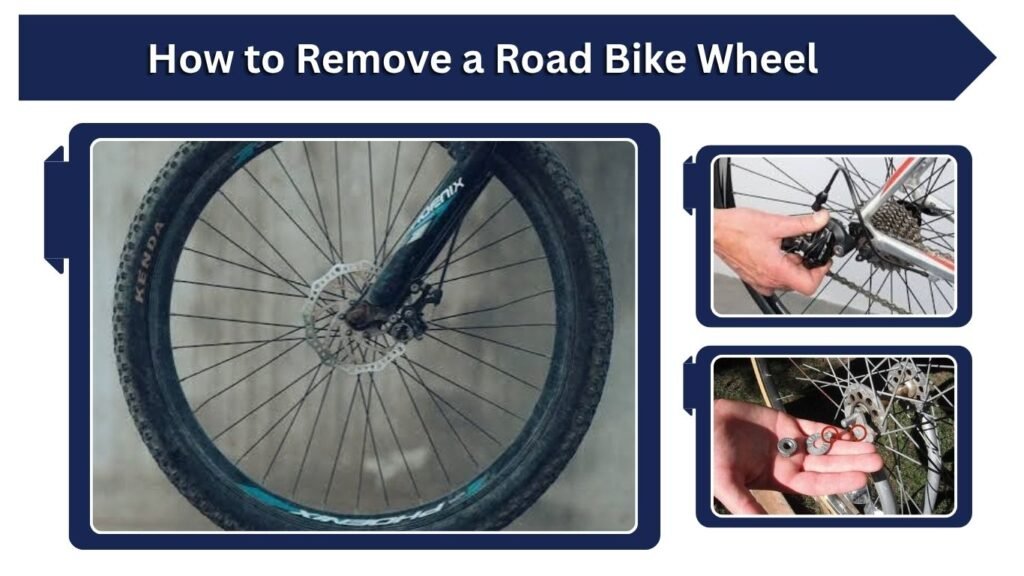
Before removing the tire, you need to remove the wheel from the bicycle. Front wheels are usually simple, while rear wheels require a little extra attention because the chain must clear the cassette. Disc and rim brakes can also slightly change the procedure.
Removing the Front Wheel
Shift the bicycle into a stable position and make sure it cannot fall over.
Open the quick-release lever or loosen the thru-axle according to your wheel system. If your bike uses rim brakes, you may need to open the brake mechanism to provide enough clearance for the tire.
Carefully lower the wheel out of the fork.
Removing the Rear Wheel
Shift the chain onto the smallest rear cog before removing the back wheel. This reduces chain tension and makes installation easier later.
Open the quick release or remove the thru-axle. Pull the rear derailleur backward gently while guiding the wheel downward and forward so the cassette separates from the chain.
Avoid forcing the derailleur or brake components.
How to Change a Road Bike Tire
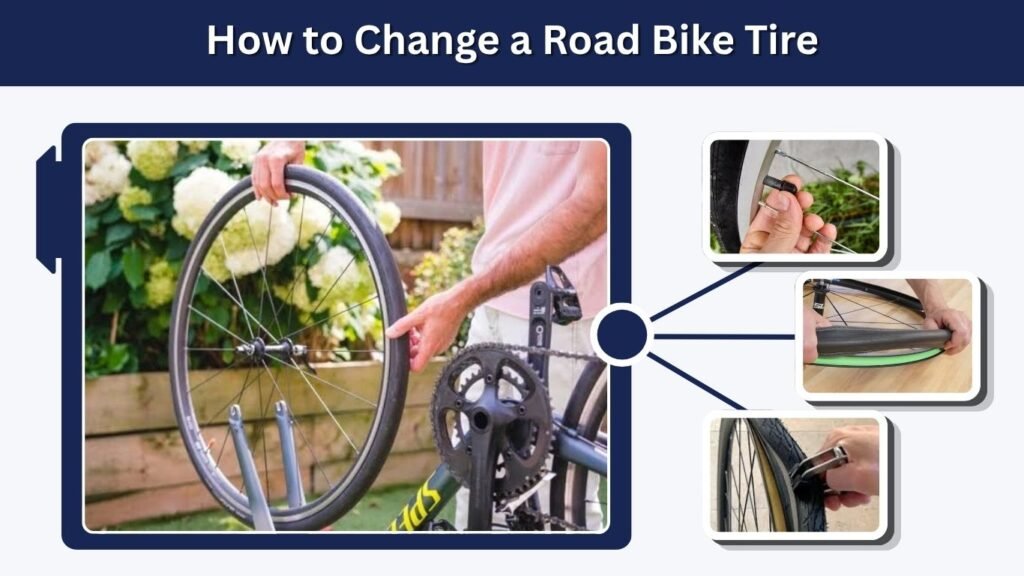
Once the wheel is removed, release any remaining air before trying to remove the tire. Starting opposite the valve usually provides more slack because the tire bead can sit deeper inside the center channel of the rim.
Step-by-Step Tire Removal
Follow these steps:
- Remove the valve cap.
- Fully deflate the inner tube.
- Push both tire beads toward the center of the rim.
- Insert a tire lever beneath one tire bead.
- Hook the lever onto a spoke if designed for it.
- Insert a second lever nearby.
- Slide the second lever around the rim.
- Pull one side of the tire completely off.
- Remove the inner tube.
- Remove the second tire bead if replacing the tire.
Take care not to pinch the tube between the lever and rim.
Inspect Before Installing a New Tire
Do not immediately install a new tube after a flat.
Run your fingers carefully along the inside of the tire and visually inspect the tread. Look for glass, thorns, sharp wire, cuts, or other objects that may have caused the puncture.
Also inspect the rim tape. A damaged or displaced rim strip can expose spoke holes or sharp edges that puncture a new tube.
How to Install a New Road Bike Tire
Installing the replacement tire correctly prevents many immediate flats. Check the sidewall for a directional arrow before mounting because some road tires are designed to rotate in a specific direction.
Install the First Tire Bead
Place one side of the tire onto the rim.
Begin near the valve hole and work around the wheel using your hands. The first bead usually goes on without tools.
If the tire has directional tread, confirm the rotation direction before proceeding.
Install the Inner Tube
Add a very small amount of air to the new tube. It should just hold its round shape without becoming firm.
Insert the valve through the rim hole first, then gently position the tube inside the tire around the entire wheel.
Make sure the tube is not twisted.
Install the Second Bead
Start installing the second tire bead near the valve and work evenly around both sides toward the opposite side.
As the tire becomes tighter, continually push the installed portions of the bead into the deepest center section of the rim. This creates additional slack.
Finish the final section with your thumbs whenever possible.
How to Change a Tight Road Bike Tire
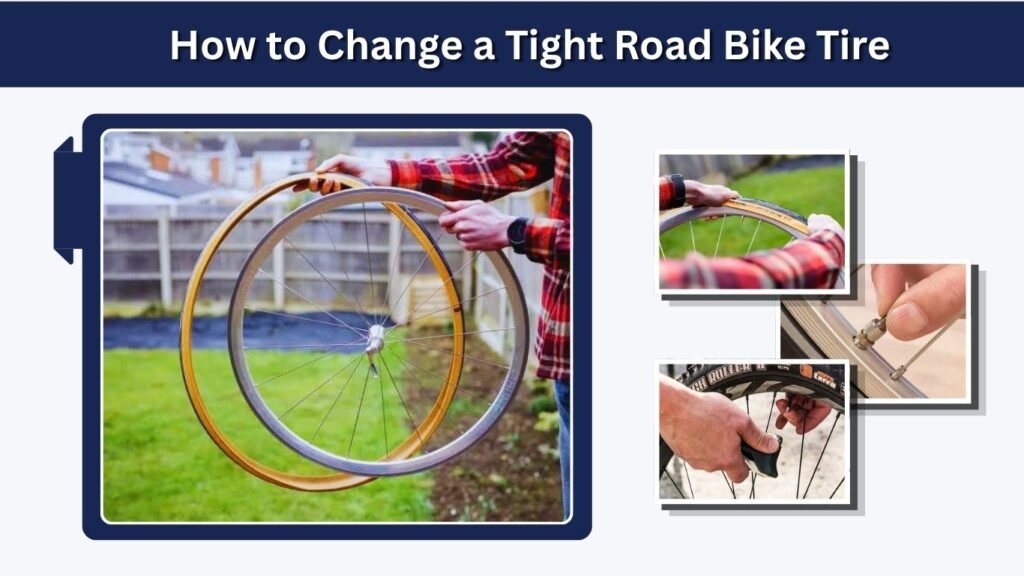
Some road bike tire and rim combinations fit extremely tightly. This can make the final few inches of bead surprisingly difficult to install. Good technique is usually more effective than simply applying greater force.
Tips for Tight Tires
Try these methods:
- Push both beads into the rim’s center channel.
- Start installation near the valve.
- Finish opposite the valve.
- Remove unnecessary air from the tube.
- Work slack around the rim toward the tight section.
- Use both thumbs together.
- Warm a cold tire slightly before installation.
- Use tire levers only when appropriate and carefully.
Avoid Pinching the Tube
Using a lever to force the final bead into place can trap the inner tube between the tire and rim.
This creates a pinch puncture that may cause the tube to fail immediately after inflation.
Before fully inflating, inspect both sides of the wheel and ensure no section of the inner tube is visible beneath the tire bead.
How to Change a Flat Road Bike Tire on the Road
A roadside flat follows essentially the same procedure as a home repair, but you have fewer tools and may be working beside traffic. Move away from moving vehicles and choose a stable location before beginning.
Roadside Flat Repair Steps
For a typical tube-type tire:
- Move to a safe location.
- Remove the affected wheel.
- Deflate the tube completely.
- Remove one tire bead.
- Take out the damaged tube.
- Find and remove the object causing the puncture.
- Install a new or repaired tube.
- Reseat the tire.
- Inflate gradually.
- Reinstall the wheel and check the brakes.
Carrying a spare tube is often faster than patching a puncture beside the road.
Using a CO2 Inflator
CO2 cartridges allow cyclists to inflate a tire quickly and take up very little space.
Thread or attach the inflator according to its instructions and release the gas gradually. CO2 cartridges become extremely cold during discharge, so avoid holding the metal cartridge with bare skin while it empties.
CO2 can escape from some tubes faster than normal air, so replace it with regular pump air after the ride when practical.
How to Change a Rear Road Bike Tire
Changing the rear tire itself is identical to changing the front tire once the wheel is removed. The main difference is removing and reinstalling the rear wheel around the drivetrain.
Reinstalling the Rear Wheel
Shift the derailleur to the smallest rear cog position.
Guide the cassette between the chain sections while pulling the derailleur backward slightly. Seat the wheel fully into the dropouts or frame and reinstall the thru-axle or close the quick-release mechanism securely.
Spin the wheel afterward to check alignment.
Check the Brakes
For a rim-brake bike, reconnect the brake if you opened it.
For disc brakes, make sure the rotor slides correctly between the brake pads. Do not squeeze a hydraulic disc-brake lever while the wheel is removed unless a proper pad spacer is installed.
After installation, spin the wheel and confirm that the brake operates correctly.
How to Change a Tubeless Road Bike Tire
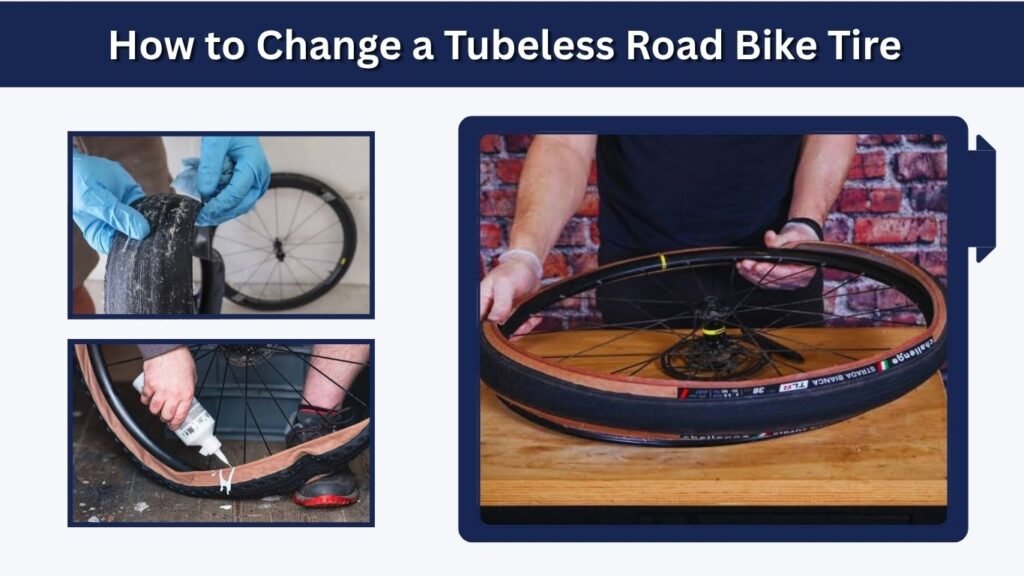
Tubeless road tires eliminate the conventional inner tube and instead create an airtight seal between the tire and rim. Liquid sealant inside the tire can automatically close many small punctures.
Removing a Tubeless Tire
Deflate the tire completely and push the bead away from the rim wall into the center channel.
Remove one bead using your hands or appropriate tire levers. Be prepared for remaining sealant inside the tire.
If replacing the tire, inspect the tubeless rim tape and valve before installing the new one.
Installing a Tubeless Tire
Mount the tire according to its directional marking and seat both beads.
Add the recommended amount of compatible sealant using the method appropriate for your setup. Inflate the tire rapidly enough to seat the beads, then rotate and shake the wheel so sealant reaches the entire interior.
Check carefully for leaks before riding.
How to Change a Road Bike Tire Without Tire Levers
Many road tires can be removed and installed entirely by hand, particularly when the bead and rim combination is not extremely tight. The key is creating slack rather than trying to pull directly against maximum tension.
Hand Removal Technique
Fully deflate the tire, then squeeze both beads toward the center channel all the way around the rim.
Once you have created enough slack, use both thumbs to push one bead over the rim edge.
Work gradually rather than attempting to remove the tightest section immediately.
When Tire Levers Are Better
Some tire combinations are simply too tight for comfortable hand removal.
Carrying small plastic bicycle tire levers is therefore worthwhile. Avoid using screwdrivers, knives, or other metal objects because they may damage the rim, tire, tube, or rim tape.
Inflate and Check the New Tire
After installation, do not immediately inflate the tire to maximum pressure. First add a small amount of air and inspect the bead around both sides of the wheel.
Final Safety Check
Before riding:
- Confirm the tire bead is evenly seated.
- Check that no tube is trapped beneath the bead.
- Inflate to an appropriate pressure.
- Make sure the wheel is securely installed.
- Reconnect rim brakes if necessary.
- Check disc brake rotor alignment.
- Spin the wheel.
- Test both brakes.
- Check for bulges or unusual tire movement.
The correct tire pressure depends on tire width, rider weight, road conditions, rim specifications, and tire manufacturer recommendations.
When Should You Replace a Road Bike Tire?
Not every flat requires a new tire. A small puncture may only require replacing or repairing the tube. However, worn or structurally damaged tires should be replaced rather than repeatedly repaired.
Signs a Tire Needs Replacement
Consider replacing the tire when you notice:
- Exposed casing threads
- Deep cuts
- Sidewall damage
- Bulges
- Cracked rubber
- Repeated punctures
- Severely flattened tread
- Damaged tire bead
- Excessive overall wear
Inspecting tires regularly can reveal damage before it causes another roadside flat.
FAQs
1. Is it difficult to change a road bike tire?
It becomes relatively straightforward with practice. Tight tire beads and rear-wheel removal are usually the most challenging parts for beginners.
2. Do I need tire levers to change a road bike tire?
Not always. Some tires can be removed by hand, but tire levers are inexpensive, compact, and very useful for tight tire-and-rim combinations.
3. How do I change a rear tire on a road bike?
Shift to the smallest rear cog, remove the rear wheel, replace the tire or tube, then guide the chain back around the smallest cog when reinstalling the wheel.
4. Can I use CO2 to inflate a road bike tire?
Yes. A compatible CO2 inflator can quickly inflate a repaired road tire during a ride, although carrying a small backup pump is also useful.
5. Can you change a tubeless road bike tire yourself?
Yes. Tubeless tires can be changed at home, but installation may require tubeless-compatible tire levers, sealant, and enough airflow to seat the tire beads properly.