
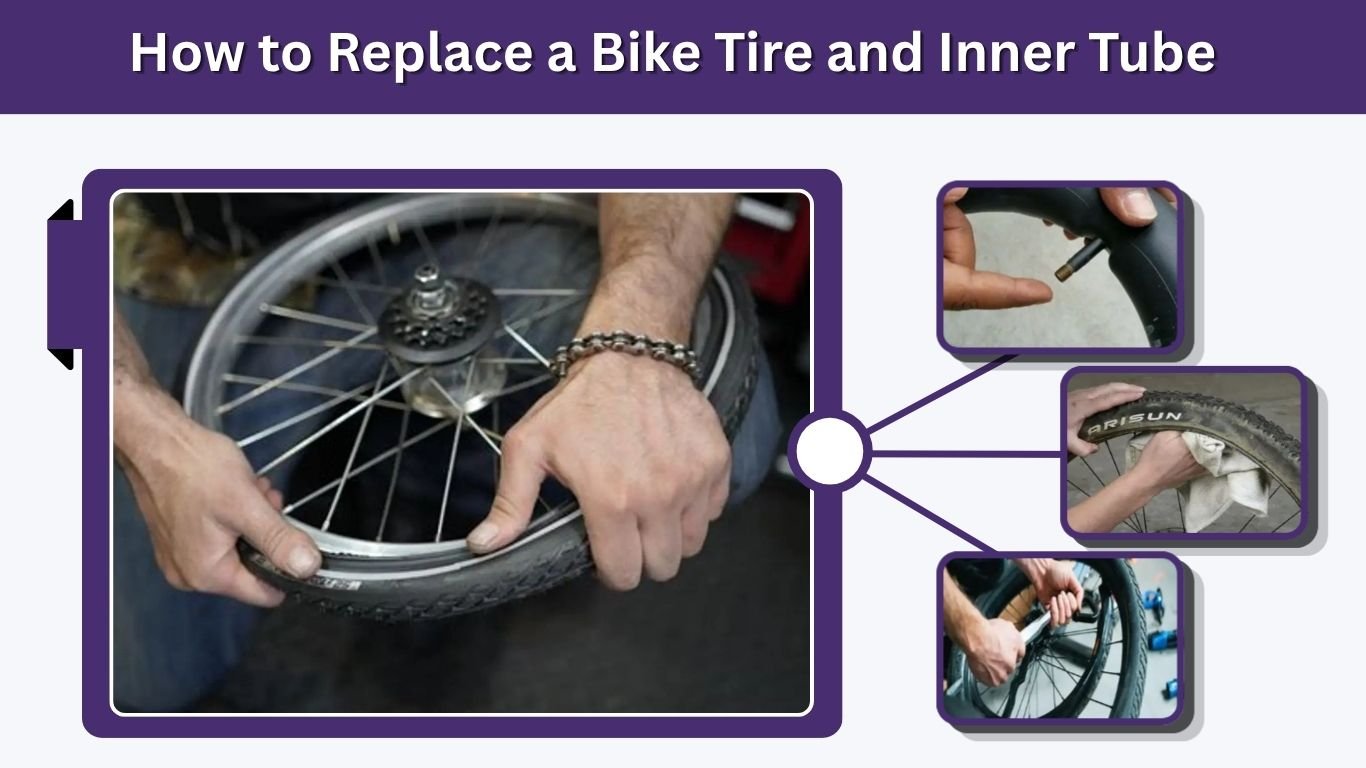
Replacing a bike tire is a practical repair that most cyclists can complete at home with a few basic tools. The process involves removing the wheel, taking the tire off the rim, inspecting or replacing the inner tube, and reinstalling everything correctly. Although rear wheels and tubeless tires require a few additional steps, the basic method is similar for road, mountain, hybrid, and children’s bikes. Careful installation is essential because a pinched tube, damaged rim tape, or incorrectly seated tire can quickly cause another flat.
When Should You Replace a Bike Tire?
A flat tire does not always mean the entire tire needs replacing. In many cases, only the inner tube is punctured.
Replace the tire when you notice:
- Deep cuts or holes in the tread
- Cracked or dry sidewalls
- Exposed casing threads
- A bulge in the tire
- Severely worn or smooth tread
- Repeated punctures in the same area
- Damage around the tire bead
- A tire that no longer sits evenly on the rim
Replace only the tube when the tire remains structurally sound and the flat was caused by a small puncture, leaking valve, or pinch.
A large cut that allows the tube to push through the tire usually means the tire should be replaced.
Tools Needed to Replace a Bike Tire
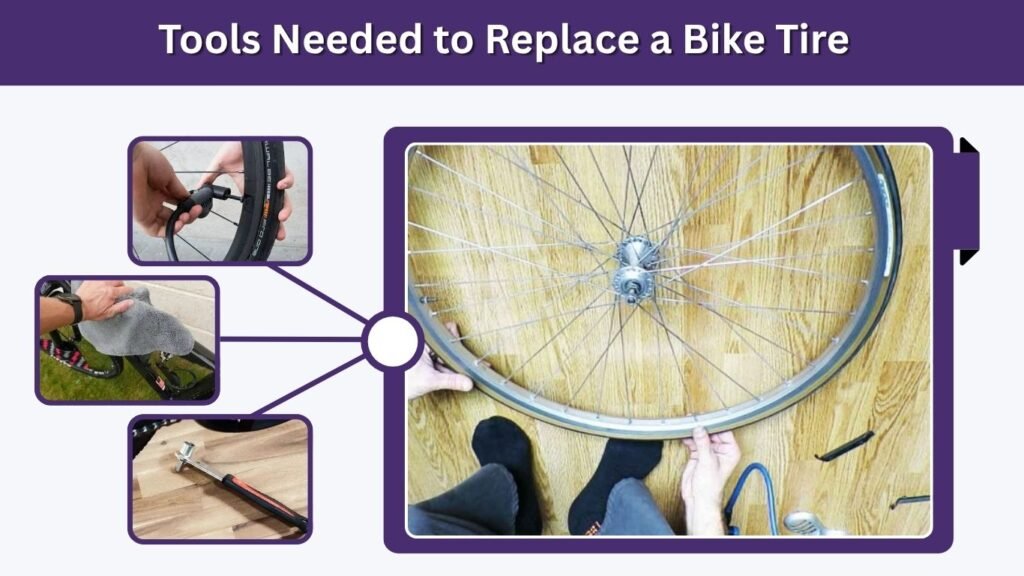
You do not need an extensive repair kit for a standard tire-and-tube replacement.
Basic Tools and Supplies
- New tire in the correct size
- Correct replacement inner tube
- Two or three plastic tire levers
- Bicycle pump
- Wrench for bolt-on wheels
- Clean cloth
- Patch kit for emergencies
- Gloves, if preferred
Check the tire’s sidewall for its size. Examples include 700 × 25C for a road bike or 29 × 2.25 inches for a mountain bike.
The replacement tube must match the tire’s diameter and width range. It must also use the correct valve type, usually Presta or Schrader.
How to Replace a Bike Tire
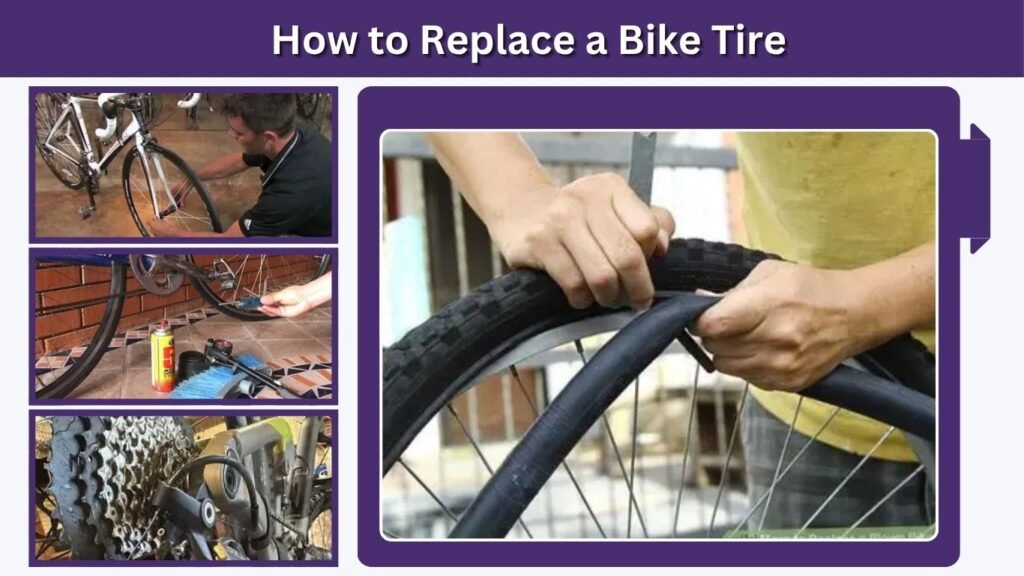
The following method applies to most bikes with inner tubes.
1. Shift Into the Smallest Rear Cog
When replacing a rear tire, shift the chain onto the smallest rear cog before removing the wheel. This creates more space and reduces chain tension.
For a front tire, this step is unnecessary.
2. Release the Brake
Some rim-brake systems must be opened before the inflated tire can pass through the brake pads.
Depending on the brake, you may need to:
- Open a brake quick-release lever
- Unhook the brake cable
- Squeeze the brake arms together
- Deflate the tire before removal
Disc brakes usually do not require releasing. However, do not pull the brake lever while the wheel is removed because the brake pads may close together.
3. Remove the Wheel
Open the quick-release lever, unscrew the thru-axle, or loosen the axle nuts with a wrench.
For the rear wheel, pull the derailleur backward while guiding the wheel downward and away from the chain.
Place the bicycle carefully on its side or use a repair stand. Avoid resting it directly on the derailleur.
4. Deflate the Tube Completely
Remove the valve cap and release all remaining air.
For a Schrader valve, press the center pin. For a Presta valve, unscrew the small tip before pressing it down.
A fully deflated tube makes the tire much easier to remove.
5. Remove One Side of the Tire
Push both tire beads toward the center channel of the rim. This creates additional slack.
Insert a plastic tire lever beneath one side of the bead and lift it over the rim. Hook the lever onto a spoke if it has a hook.
Place another lever a short distance away and lift the next section. Slide the lever around the rim until one side of the tire is completely free.
Avoid metal screwdrivers because they can damage the rim, tire, or tube.
6. Remove the Inner Tube
Pull the valve out of the rim first, then remove the rest of the tube from inside the tire.
If you are also replacing the tire, pull the second bead over the rim by hand or use a tire lever carefully.
Inspect the Tire and Rim
Do not install a new tube until you identify what caused the original flat. Otherwise, a sharp object may puncture the replacement immediately.
Run a cloth gently around the inside of the tire. The cloth may catch on glass, wire, thorns, or other sharp objects without exposing your fingers directly.
Inspect:
- The inside and outside of the tire
- The tire tread and sidewalls
- The rim for dents or sharp edges
- The rim tape covering the spoke holes
- The valve hole for rough metal
- The old tube for punctures
A single hole on the outer surface usually suggests a thorn or sharp object. Two parallel cuts, sometimes called a snakebite puncture, often indicate that the tube was pinched after hitting an obstacle with insufficient tire pressure.
How to Install the New Bike Tire
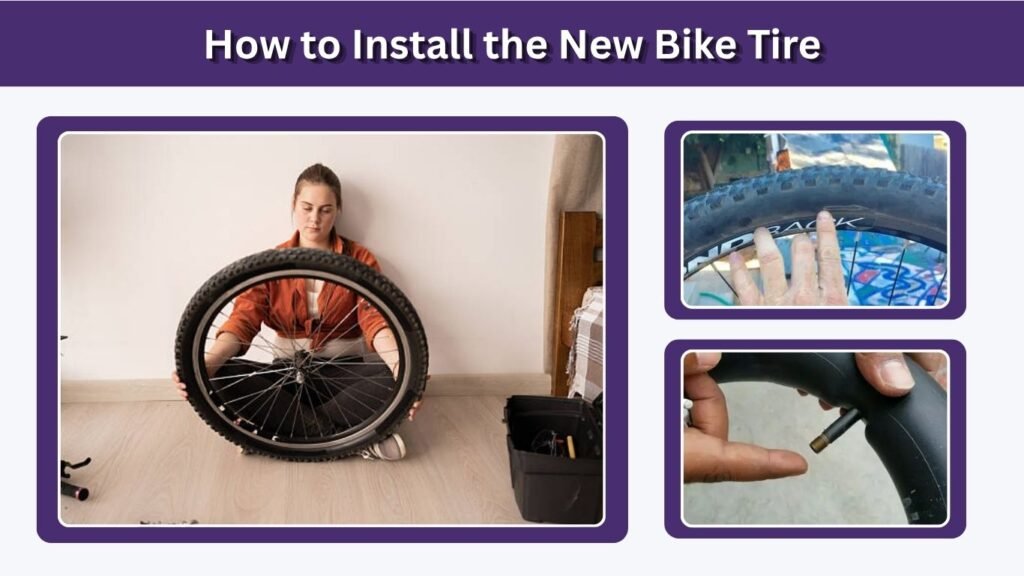
1. Check the Tire Direction
Some tires have an arrow showing the intended rotation direction. Position the tire so the arrow points forward when the wheel rotates.
A tire without a direction marking can normally be installed either way.
2. Install One Tire Bead
Place one side of the tire completely onto the rim. This can usually be done by hand.
Leave the second side open so the tube can be installed.
3. Add a Small Amount of Air to the Tube
Inflate the new tube just enough to give it a round shape. A lightly inflated tube is easier to position and less likely to become twisted or pinched.
Do not inflate it fully.
4. Insert the Valve
Push the valve through the rim hole. Keep it straight rather than pulling it to one side.
Do not tighten a Presta valve retaining nut fully at this stage. Leaving it slightly loose allows the tire bead to settle naturally around the valve.
5. Place the Tube Inside the Tire
Tuck the tube evenly into the tire, working around the entire wheel. Make sure it is not twisted, folded, or hanging outside the rim.
6. Install the Second Tire Bead
Begin opposite the valve and push the tire bead onto the rim with your thumbs. Work equally around both sides toward the valve.
Push the mounted sections toward the rim’s center channel to create more slack.
Finish near the valve. Push the valve slightly upward into the tire so the tube does not become trapped underneath the tire bead.
Use tire levers only when necessary. Be careful not to pinch the tube between the lever and rim.
7. Check for a Pinched Tube
Inspect both sides of the wheel. The tube should not be visible between the tire bead and rim.
Push the tire inward at several points and confirm that the tube is completely contained inside.
8. Inflate Gradually
Add a small amount of air and inspect the tire’s molded bead line. It should remain an even distance from the rim on both sides.
Continue inflating in stages. Stop immediately if the tire begins lifting off the rim or forms an uneven bulge.
Inflate to a pressure within the range printed on the tire sidewall. The ideal pressure depends on rider weight, tire width, surface conditions, and bike type.
How to Replace a Rear Bike Tire
A rear tire follows the same tire-and-tube process, but removing and reinstalling the wheel requires additional attention.
When reinstalling the rear wheel:
- Pull the derailleur backward.
- Place the top section of the chain over the smallest cog.
- Guide the axle into the frame dropouts.
- Confirm that the wheel is centered.
- Tighten the axle or thru-axle securely.
- Reconnect the brake if required.
- Shift through the gears to confirm proper operation.
The chain should run smoothly without becoming trapped between the cassette and frame.
For an internally geared or single-speed bicycle, note the positions of washers, tensioners, and cables before removing the rear wheel.
Road Bike vs Mountain Bike Tire Replacement
The general replacement process is the same, but the tires behave differently.
Road Bike Tires
Road tires are narrow and often fit tightly around the rim. Pushing the tire beads into the center channel is especially important.
Avoid forcing the final section with excessive leverage because narrow tubes are easily pinched.
Mountain Bike Tires
Mountain bike tires are wider and often easier to remove. However, aggressive tread patterns, reinforced casings, and tubeless systems may make installation more difficult.
Check whether the tire is tubeless before removing it. Liquid sealant may spill when the bead is opened.
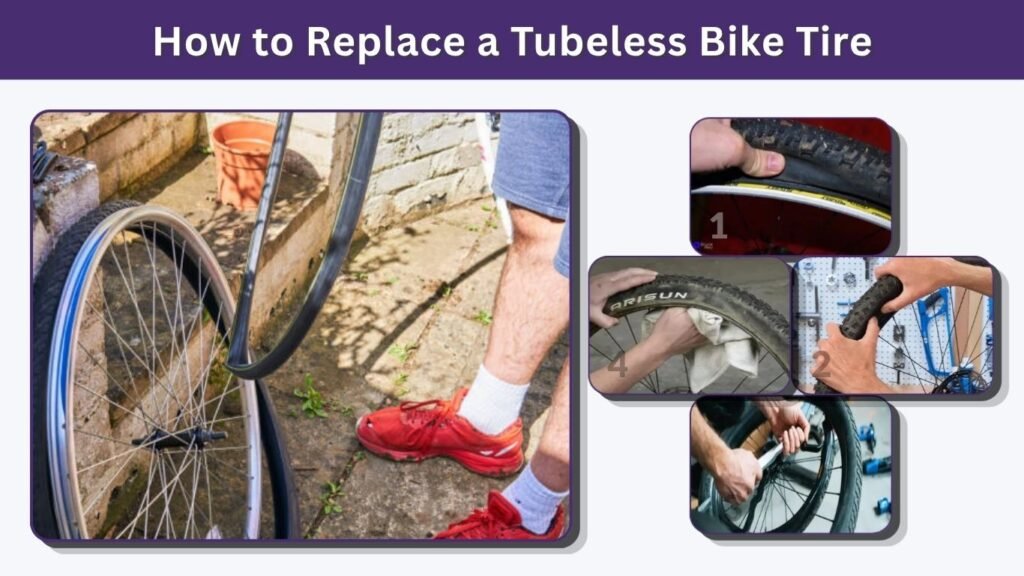
How to Replace a Tubeless Bike Tire
A tubeless tire does not use a standard inner tube. Instead, it relies on airtight rim tape, a tubeless valve, and liquid sealant.
To replace it:
- Remove the wheel and release all air.
- Break the tire bead away from the rim.
- Remove one bead using tire levers if necessary.
- Drain and clean the old sealant.
- Inspect the tubeless rim tape and valve.
- Install the new tire.
- Add the recommended amount of sealant.
- Fit the final bead.
- Inflate rapidly to seat the tire.
- Rotate and shake the wheel to distribute sealant.
A compressor, high-volume pump, or tubeless inflator may be necessary if the tire does not seat with a standard floor pump.
Never exceed the tire or rim manufacturer’s maximum pressure while seating the bead.
Can You Replace a Bike Tire Without Levers?
Yes, many loose-fitting tires can be removed and installed by hand.
Push both beads into the deepest center section of the rim. Begin opposite the valve and create as much slack as possible before lifting the tire over the rim.
Tight road tires and reinforced tubeless tires may still require plastic levers. Do not use excessive force that could damage the bead.
How Much Does It Cost to Replace a Bike Tire?
The total cost depends on tire quality, tube size, wheel type, and shop labor.
| Item | Approximate cost |
| Basic inner tube | $6–$15 |
| Standard bike tire | $20–$60 |
| Premium road or mountain tire | $60–$100+ |
| Shop installation | $10–$30 per wheel |
| Tire and tube replacement | About $35–$120 total |
Tubeless tires may cost more because new sealant, rim tape, or valve parts may be required. Prices also vary by location and bicycle type.
Common Replacement Mistakes
Avoid these common problems:
- Buying the wrong tire diameter
- Selecting the wrong valve type
- Leaving glass or thorns inside the tire
- Pinching the tube beneath the bead
- Installing a directional tire backward
- Twisting the inner tube
- Using excessive force with tire levers
- Failing to seat the bead evenly
- Overinflating the tire
- Forgetting to reconnect the brake
- Installing the rear wheel incorrectly
After completing the repair, spin the wheel and test the brakes before riding.
FAQs
How long does it take to replace a bike tire?
An experienced cyclist may replace a tire and tube in 10–20 minutes. A beginner may need 30–45 minutes, particularly when working with a tight road tire or removing a rear wheel.
Can you patch a tube instead of replacing it?
Yes. A small puncture can often be repaired with a properly installed patch. Replace the tube when the valve is damaged, the rubber is deteriorated, or several old patches are already present.
How big can a tire hole be before replacement?
Replace the tire when a cut exposes the casing, damages the bead, creates a bulge, or allows the tube to push through. Tiny tread punctures may not require replacing an otherwise healthy tire.
Why does the new bike tube keep going flat?
Common causes include a sharp object left in the tire, damaged rim tape, incorrect tube size, low pressure, a pinched installation, or a tire bead that was not seated properly.
Can a bike valve stem be replaced?
On a standard inner tube, the valve is permanently attached, so the entire tube normally needs replacing. On a tubeless setup, the removable tubeless valve can usually be replaced separately.